While I was visiting my good friend Emily a few weeks ago we worked on a few crafty projects for her her soon-to-be creative workshop space attached her great shop Hello Yellow. I’l leave the full design plan and reveal of the space to Emily but I wanted to share this adorable before & after we did on these great vintage chairs she had.

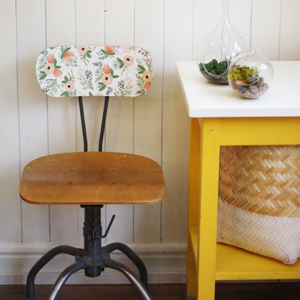
Can you believe that someone was giving away these old Singer sewing machine chairs for free?!?! It would make a vintage shop owner on Queen St. West very jealous.
So the plan is for these chairs to be used around a table in a communal workspace. Emily was already using this super pretty Rifle paper wrap as colour inspiration for wall paint & window coverings so I thought using the actual pattern on the top of the chair would be the perfect pop of it and tie things together.
 |
| photo via Rifle Paper |
It was pretty easy as far as makeovers go. No hard labour involved. Time to bring back the fav craft supply of the 90’s Modge Podge! Here’s what you need:
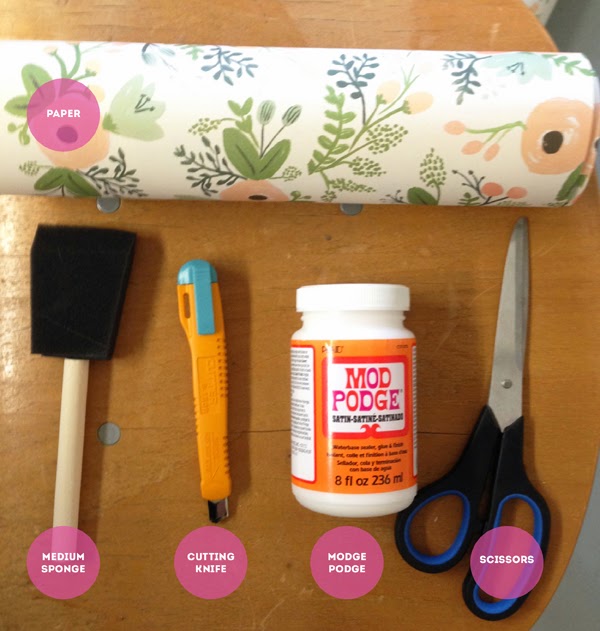
And then it’s an easy as 1, 2, 3…
…and there’s step 4, which didn’t get documented but once the modge podge is dry, carefully trim the overhanging paper with your knife then seal the whole thing with a coat of modge podge (or clear spray sealer).
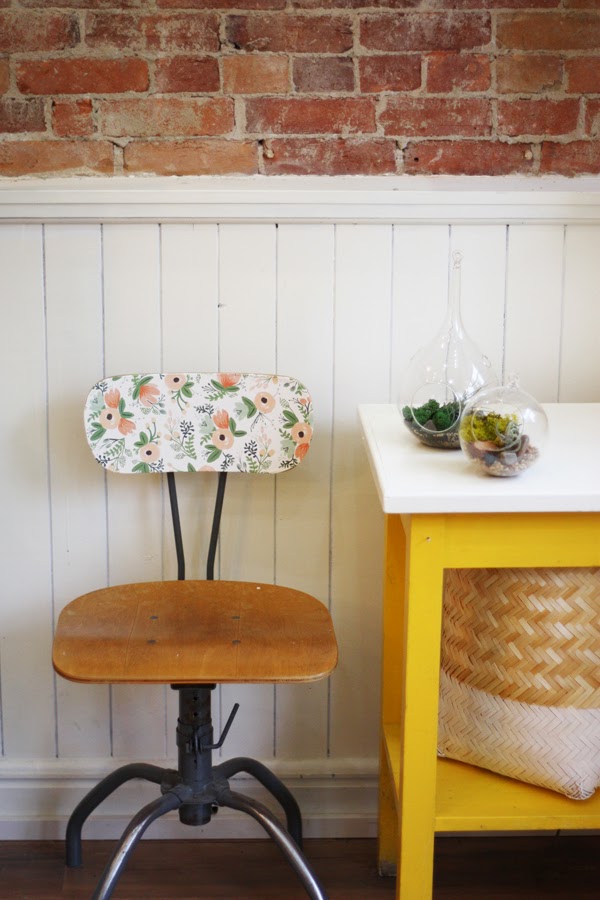
I couldn’t be happier with how these turned out. Aren’t they so sweet & chic? It’s just a small makeover but it made a huge difference.

I think these are just perfect for a creative workspace. They would also be great desk chairs or even around a fresh white round kitchen table. Don’t you agree?

And how sweet does the chair look in Em’s shop? (psst: those fab looking terrariums are from Toronto’s Crown Flora Studio)
Check out Hello Yellow’s list of workshops if you’re in the Ottawa area.
Click here for more DIY and Before & After projects.
17 responses to “BEFORE & AFTER: an extra sweet vintage chair makeover”
Melissa, these are beautiful! I might have to go search for a free chair of my own to make over :)
Thanks Rachel! The chair and the print are both lovely on their own…I just played matchmaker :)
SO STINKIN CUUUUUTE! Great job with these. That paper is so deliciously awesome.
The style of chair and that paper are a match made in heaven! Beautifully done Melissa & Emily! Xo
[…] Love, By Wilma‘s quirky eggs and, if you’d like to get really stuck in, have a look at this simple chair makeover by The Sweet […]
How heavy is the paper? Like wrapping paper or wallpaper?
[…] image via thesweetescape […]
[…] Get the instructions here […]
[…] 7.Paper Wrapped Chair https://thesweetescape.ca/2013/10/before-after-an-extra-sweet-vintage-chair-makeover.html […]
[…] Check out the full DIY tutorial HERE […]
[…] Get the instructions here […]
[…] image via thesweetescape […]
[…] The Sweet Escape […]
[…] Extra Sweet Vintage Chair Makeover {The Sweet Escape} […]
[…] throwing them away. Maybe you can still rescue these pieces with some wallpapers! Just look at what this blogger did to her vintage […]
[…] thesweetescape […]
[…] Source […]