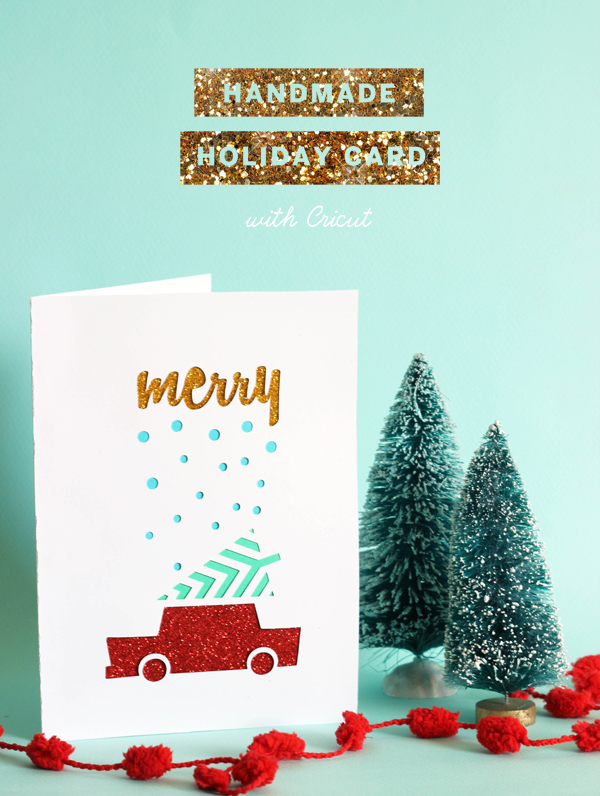
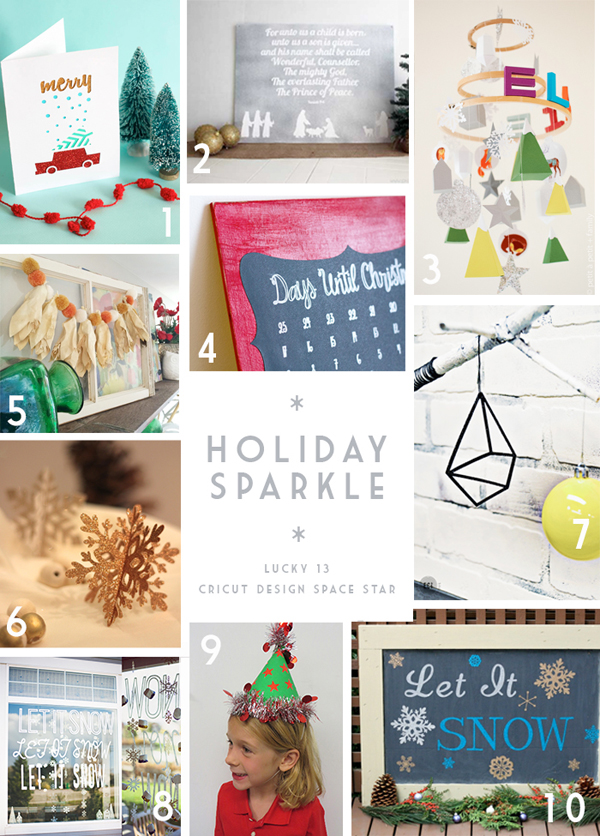
I know, I know…you’re like “get out of my face Christmas, I’m not ready for you”. I feel the same way and I can promise you that there will be no more signs of Christmas until after Halloween but I had to share with you my latest Cricut Design Space Star Challenge project that I submitted today. Last month’s entry got me in the Top 10, woot! The main theme is Holiday and our Lucky 13 team theme is “holiday sparkle”. The possibilities are endless but I decided to keep it sweet & simple and make a glittery paper cut-out holiday card using my Cricut Explore. Keep reading to see the full tutorial and a bunch more holiday projects from my crafty teammates.
So what you’ll need for this project is 2 pieces of white card stock then some glittery and regular coloured card stock. It’s really up to you what colours you want to use. You could use all glitter, just a pop of glitter, whatever you’re feelin’. Also if you don’t have a Cricut you can try simplifying the design and use a cutting knife to get a similar effect.
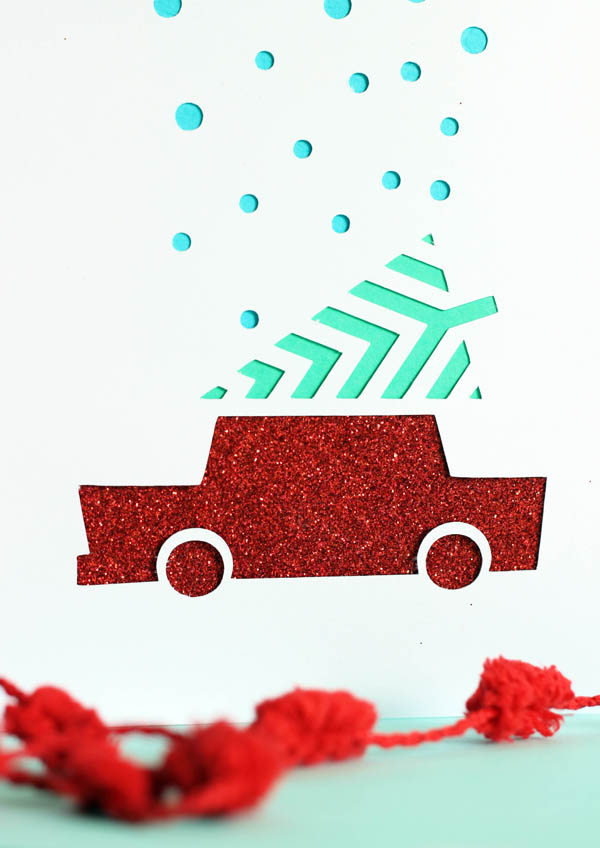
First I designed my card on the computer then imported it into the online Cricut Design Space and then magically I had this beautifully cut card.
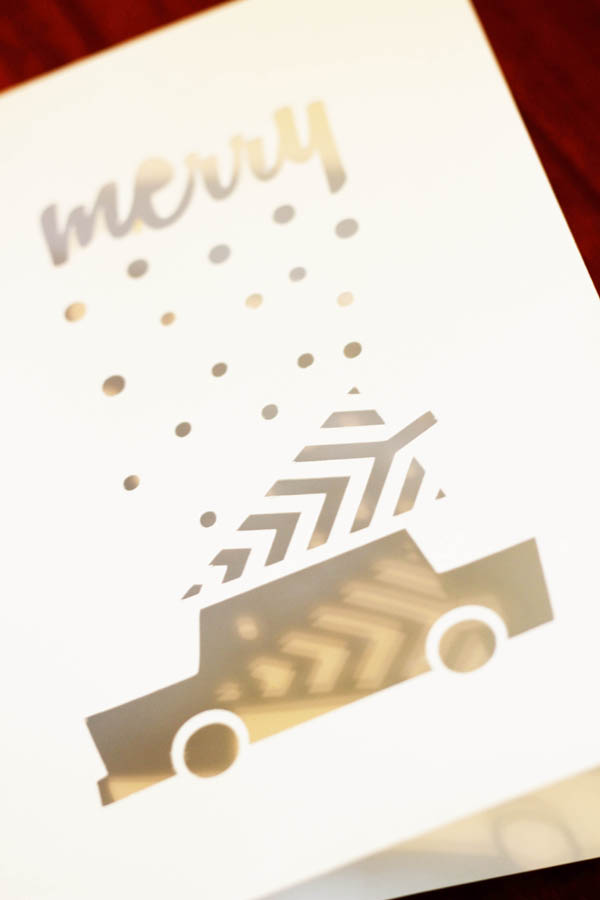
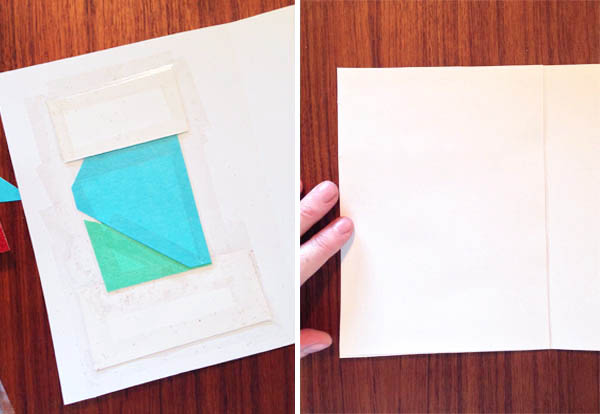
Then, I won’t lie, it gets pretty ghetto as far as crafting goes. Now, you could be a bit more neat looking and spray glue the back of the cut out and then adhere your coloured/glitter stock to the back….OR…..you can do I what I did and just tape them on. The truth is it doesn’t really matter because then you cover the whole thing with a piece of paper. I made my card 5″x7″ folded. So you’ll use a 10″ x 7″ piece of card stock for the card.
Like throwing all your stuff in the closet when people come over, you flip the card around and it will look amazing and no one has to know about that mess you’re hiding. Isn’t it so simple but fun?
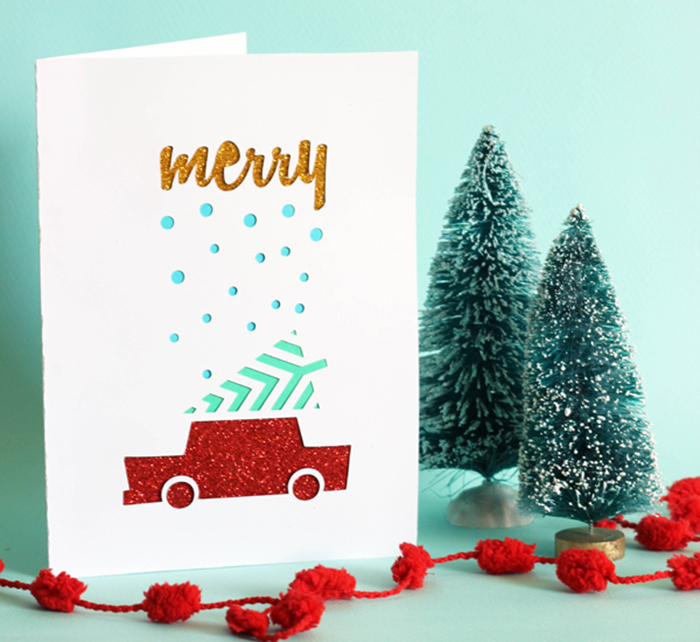
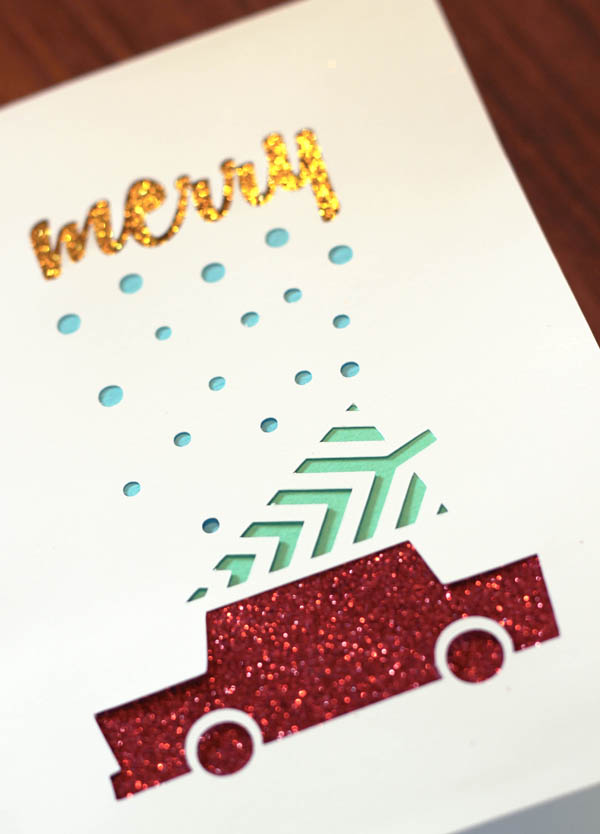
And there you have some merry holiday sparkle spirit to send to your friends and family. 
Cricut actually has this new Print & Cut feature that would also be really great for creating some custom holiday cards. If creating on the computer is more your thing than working with glue and layers etc. you can print off your designs then bring ’em over to the Cricut and it can cut them out.
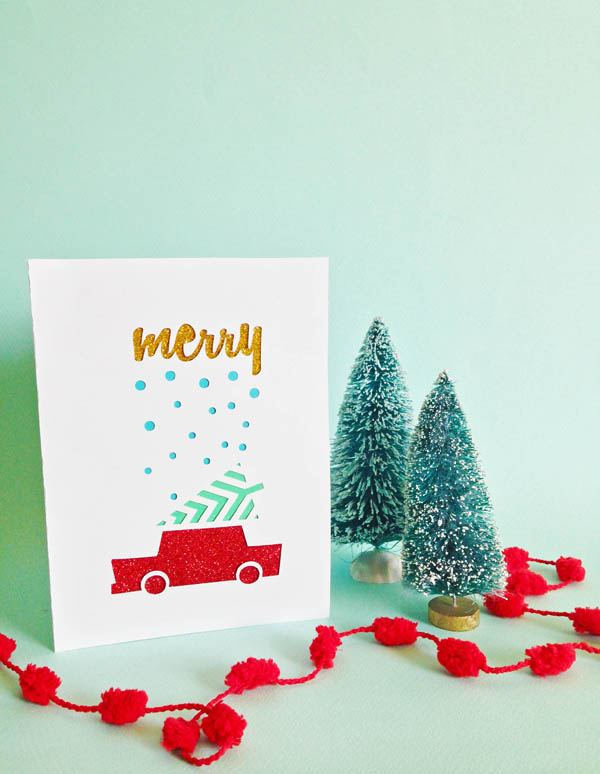 Fingers crossed you’ll see this merry piece in the Top 10 again. And don’t forget to check out some of my teammate’s great holiday projects.
3 responses to “DIY: handmade christmas card with Cricut”
So cute! Love that little red car!
Dang it – that card looks awesome! Good job, Melissa!
Thanks Jordana! I just found out that it made it to the Top 10 :)