This post sure is a long time coming but it’s worth it! It was wayyyyyyyyy back in April that Emily and I officially started the wheels in motion (pun intended) on this Airstream makeover and the ol’ Cheerstream’s time in the beauty chair is finally up and she’s ready for her big reveal. Just in case you’re new here, visit this post to get caught up on what me and my bestie, Emily were up to this summer with this vintage Airstream.
Like any renovation almost everything ultimately takes longer….and costs more. This vintage Airstream makeover was no exception. But Emily and I couldn’t be happier with the results and hopefully you agree!
I should start by disclosing that although Em and I put in a hella lotta sweat (no tears thankfully) into this old tin can, we did heavily rely on a very skillful (and patient) contractor named Ron for most of the re-building and construction. That said, all the cuteness and fabulousness and 143 coats of white paint was 100% us. I’m also happy to report that we’re still friends!
Sidenote & fun fact: This whole Airstream makeover was verrrrrrry close to becoming a professionally produced web series. We had a production & media company on board and ready to go….but long story short, as with many things in life the money part was a bit more tricky and unfortunately this wasn’t our time to shine. But in hindsight, there’s absolutely NO WAY we could’ve pulled this off in a week or whatever totally unreasonable time you see on tv when makeovers are done like magic. It’s not real people!
So let’s get to what you’re here for right?!? Who doesn’t love a good before & after?! And let me just say, this is a good one. It’s not a big space but let’s take a little tour room by room and see the transformation shall we?
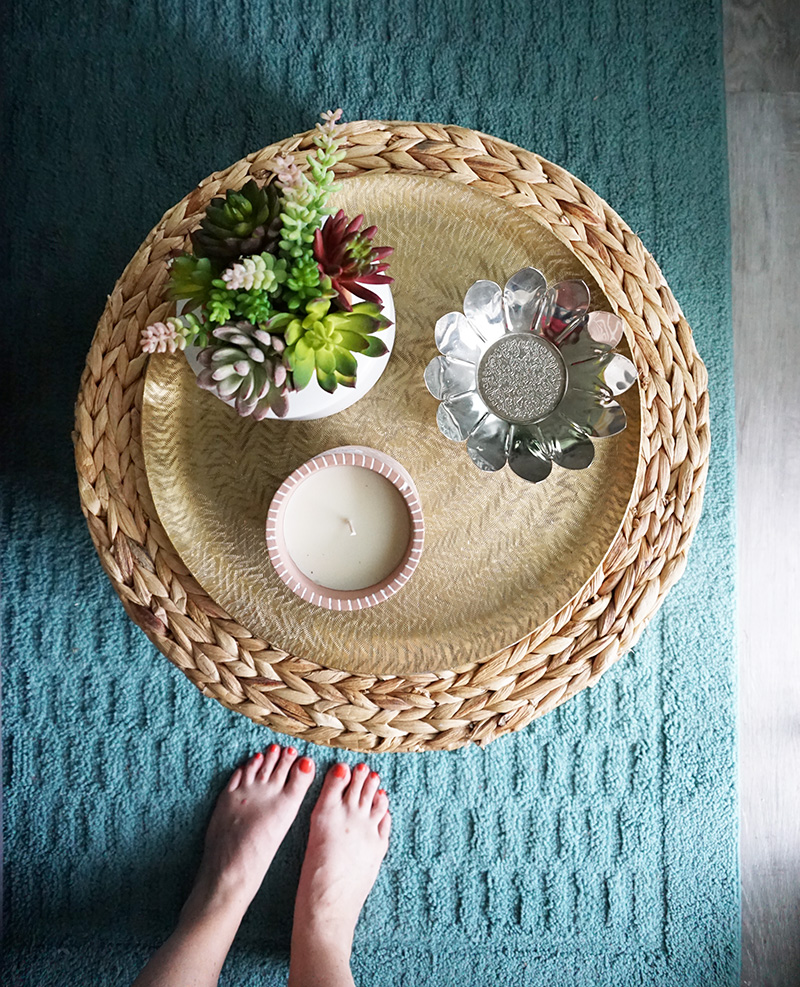
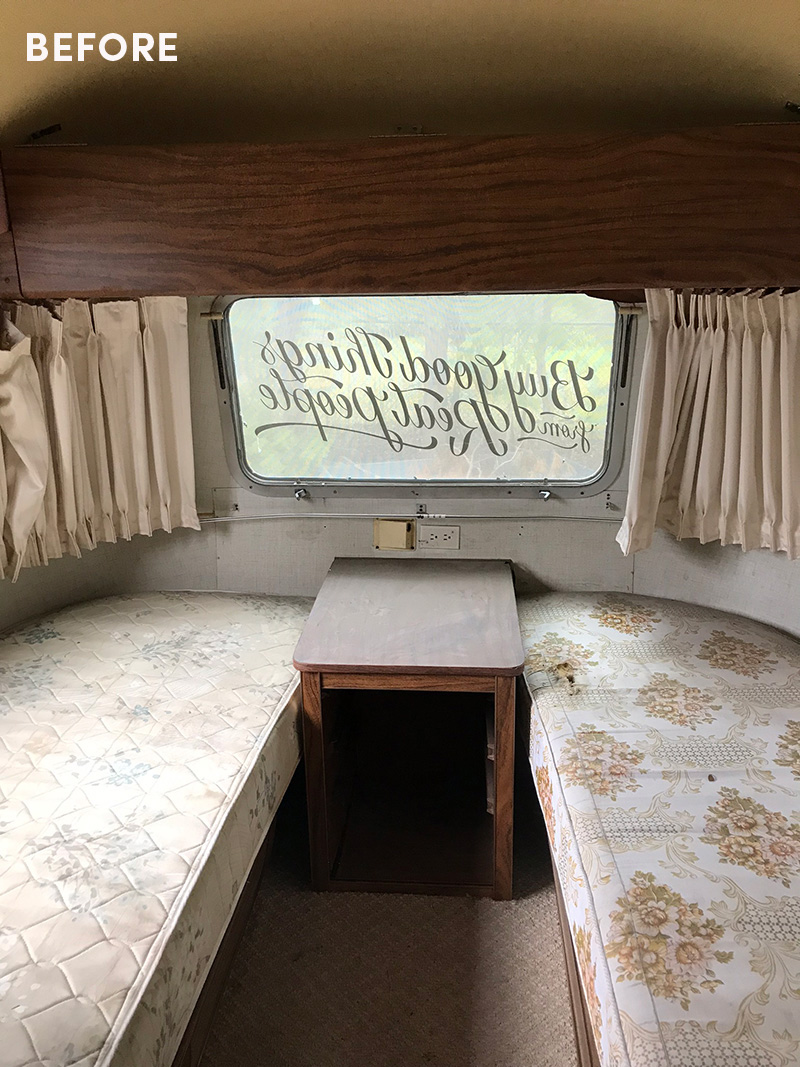
We’ll start at the front of the Airstream, the lounge area. The plan for this area changed many times before arriving at this arrangement. Ultimately we decided that most of the eating would be done outdoors so it was going to primarily be a lounge area. It also needed to double as a sleeping area for 2 when Em’s whole fam of 4 takes this girl on the road for a family camping trip.
Here’s what it looked like before:
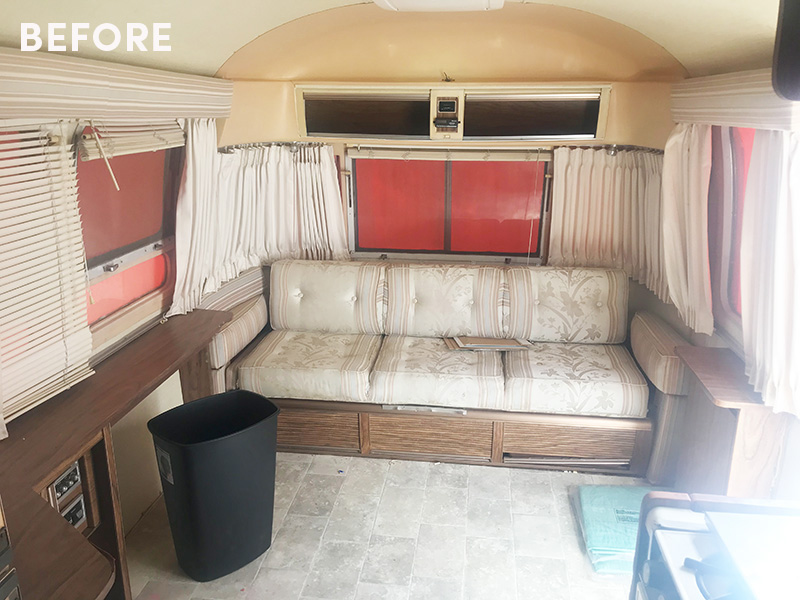
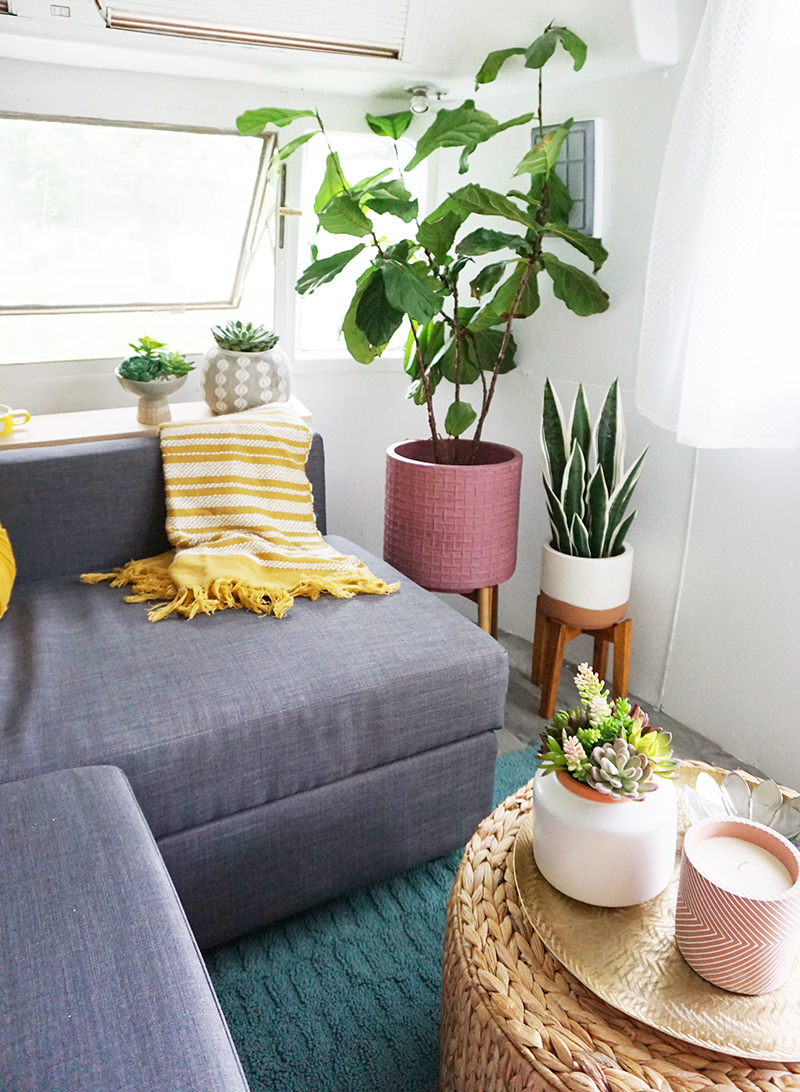
And here’s what it looks like now! Bye fugly couch, window covering overkill and beigy blahness. (the orange is the exterior vinyl wrap that the trailer had when we first got it)
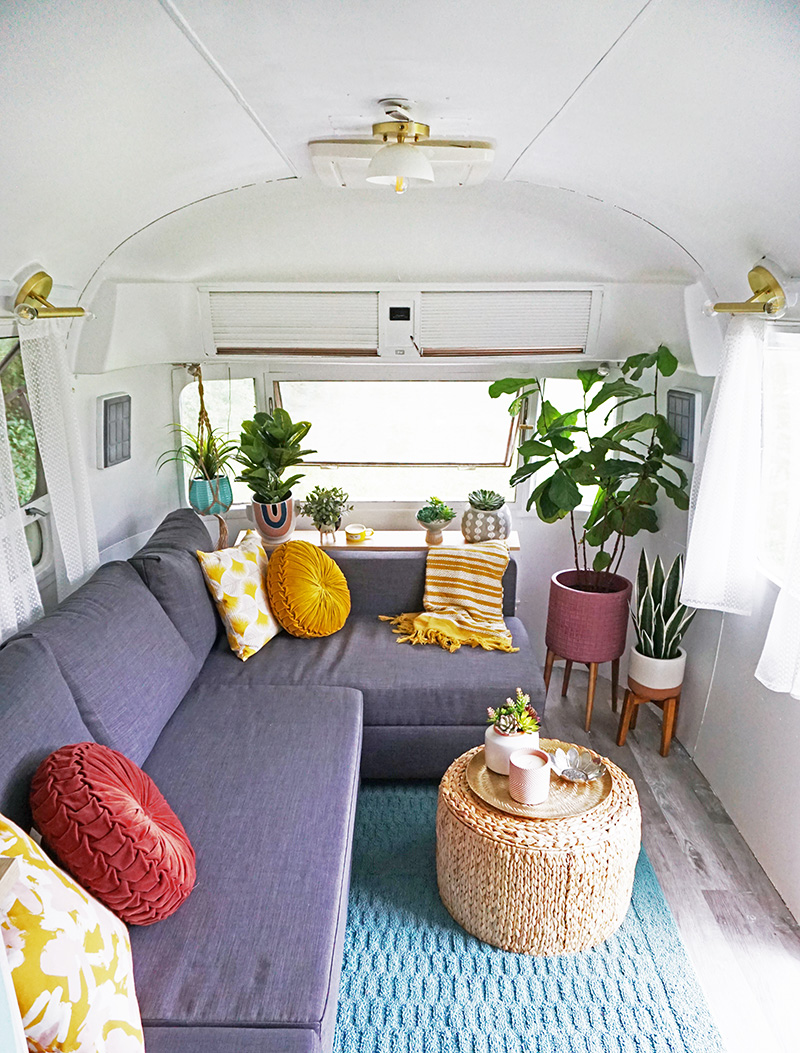
So much more inviting right? The sofa turns into a double bed for kiddos/guests. The whole Airstream got some new vinyl flooring that we picked based on what was on sale but then splurged on the stylish lighting that is designed specifically for RV’s by Lucent Lightshop.
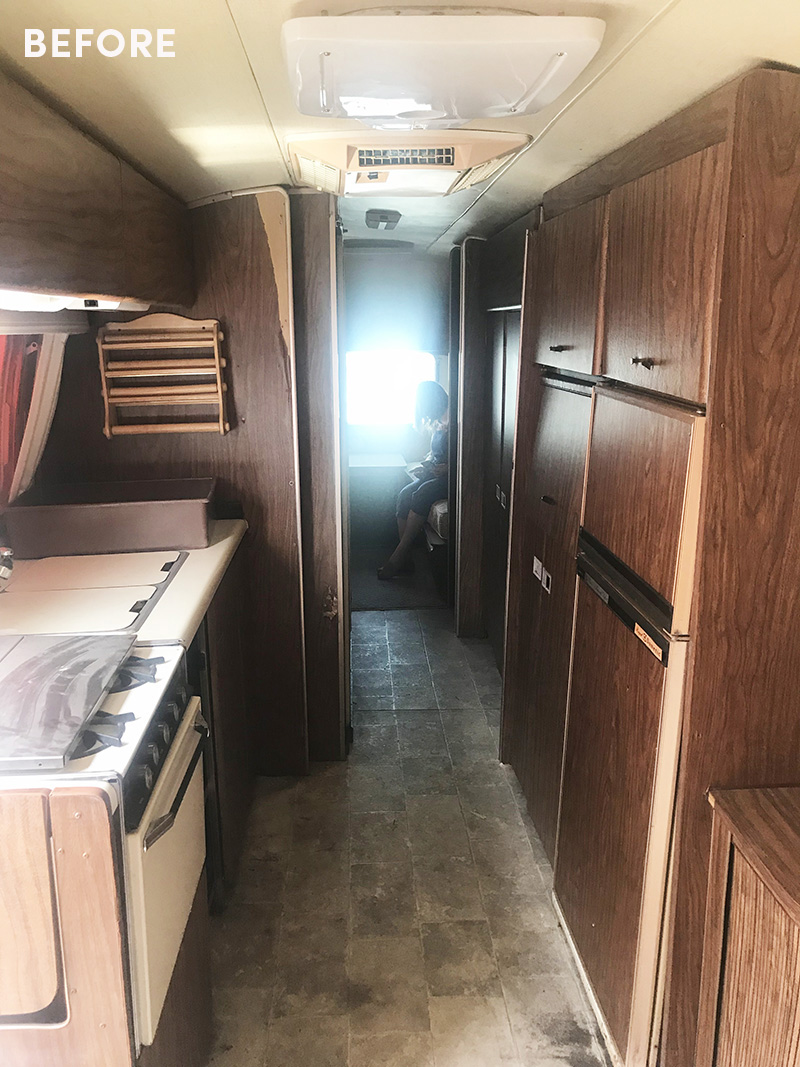
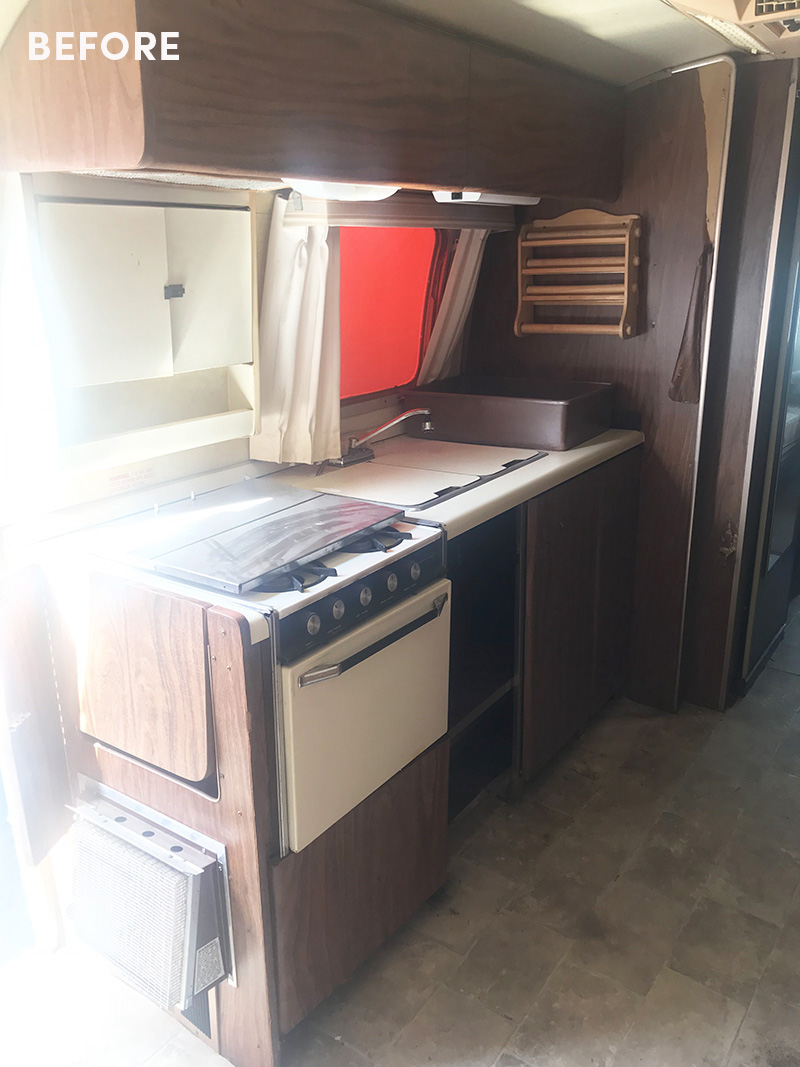
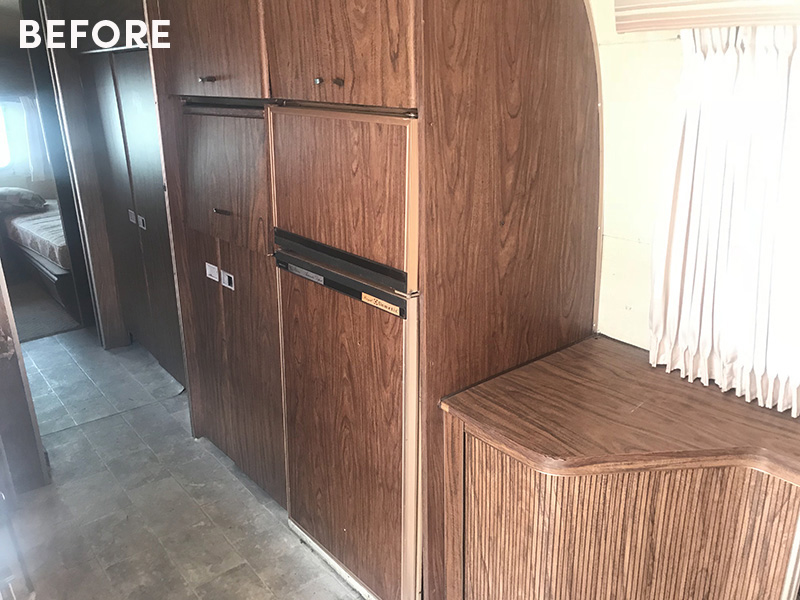
Right beside the lounge area is the kitchen. Here’s a juicy BTS for you – Emily may have been just a tiny bit impulsive and basically decided to gut the entire thing. Like every single inch. We may have also asked Ron to rebuild part of it. Oops. But in the end we liked Ron’s slight modifications better and love the overall look and functionality.
Here’s the kitchen before:
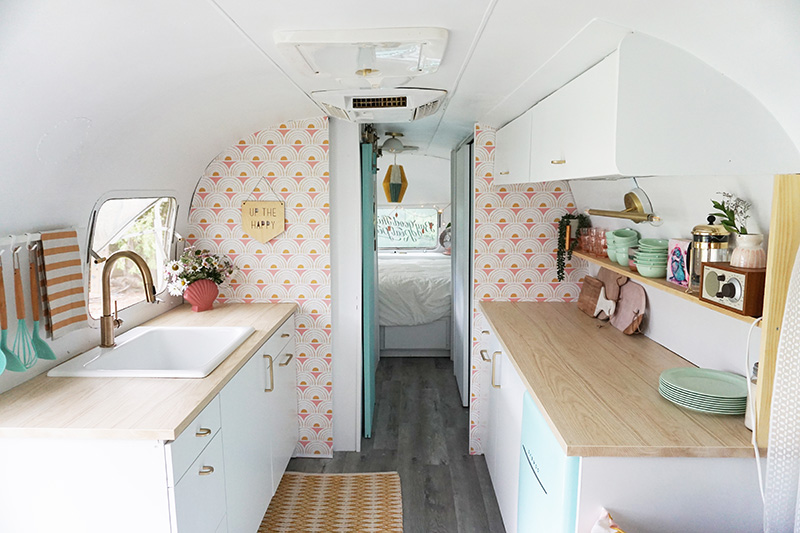
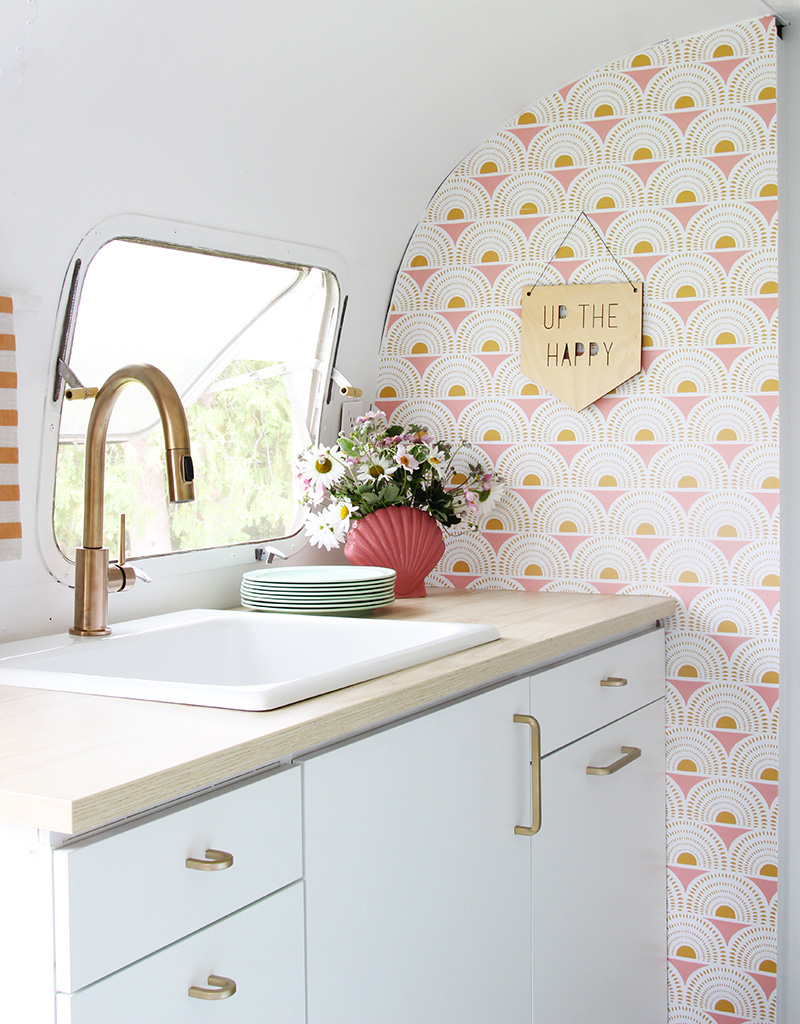
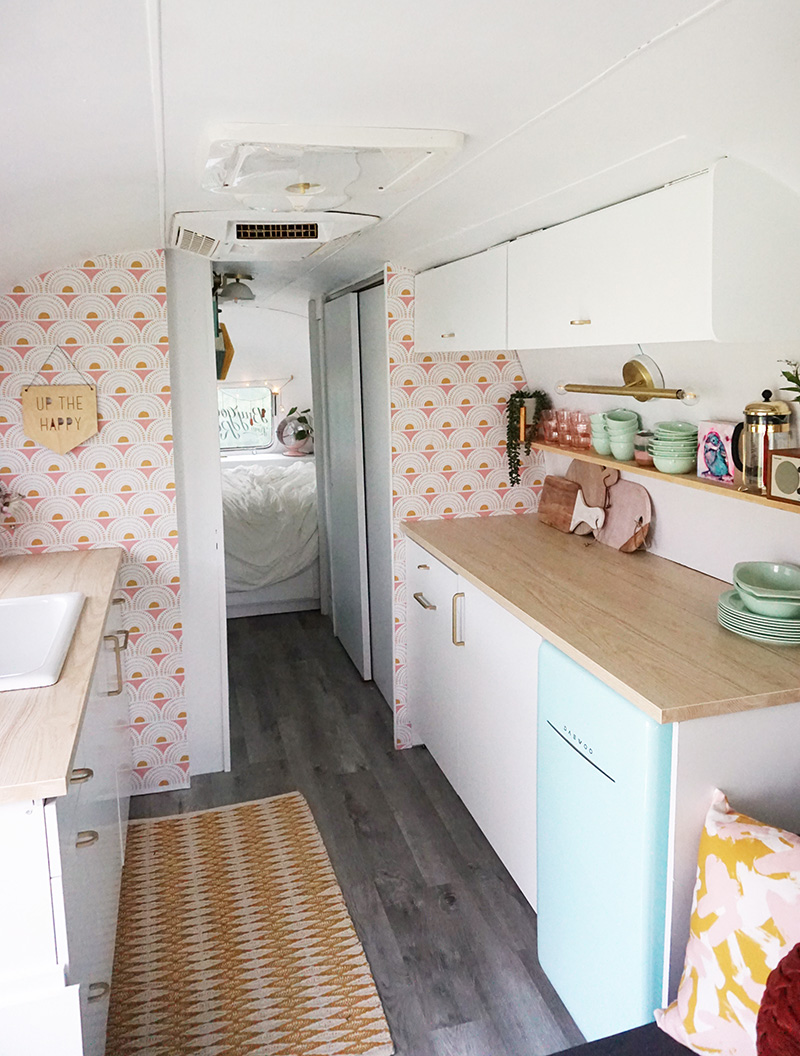
And here’s what it looks like now. We downsized to a smaller (super crazy adorable) fridge that still has plenty of room for what’s needed and ditched the high maintenance propane stove & oven. BBQ’ing is where it’s at for cooking but for those times when that’s not possible the plan is to add a hot plate and toaster oven that can be tucked away. We picked the most economic (read:cheapest) kitchen cupboards & counter from IKEA.
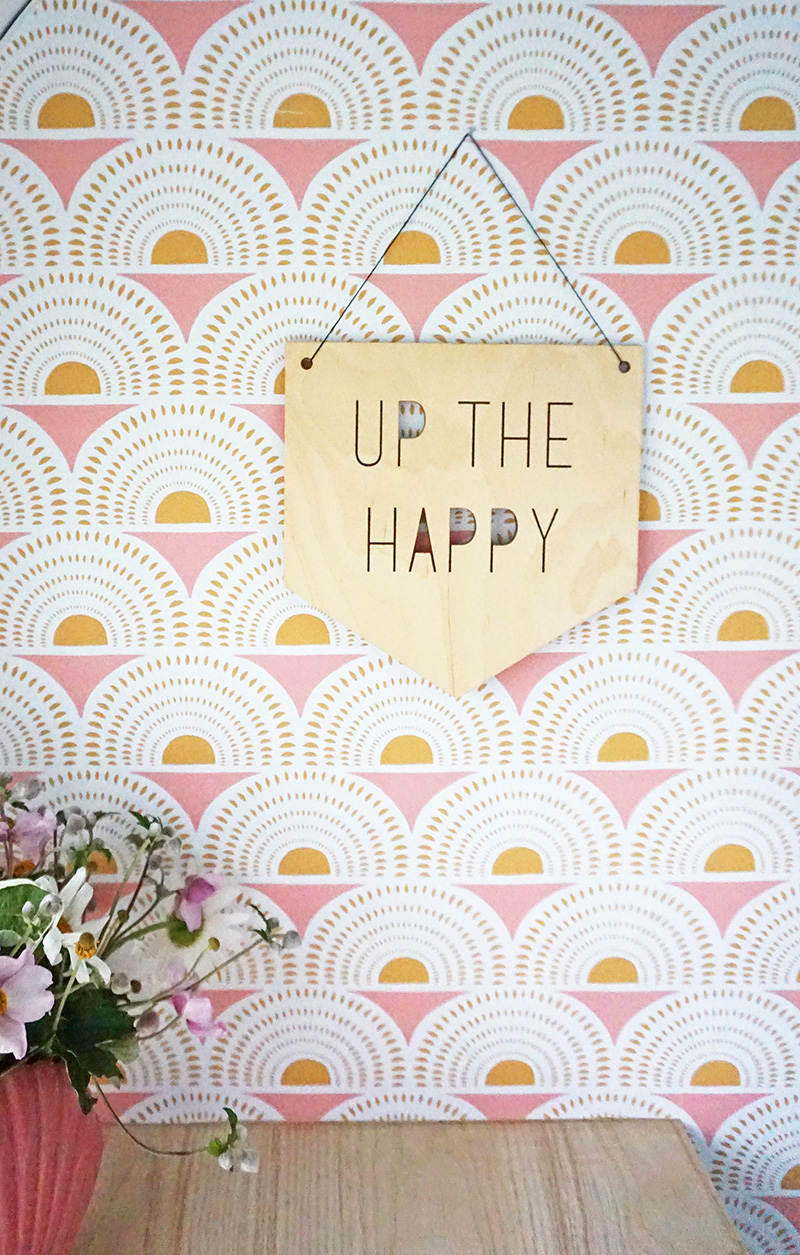
Getting rid of some of the cupboards and downsizing the fridge allowed for way more valuable counter space which was seriously lacking and it really opens up the space. Oh and it allows afor more wall space to fill with the most cheerful wallpaper ever from Spoonflower (Blush & Golden Rod). #priorities
We partnered with Spoonflower on this project and based most of our design decisions around the amazing artist submitted wallpaper patterns we found on their site. If you have a few hour to kill and want to get lost in a rabbit hole of amazing inspiration that’s the place to go.

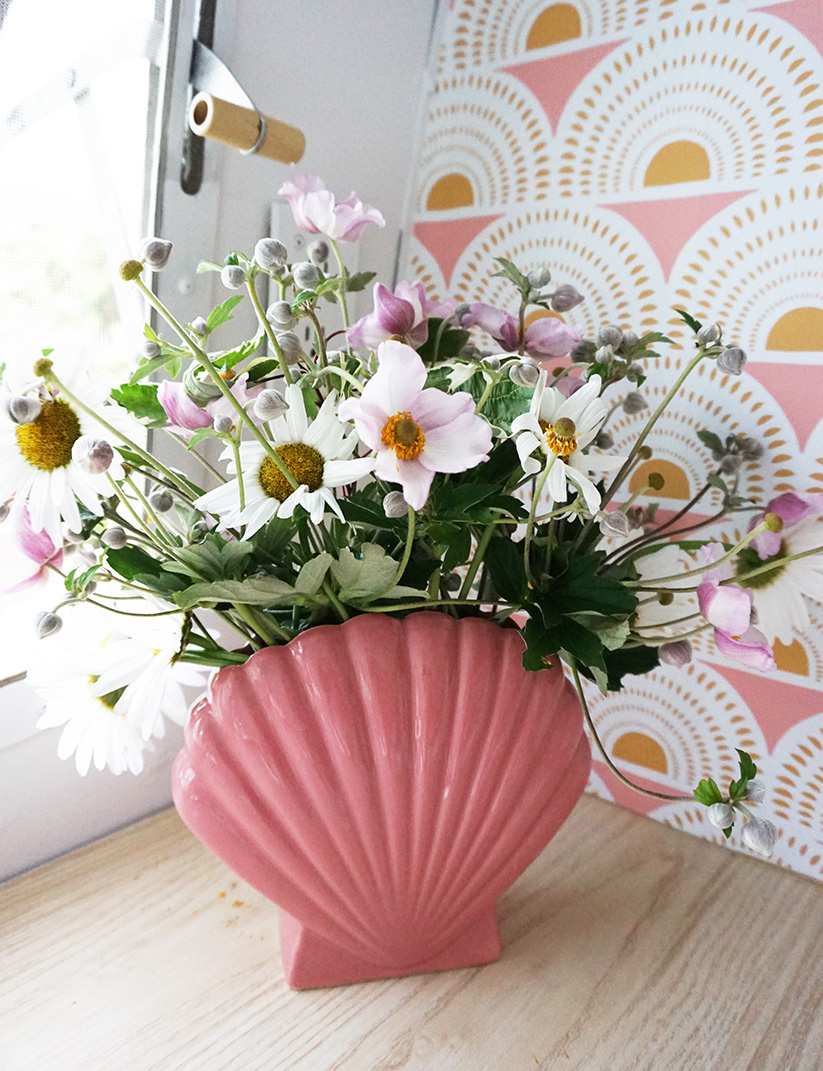
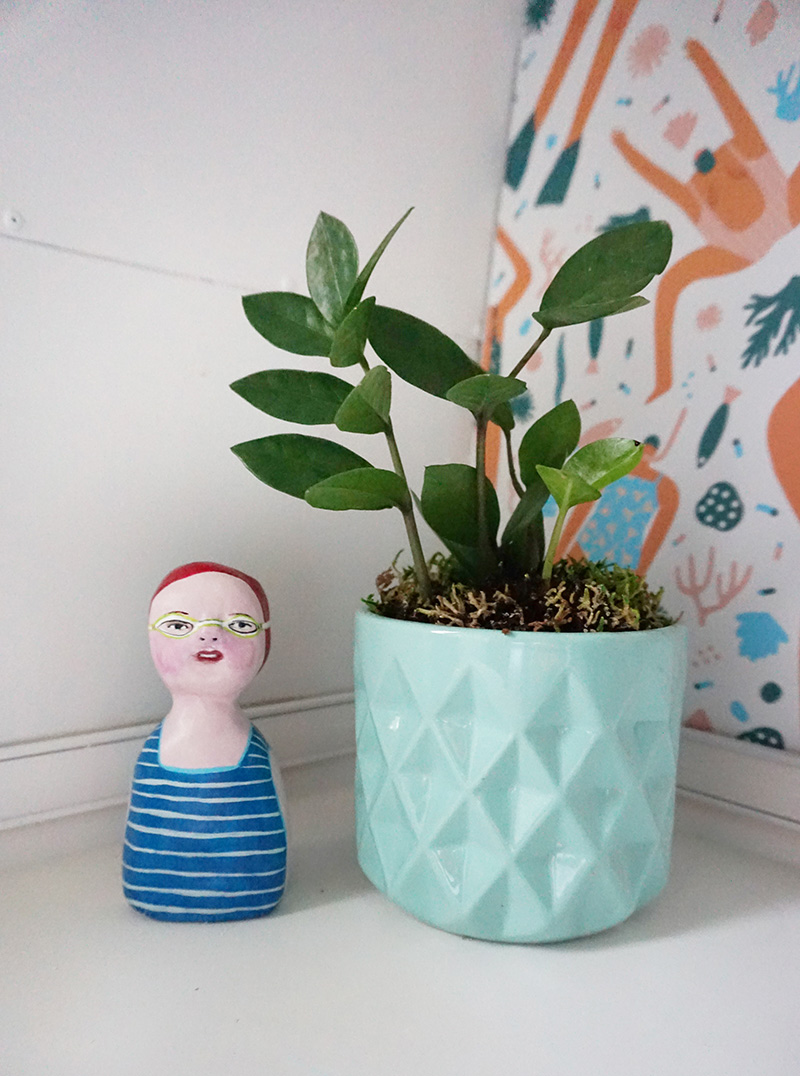
I couldn’t resist adding a touch of vintage and this thrifted pink shell vase was the perfect piece!
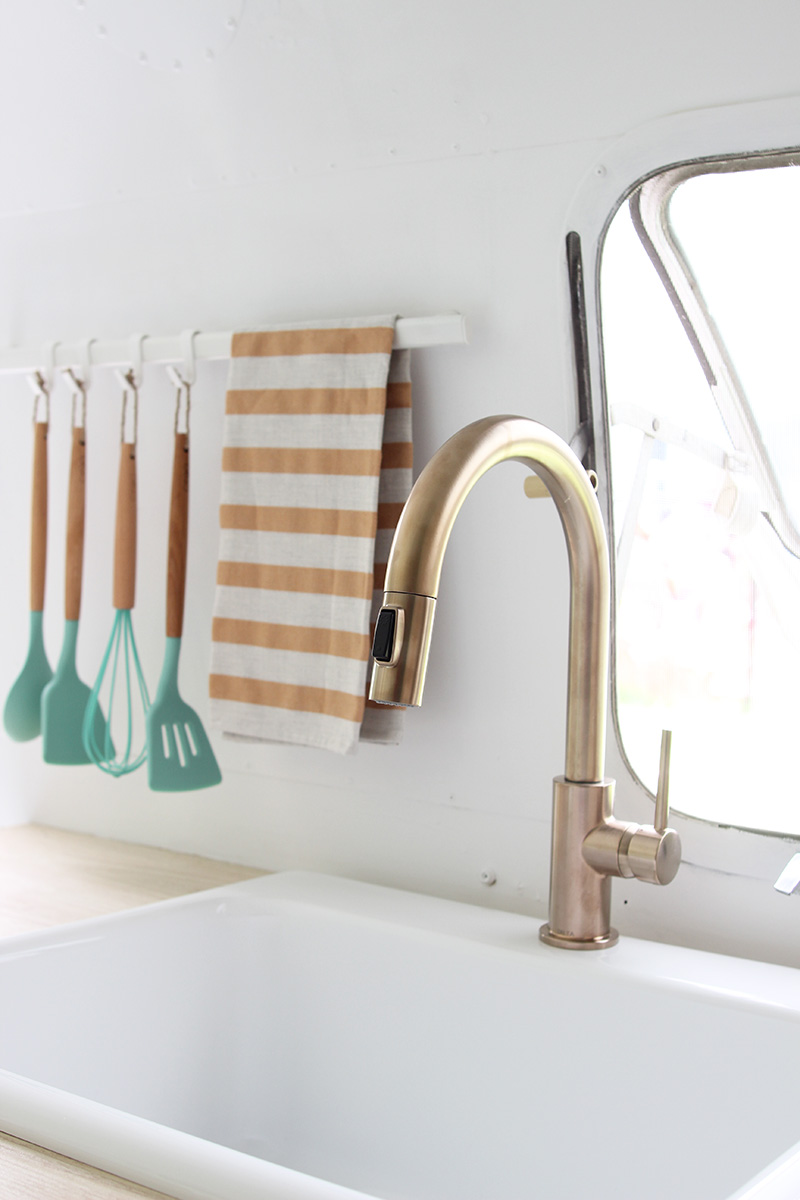
We were lucky enough to also partner with Delta Faucets Canada who provided us with new faucets for the kitchen and bathroom. Man, what a difference changing your faucets can make! It’s an easy upgrade or good place to start if you don’t have the budget to do the whole space. We chose the popular Trinsic Single Handle Pull-Down Kitchen Faucet in Champagne Bronze. Paired with a modern white sink, the kitchen is unrecognizable.

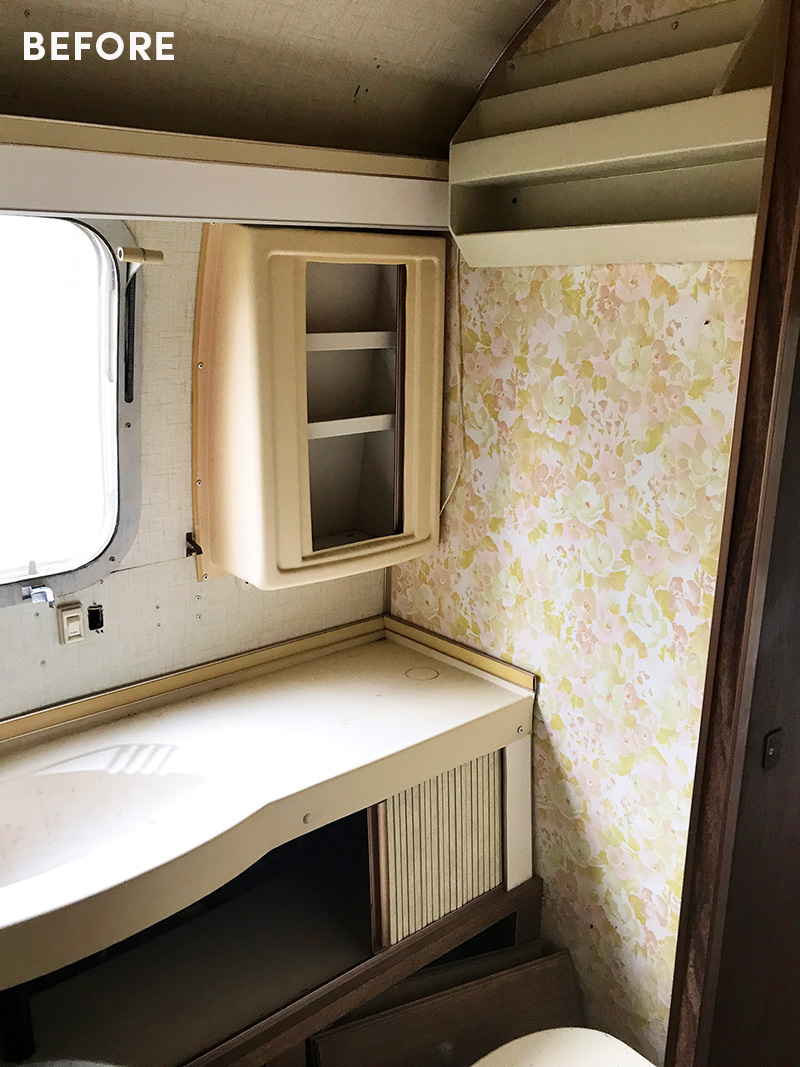
Next up is the bathroom. The entrance is in a very small hallway which has a full size closet (hello! no storage issues here) plus a decent size broom closet for all those other practical things that need a place to live.
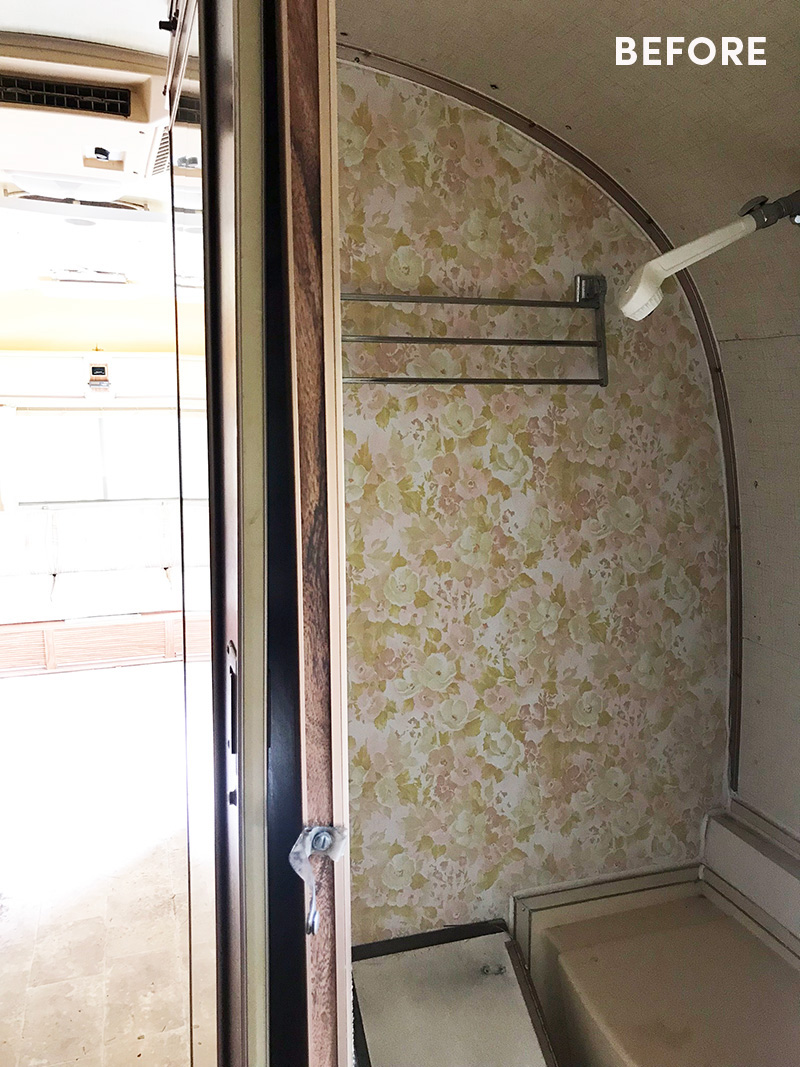
Honestly, we weren’t sure how we were going to tackle the bathroom. I mean, who wants to deal with a 30-year-old tiny room full of yellowing plastic bathroom fixtures and your grandma’s wallpaper. No one. So like any well-meaning procrastinators, we left it until the very end but ironically I think it’s my favourite before & after!
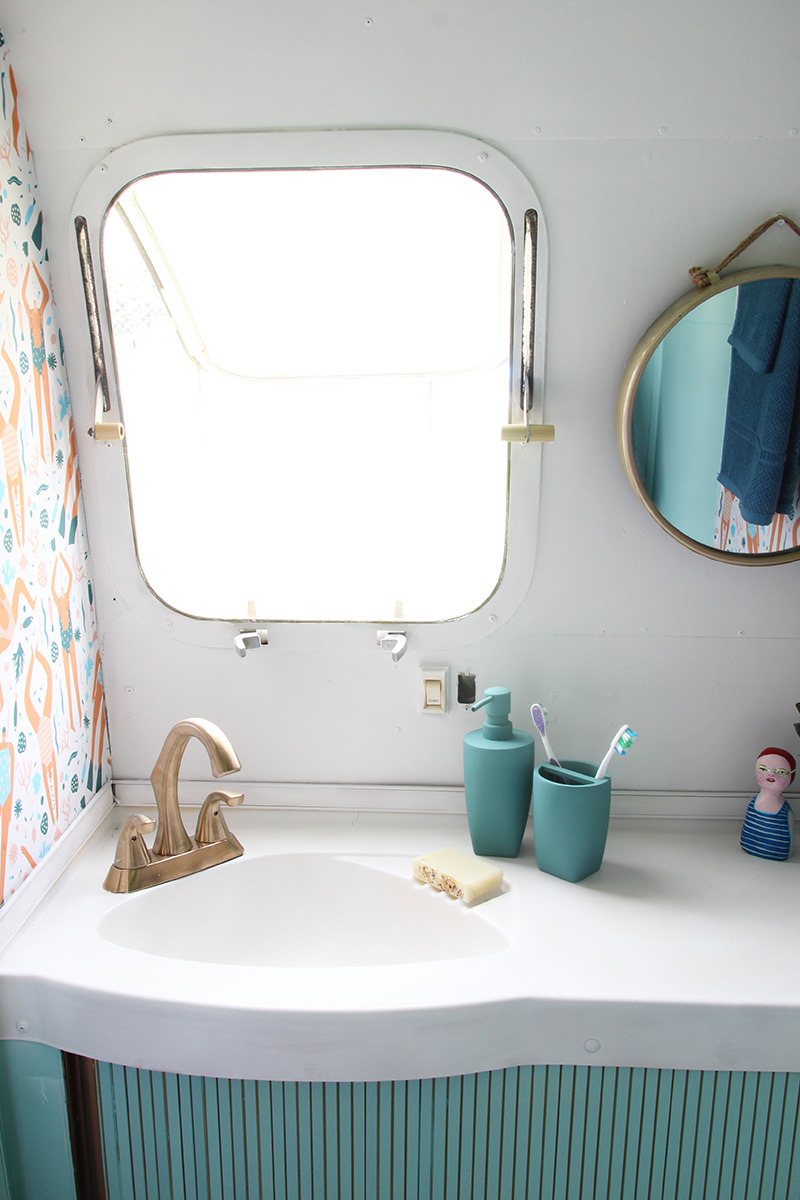
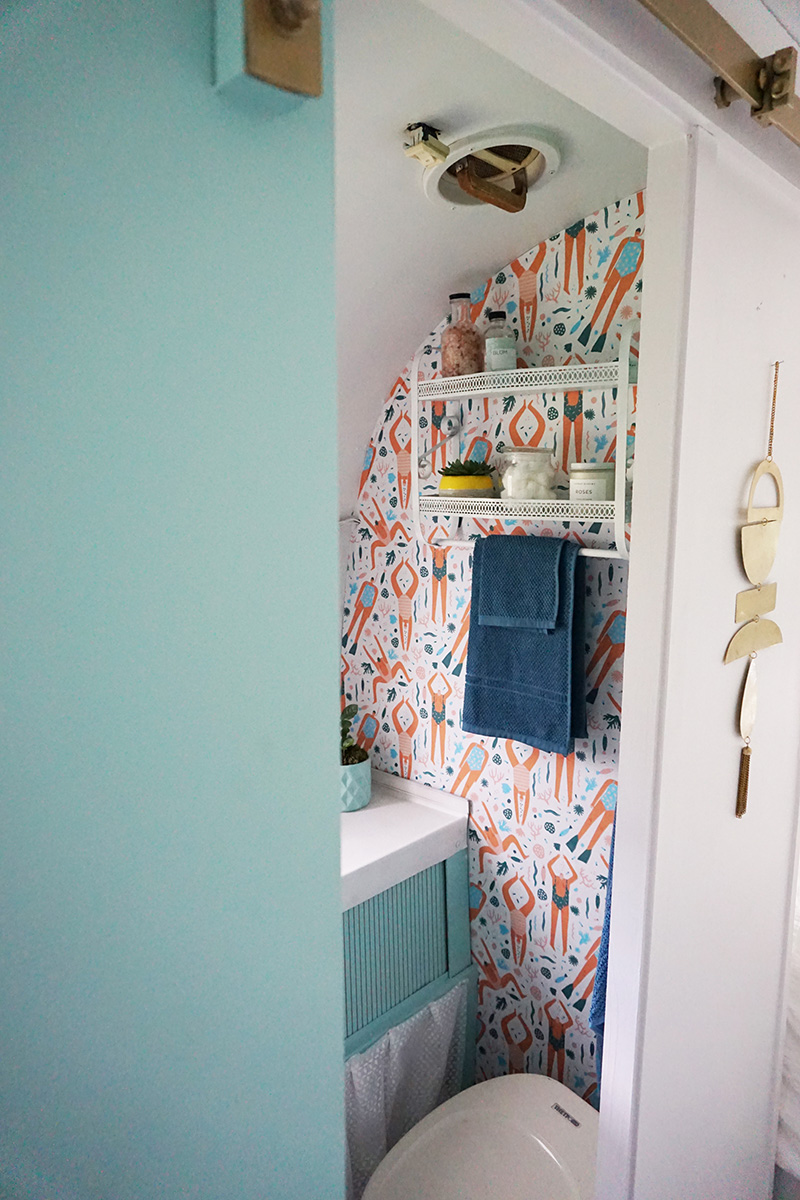
And now it looks like this! Who wouldn’t want to brush their teeth or take a minute (or ten) to take care of business in this cheerful spot?
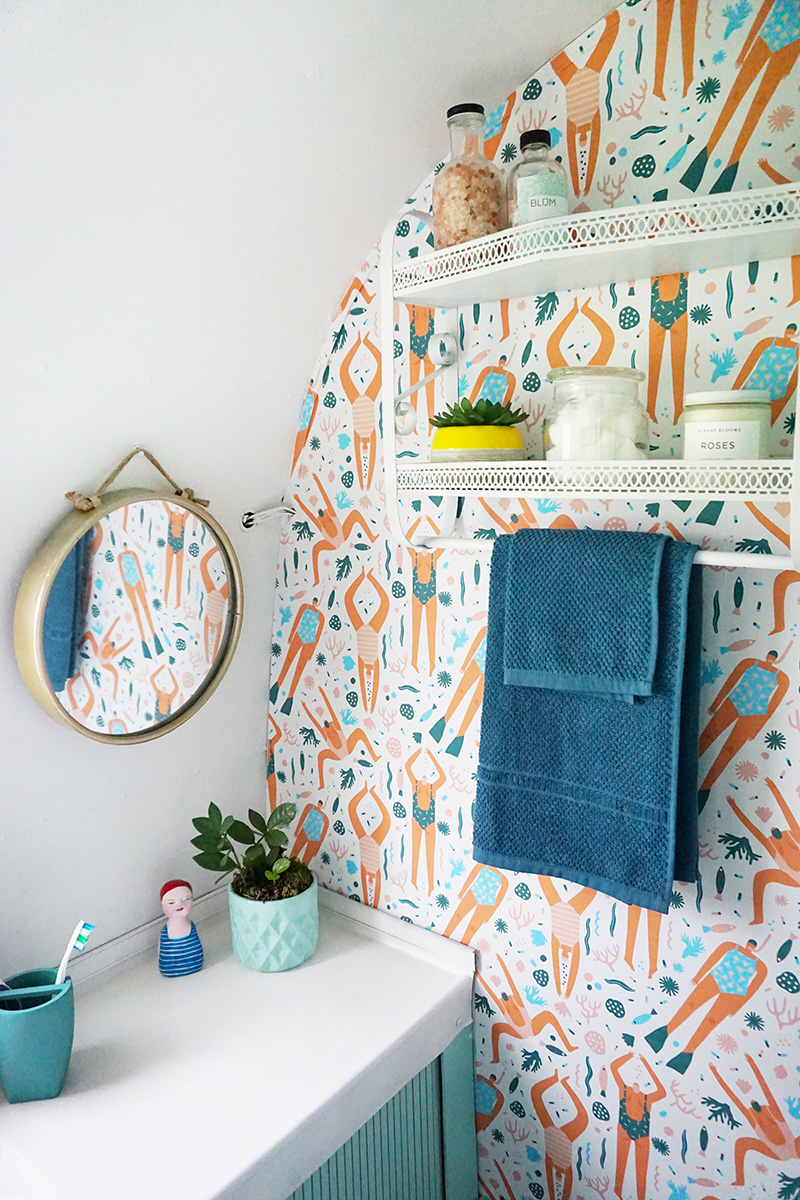
There’s no question that the Swimmers wallpaper from Spoonflower saved the day and steals the show in this space. How can you not smile while looking at these swimming beauties?
I probably would skip my shower with how it looked before:
Add some classic penny tiles in a blue to match our swimming beauties and a brand new modern Delta Faucet Canada Premium Single-Setting Adjustable Wall Mount Hand Shower and now I could stay in there all day. We also added the Delta Faucet Canada Lahara bathroom faucet which really helps to modernize the space and still works with the existing counter and sink.
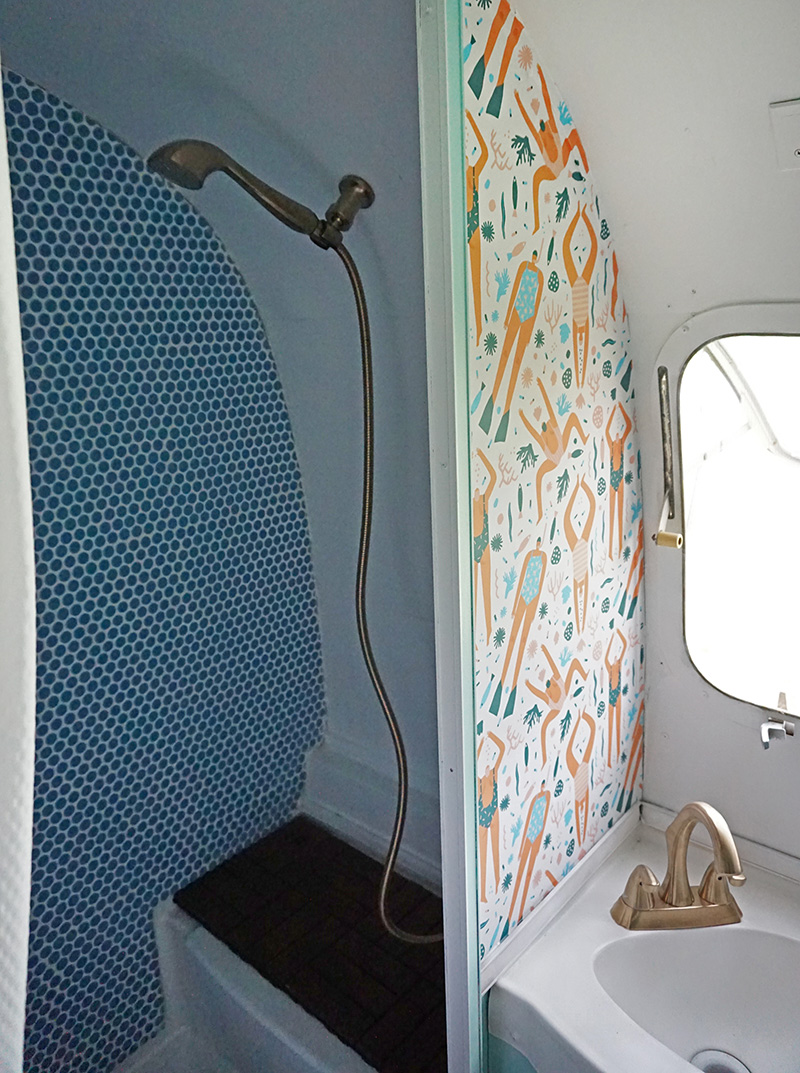
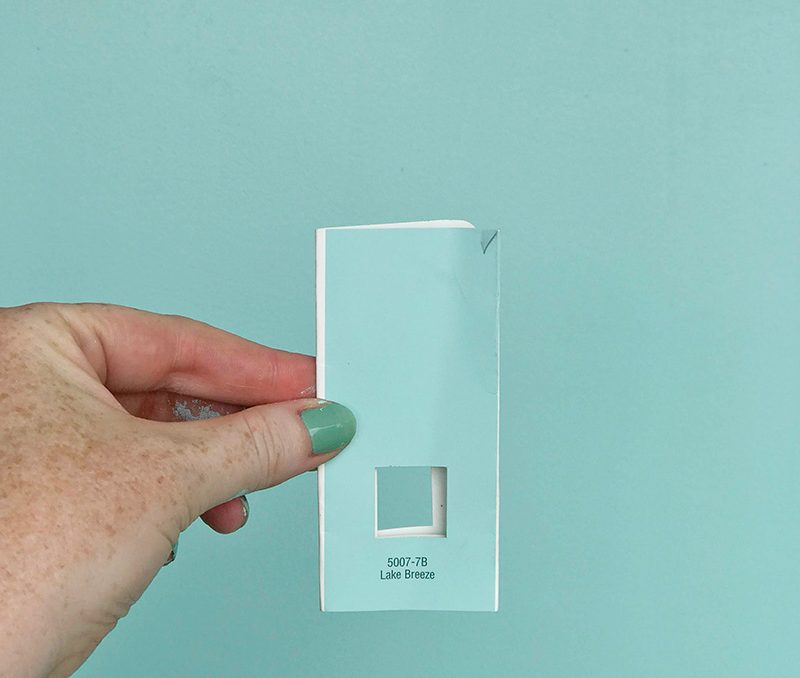
We can’t forget about everyone’s easiest tried and true transformation magic, paint! It really is mind-blowing how much just some fresh paint can transform a space. We were super happy to partner with Valspar Paint for this makeover because this gal needed A LOT of paint. We used classic Ultra White for 90% of the Airstream, but we did have some fun with the bathroom. We needed a colour that matched what was going on both inside and outside the room, which wasn’t easy with all the fun patterns we have going on. But the winner was Lake Breeze! All Valspar paint colours are available at Lowe’s Canada if you’re itching to add some colour to your space after seeing this.
Lastly but definitely not least is the new and improved bedroom. When you’re tired after a long day of roadtrippin’ and ready for some shut eye, this is where it’s at.
It started off as two twin beds, but what’s the fun in that?
We had Ron build a big platform base with some extra storage below and just enough room for a comfy and cozy Queen bed above and now it looks like this!

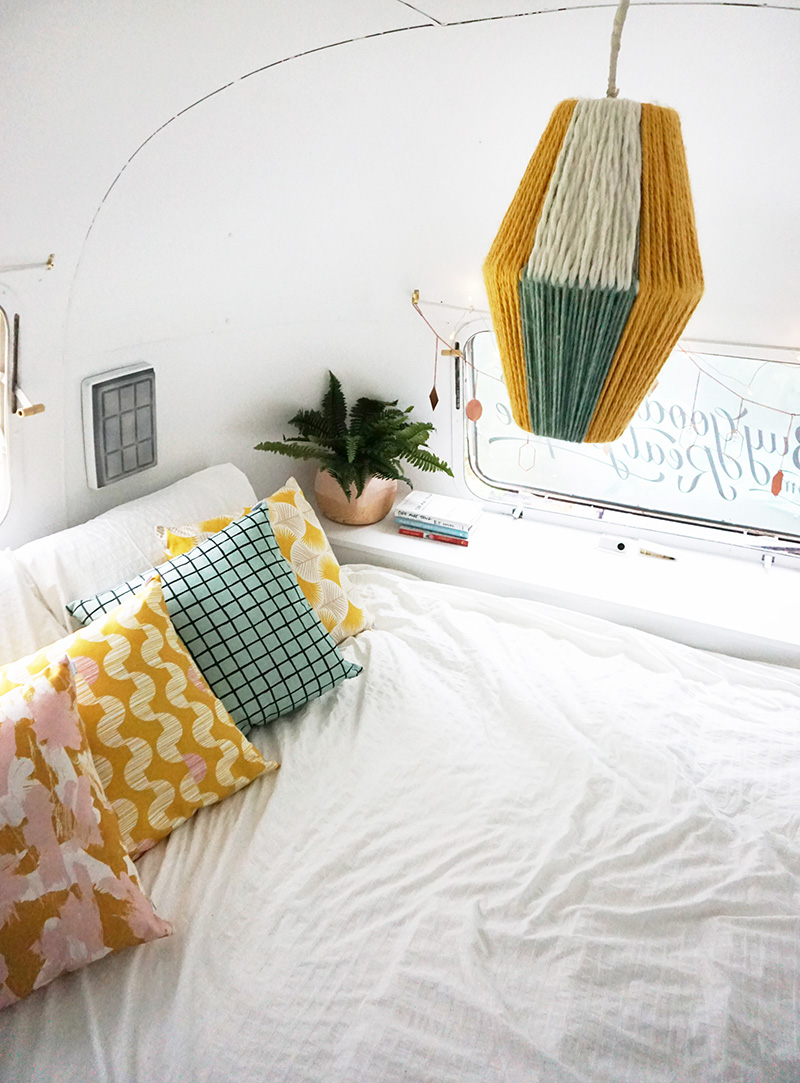
So fresh and so clean! We wanted this to be super bright and cheerful but also relaxing. So that meant lots of white but no shortage of pops of colour thanks to our Spoonflower pillow selection. (left to right: Golden Rod & Blush, Pink Mustard Brush, Abstract Geometric Mini Check, Tropical Geometry in Yellow)
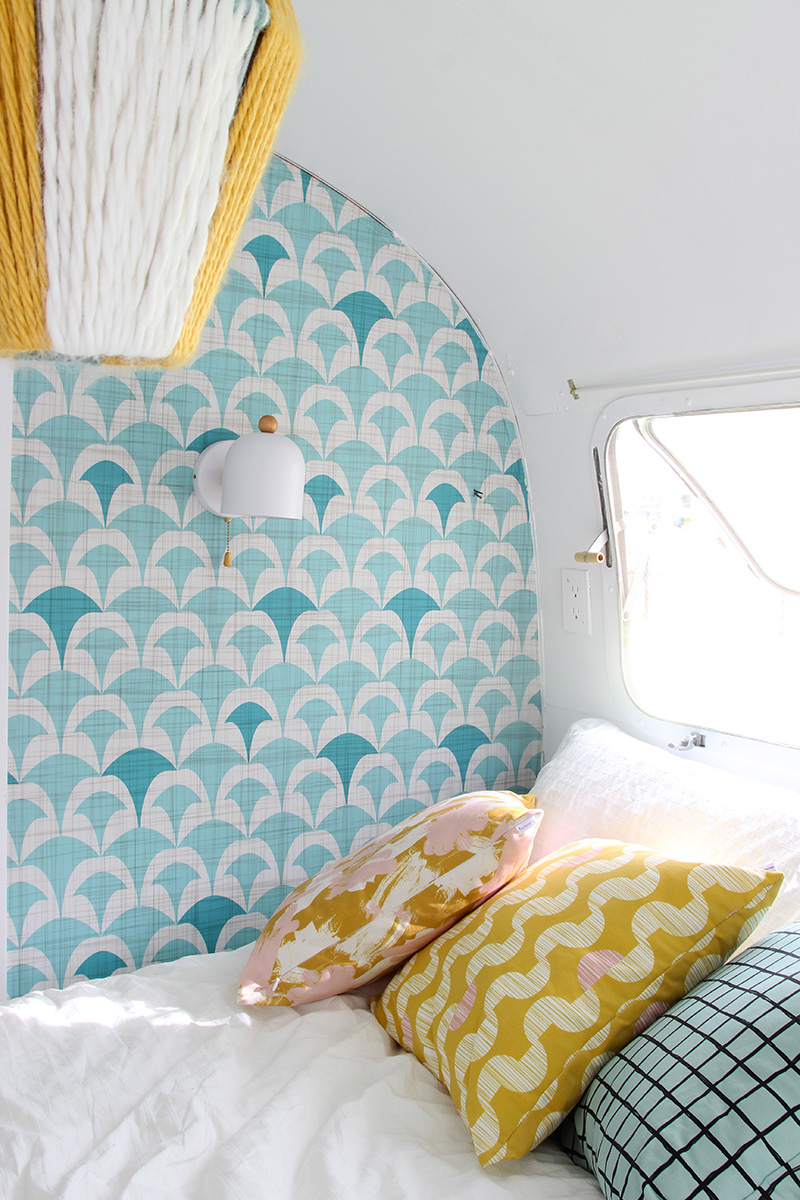
Then, like a hidden in plain sight surprise, when you go all the way into the bedroom and face the front you’ll be greeted with a retro-inspired pop of pattern in the most serene shade of teal, a.k.a Rhapsody in Beige and Teal by Spoonflower.
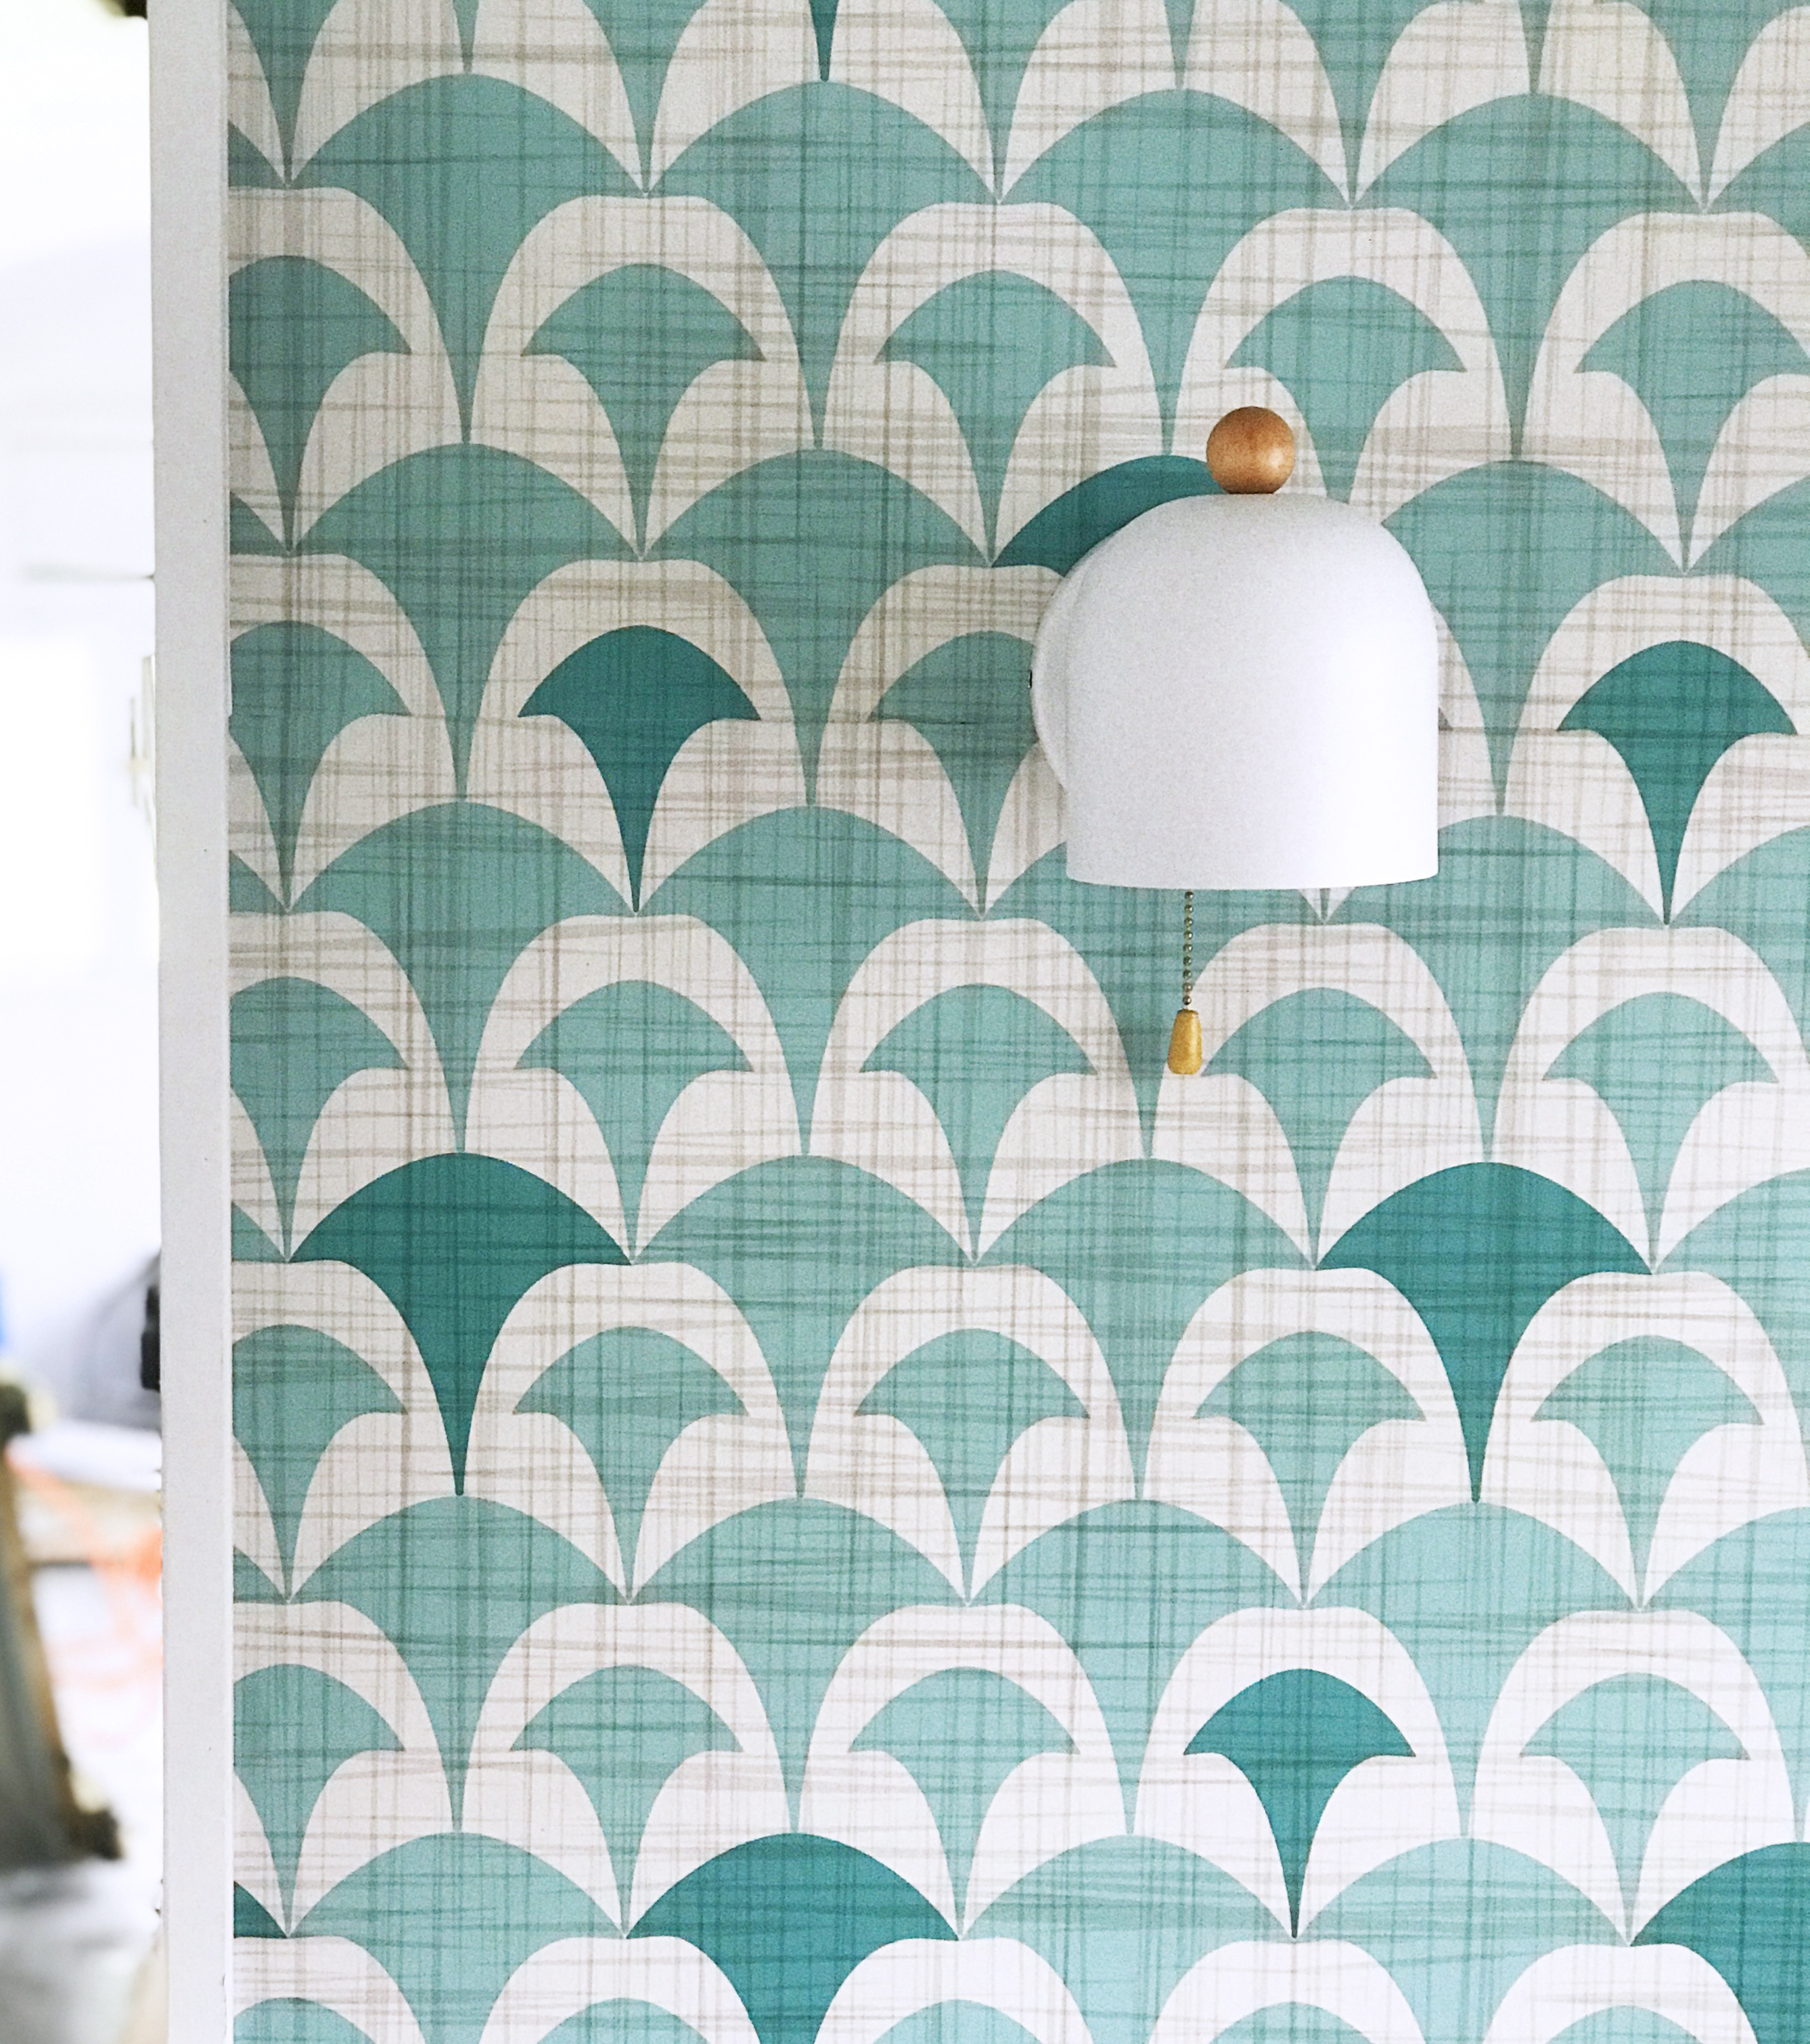
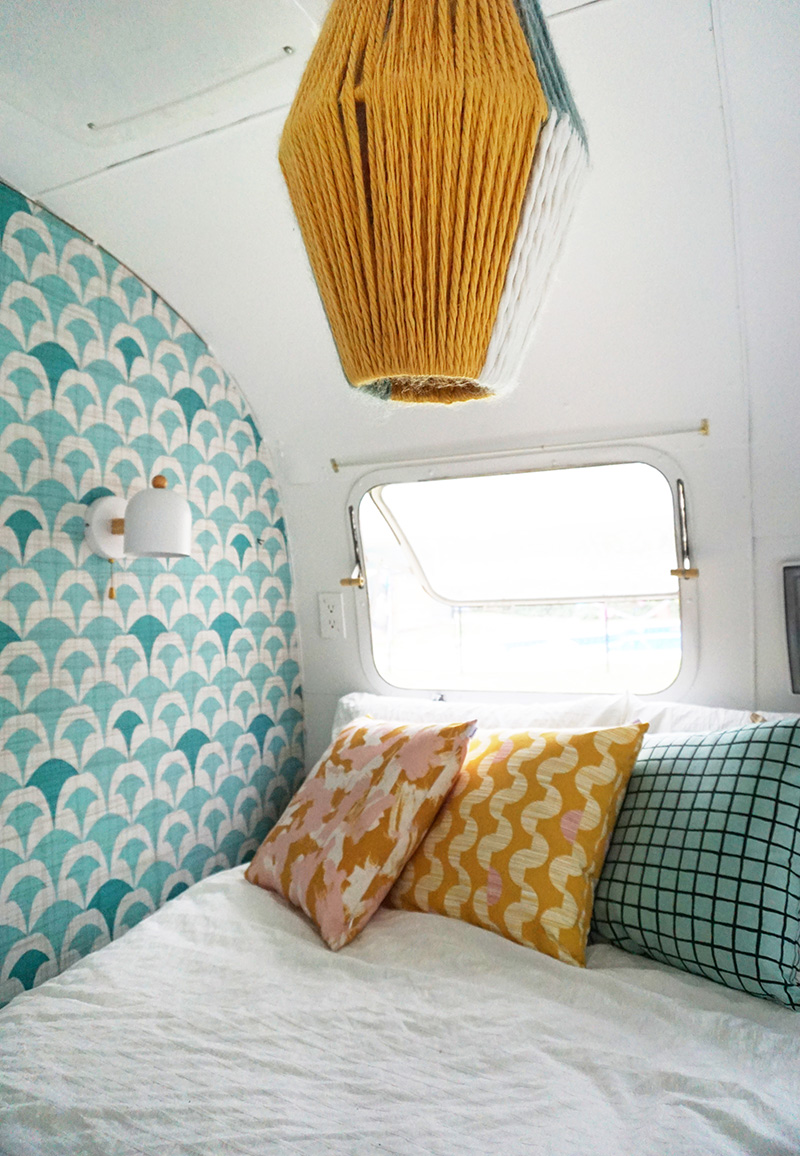
And because Emily and I are both craft junkies, we had to add at least one handmade touch to the Cheerstream. When we couldn’t find the perfect pendant for the bedroom, we made this one from 2 old lampshade wire frames and a bunch of yarn in the perfect colour palette that Emily happened to have in her personal stash. If you’re up for the DIY challenge, here’s a tutorial.
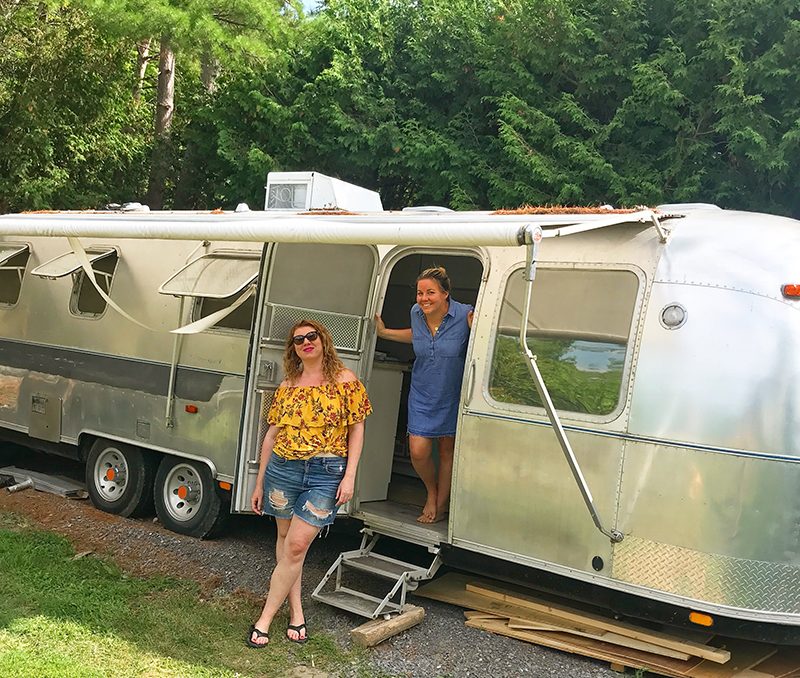
And for the grand finale, the biggest makeover of all….
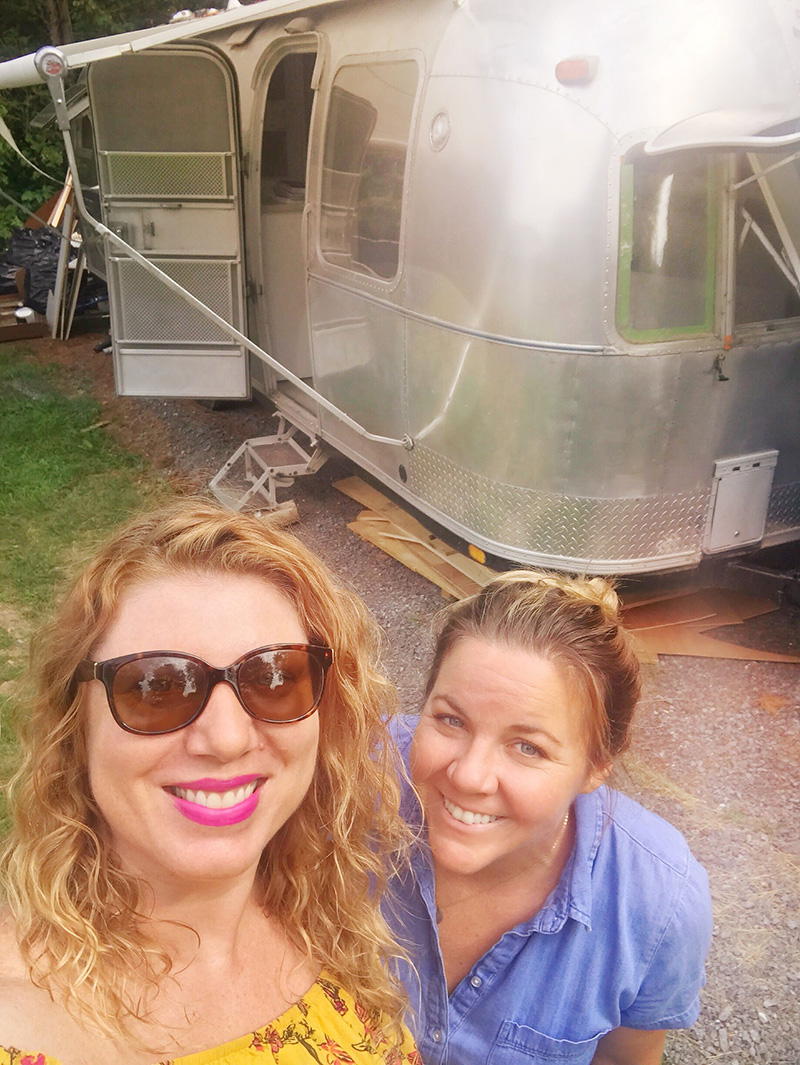
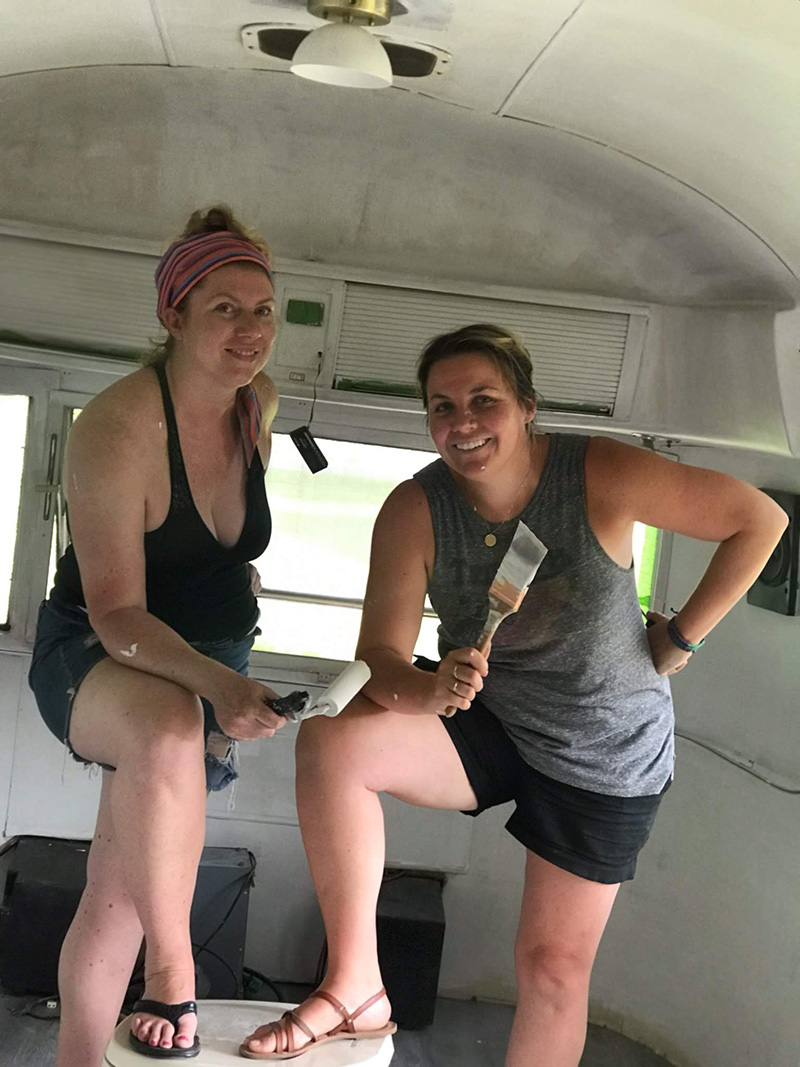
Here’s the before of Emily and I working away for days at at time in the summer heat, wearing the same stinky paint clothes. Look we’re still smiling!
Full disclosure: I’m actually wearing a 2 piece bathing suit so I could jump in the pool to cool off every once and awhile. I may or may not have ditched the shorts while painting somewhere along the way. No pics of that, thankfully for everyone.
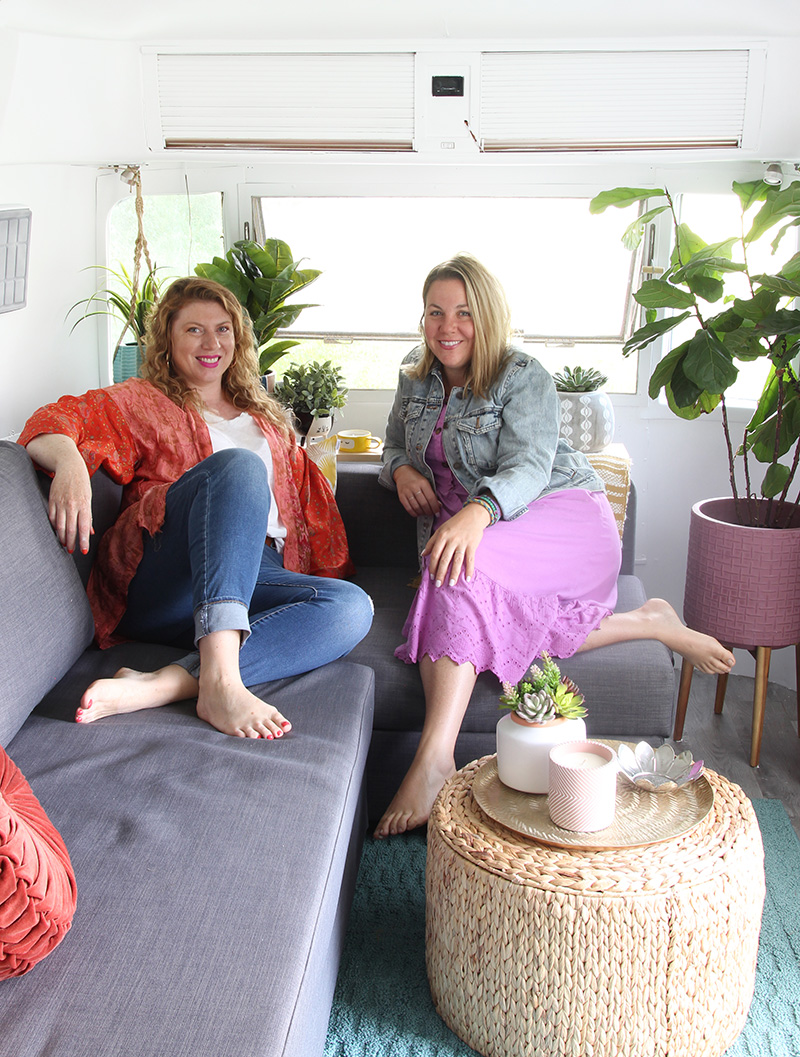
Then 4 months later…..still smiling and looking (and smelling) much better, sitting in our newly bright and colourful Cheerstream lounge feeling pretty damn proud of ourselves.
Now the next big question. Where should our first road trip be?!
18 responses to “Before & After: Cheerstream makeover reveal”
Fabulous and fun just like you guys! Awesome work – love it!
Looks like it needs to go to Palm Springs!
Great idea for the destination! Really suits the vibe of this airstream. What a nice makeover.
Gals!!! You did such an amazing job!! I’m lovin’ the pops of color ! Wow wow wow wowsers!!
Your airstream has such a beautiful personality. Just. Like. Both. Of. You.
Big love!
Lynne
Looks amazing. Thnx for the post…so fun to see the before and after shots.
I want to go to there….
Wow what a transformation! It looks amazing.
Omgggg it looks absolutely STUNNING! You girls did a fabulous job on this. I’m obsessed with the colours and prints chosen! ? HUGE CONGRATS! XO
It’s SO a good! Love all the different wallpapers.
Ahhhmazzing!!!!! Was so anticipating the finished product and you surpassed my expectations by miles!!! Congratulations!!!
I love love love it!! It’s so fresh and inviting!! Keep the reno’s coming. Love seeing them!
Wow!!! Can you please re-do my whole house? LOVE it!!! Beautiful work!!!!
I am so blown away by this! Amazing ladies!!!! I love all the colours! My favourite is the swimmers wallpaper. So fun!
It’s a great transformation! Love all the before and after comparison photos. You’ve worked so hard!
Wow, informative post. I like it. Thanks for sharing a great idea.
Loved your airstream makeover. Was curious where you found the sconce that you photographed on the turquoise wallpaper?
It’s from Amzazon. I believe I link to it in the post?
Amazing job! Can I ask where you got the sectional and what size you went with? I’m struggling to find a sectional that doesn’t overpower the space and you all found just the right size!
It’s from IKEA!