
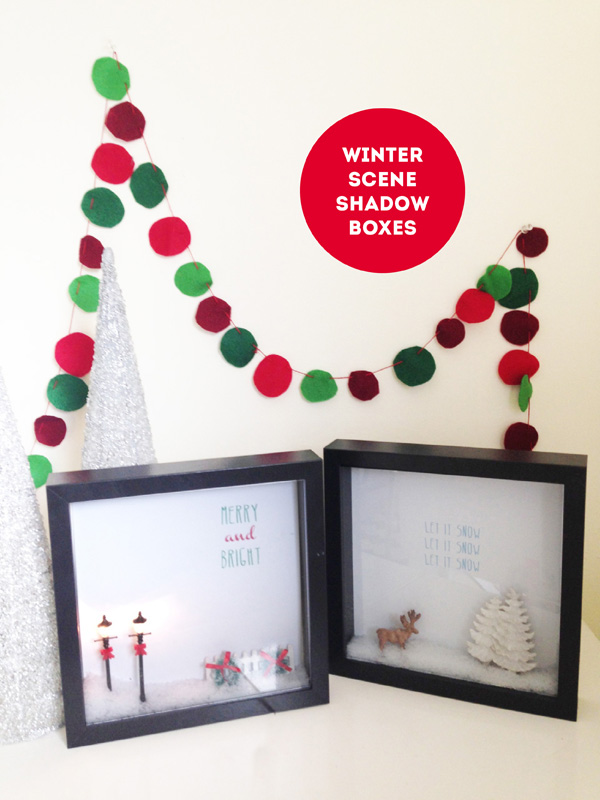
I just can’t get enough of the mini winter village elements I found at the dollar store and have another DIY idea on how to use them in your holiday decor. They are just tiny enough to squeeze into a shadow box which makes them into instant pieces of holiday art. How cute are they? You will definitely impress your guests with the one that actually lights up.
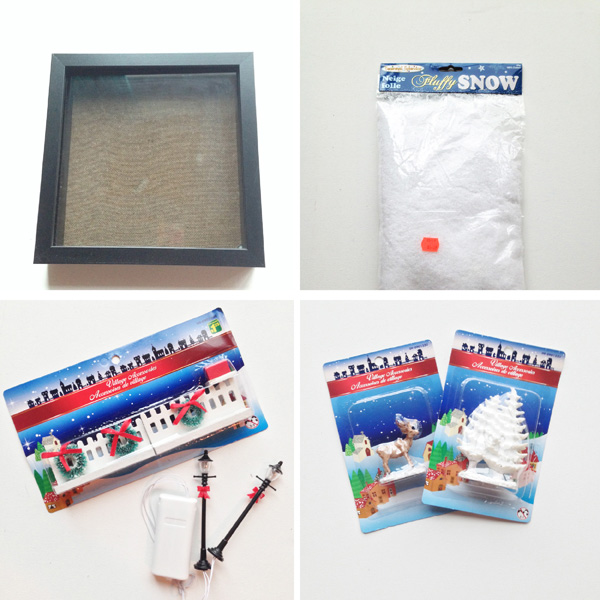
I found all the materials at Dollarama – dollar stores just keep blowing me away. Make sure the items you pick are slim enough to fit in a shadow box or you’re kinda out of luck.
 Next, glue down your pieces into position just to make sure they stay put.
 Then add a small amount of snow. Don’t go too crazy or it will come up too high and it will be more of an avalanche instead of a pretty dusting of snow.

 For the background, either print up or get all fancy with some coloured markers and write out your favourite holiday message. I thought it was appropriate to stick with the snow theme.
 Make sure the background is cut to size then secure it to the frame with some tape and place the back on the frame. For the electrical elements, make sure to leave the cord coming out of the corner space.
 Then turn your masterpiece over and you have yourself a mini winter scene to display! I love the little moose but I think the illuminated street lights win in the ‘wow’ factor dept.


2 responses to “{DIY HOLIDAY WEEK: winter scene shadow boxes}”
what did u use for snow? thanks in advance
I’m so sorry, I left out a photo with the materials, which I’ve updated. I found fake snow at the dollar store. It would also look great to use the larger confetti size pieces of glitter.