
If you live in a cold climate, then you know all about dry winter lips. Dry lips, dry skin, itchy sore patches… the list goes on. Ensuring you’re getting the right amount of vitamins throughout the winter is important so you’re not just hanging on to summer for months! My friend recommended that I use Private Label Supplements to make sure my skin and general health is at the top of it’s game. Now we just have to get our lips there too!
There are a ton of pretty lip glosses out there, but pretty doesn’t necessarily mean moisture and protection, which is what your pout needs in the winter. Guess what? You can have make your own pretty colours that moisturize, and they’re natural and non toxic! If colours aren’t your thing or you also want a general balm for your hands, there’s a great recipe for that too.
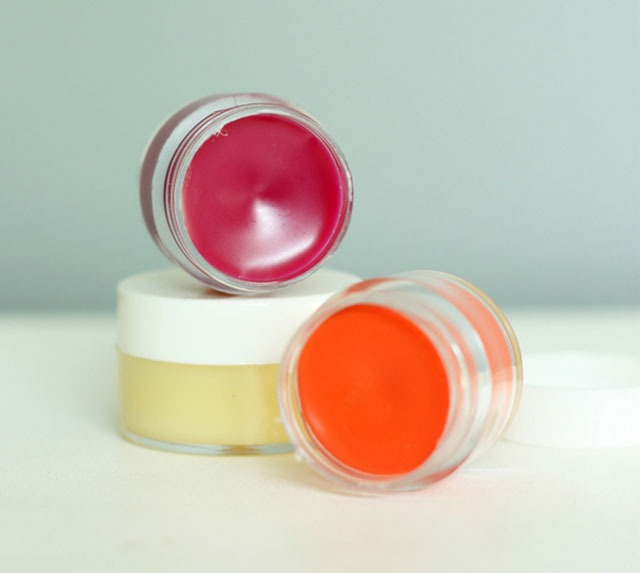
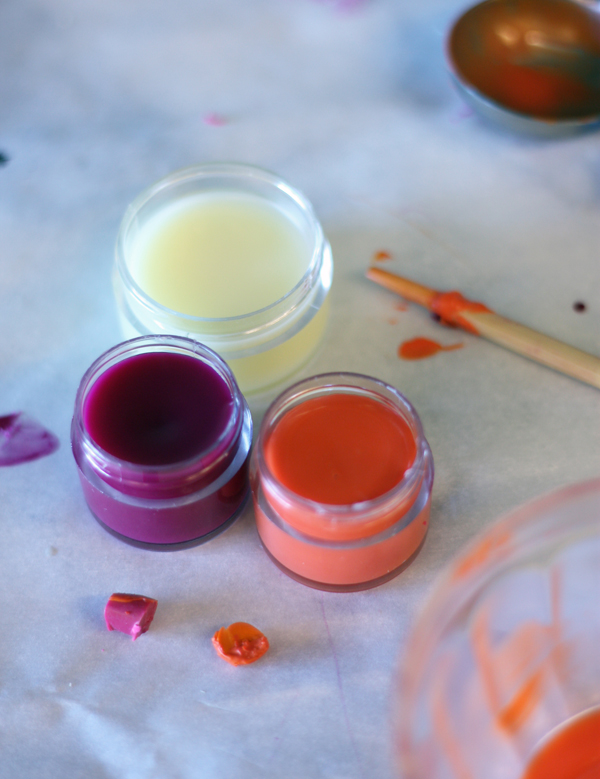
I’m going to show you two similar but slightly different recipes to make your own coloured lip gloss and beeswax coconut oil balm. Make it for yourself or as a great little valentine gift for a friend. You will be shocked how easy it is and it’s so much fun to mix your own colours.
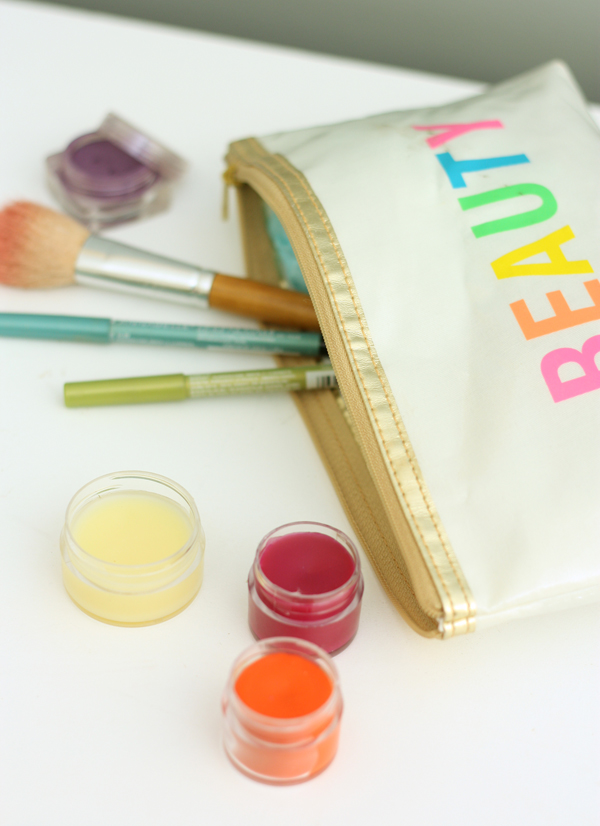
Here’s what you’ll need for this project:
WHAT YOU’LL NEED:
• Coconut oil
• Petroleum jelly
• Non-toxic crayons
• Beeswax
• Vitamin E oil
• Containers for your gloss/balm
A few tips before you start:
• Working with wax can get a bit messy, so work on a wax paper or parchment lined surface.
• Cleaning wax and oil isn’t that bad, but disposable, heat safe containers or stir sticks makes it even easier.
• Rub your utensils and containers with alcohol or vinegar to get rid of any residue.
First the beeswax balm –

The basic lip balm recipe is 2 parts coconut oil, 1 part beeswax, and a few drops of vitamin E. So to make one medium pot, use 2 tsp coconut oil and 1 tsp beeswax, or adjust based on how much you want to make.
2. Put all your ingredients in a heat safe bowl and microwave in 20 second intervals, stirring in between until it’s melted, and pour into your container of choice. (Tip: Grate the beeswax with a cheese grater to get small pieces that are easy to melt.)

It doesn’t get much easier than that! Once it’s dry, you’ll have a natural balm that smells yummy and keeps your lips and hands nice and soft.

If you’re ready to have some fun with colour, try out the lip gloss.The basic lip gloss recipe is 1 part petroleum jelly, 1 part coconut oil, and a small amount of crayon. So to make one small pot, use 1 tsp each of jelly and coconut oil, and about 1/4 – 1/2 tsp of the crayons.
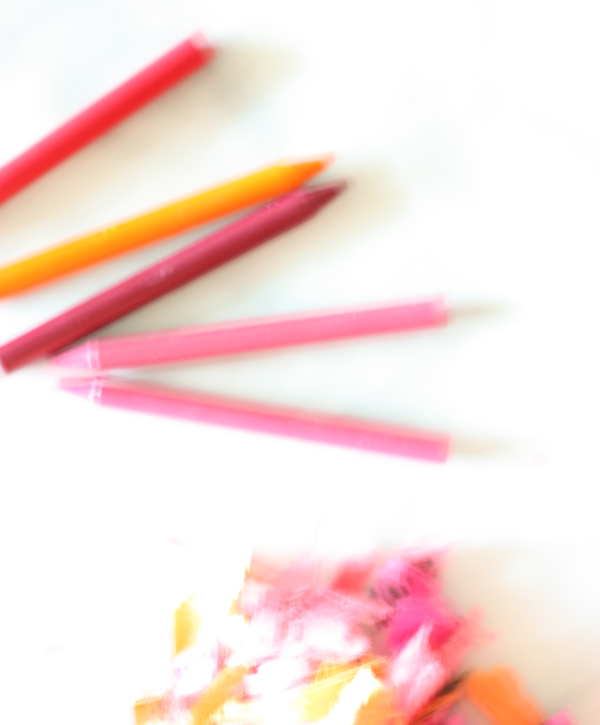
First pick out some of your favourite crayon colours. Remember you can mix and match to make any combo so don’t just judge by already made colours.
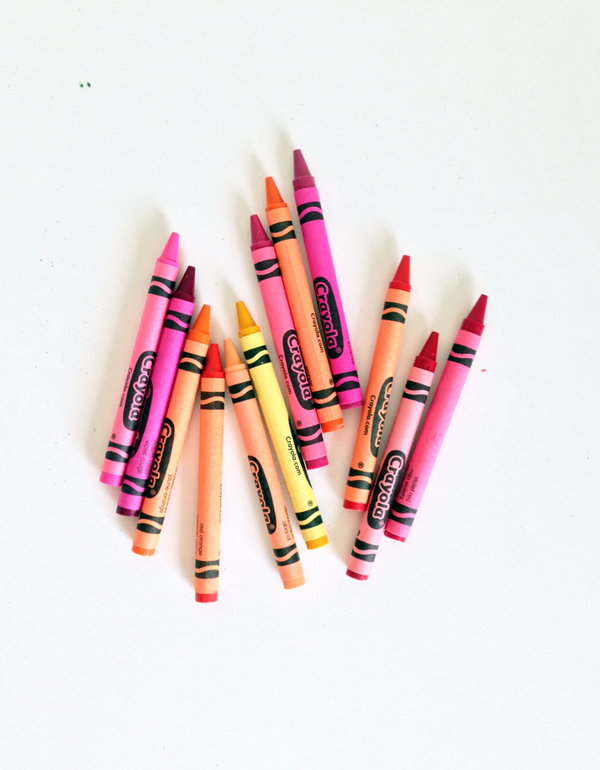 Remove the wrappers and start chopping them up so you can mix ’em up and make them easier to melt.
Get your base ingredients together so that they’re ready to go once the crayons are melted. For the lip gloss, the beeswax is substituted with petroleum jelly to give it a more glossy look and texture.
Use a metal measuring spoon (or any heat safe container) and melt the crayons together over a candle. This is where you can experiment and have fun.

Carefully pour into your gloss container and there you go!

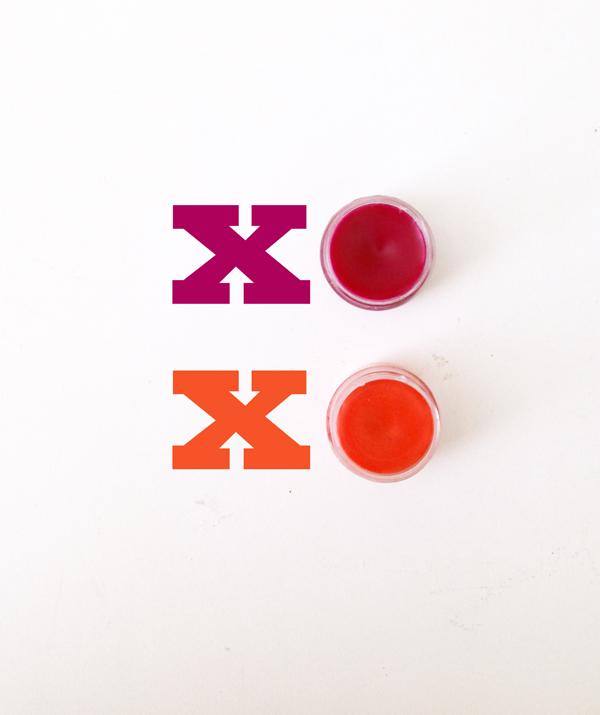
I just made two different colours but as you can imagine the possibilities are endless. Make a bunch for yourself or your friends. These would be perfect for bridesmaids, birthday parties, bachlorette parties……
I guarantee that once you start it will be hard to stop. Have fun! xo, xo
6 responses to “DIY: make your own lip gloss & moisturizing balm”
Super cute! Really loving these photos too :)
Thanks Rachel! It was really fun to play around with colour.
Love these. An idea to DIY your own cosmetics is so cool. Thank you.
Thanks Olga. It was a really fun project!
I think it is great but I was wondering will it actually give your lips color. I want to make my daughter blue, black, and purple.
It will give your lips colour, but it’s definitely more of a gloss than a lipstick. The more crayon you put in, the more pigment it will have. Hope that helps, good luck!