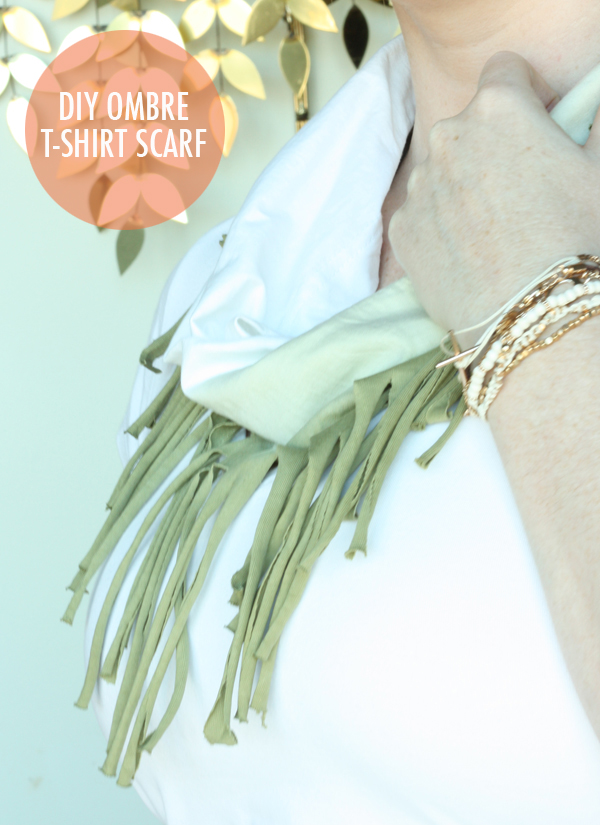
Ok, so I’ll admit that this DIY project was inspired by St. Patrick’s day but by no means is it exclusive to the holiday. You can rock this scarf at any time. This project is for those of us who have ‘matured’ a bit over the years and don’t celebrate St. Patrick’s day quite the same way as we used to but still like to go out and have a beer and join in some of the fun. So maybe you’re not into the KISS ME, I’M IRISH tshirt anymore but you still want to wear something green and get in the spirit. How about a stylish & boho cool ombre green scarf? Keep reading to see how I made this from a $3 tshirt, no sewing!
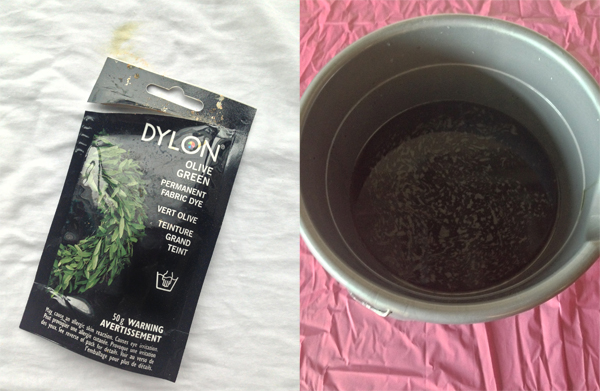
So what you’ll need for this project is a white cotton (or natural fibre) tshirt. I found this in chinatown for $3, score. This is a perfect project to use one of those free tshirts you got with a logo on it that you’ll realistically never wear. You’ll also need some fabric dye (cost me $4) and you can use your metal sink or a bucket.
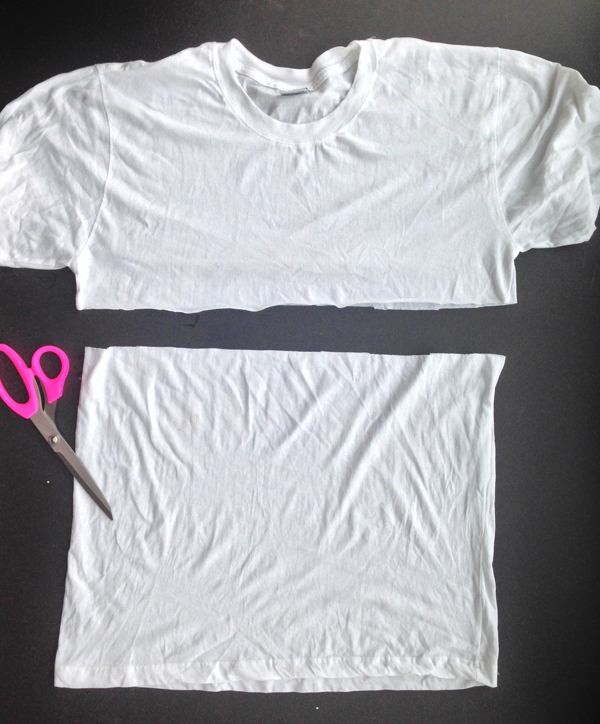
First wash the tshirt and leave it damp. Cut off the top part. Where exactly you cut is a bit of a preference depending on how big and slouchy you want the scarf. I suggest starting off larger and cutting down if needed.
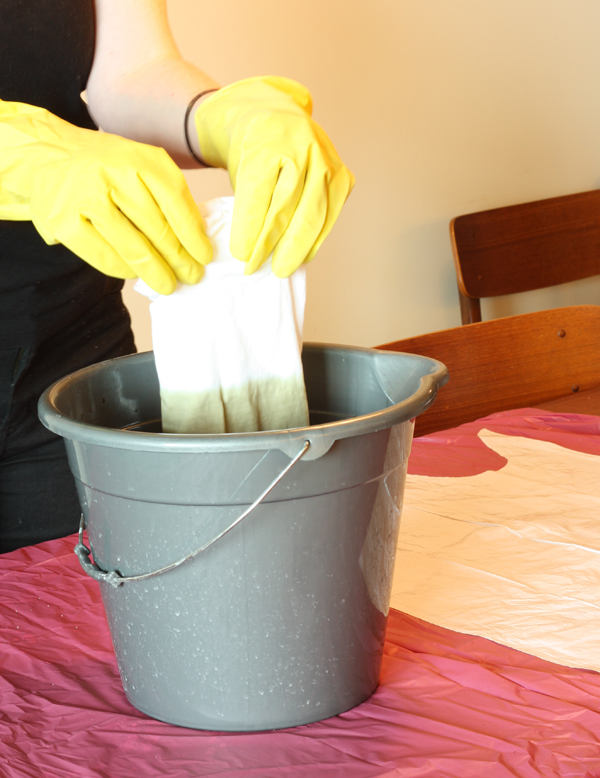
Then get your dye ready as per the instructions on the package. Don’t forget to have some rubber gloves handy and cover your work space. There’s nothing worse that ruining something with permanent dye.
So then the fun starts. Fold your tshirt a few times so that you’re working with a smaller piece, it will help to control the dipping. If you’re feeling a little unsure, try experimenting first with the discarded part of the tshirt. When you feel confident dip the tshirt once to the point where you want the colour to end. The saturation of the dye is up to you and the effect you want. I dipped this in just once to get the lightest shade of green.
So then to get the second level of colour I dipped the tshirt into the point I wanted and just left it to hang out in the dye for about 10 minutes. Again – leave it in as long or little depending on the colour you’re looking for. The instructions on the dye package will tell you what the length of time is to get the full colour saturation.
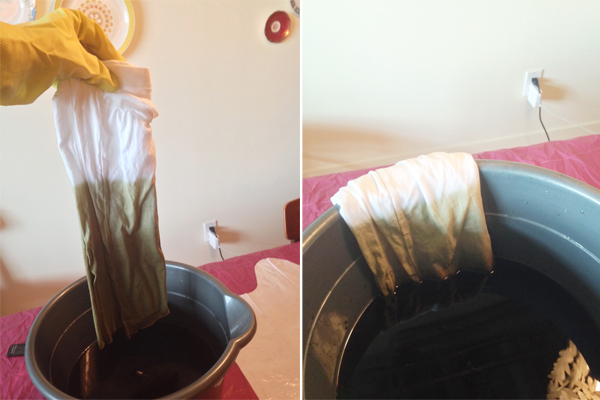
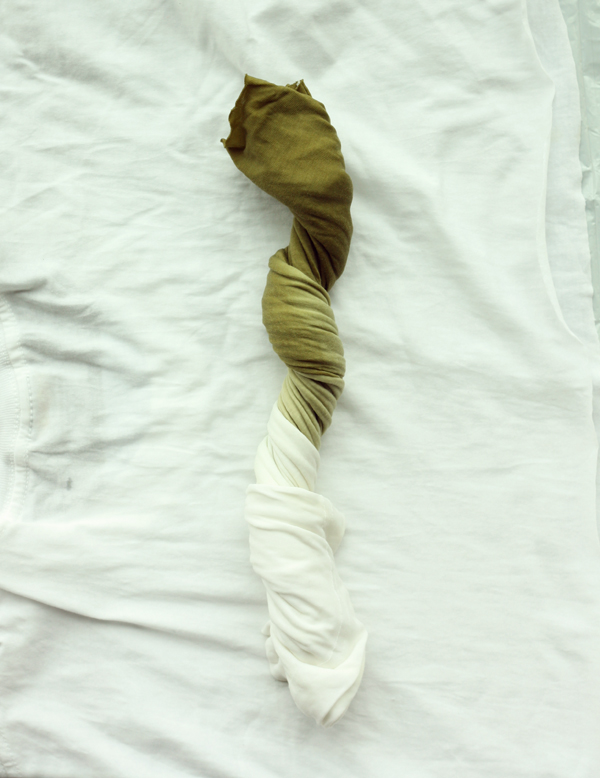
So when you’re done you have to rinse it out in cold water then wash with soap in warm water (don’t do this in your white bathtub) then you’ll have something like this.
(TIP: when you’re ringing out the tshirt, be sure to keep the white part at the top so the runoff green dye doesn’t ruin it)
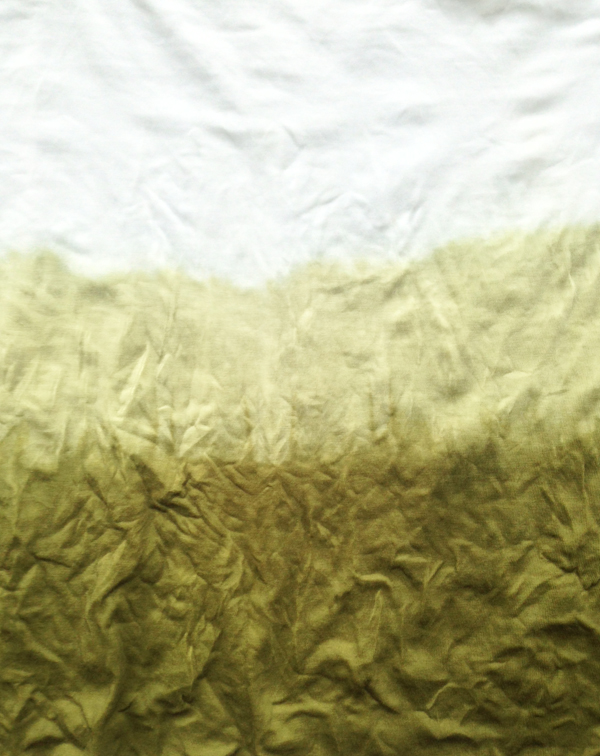
Isn’t it pretty? I was so in love with the result that I want to use this same technique with other colours and try making some pillow cases, napkins, placemats…etc etc.
So now comes the scarf fringe part.
• Let your piece dry completely and give it a quick ironing.
• Cut the end into about 1/2 inch strands. Don’t worry if it’s not perfect.
• Pull the strands and you’ll see the fabric stretch in a way that gives it the finished look.

Then you’re ready to go out and have some St. Patty’s day fun in your stylish yet casual look.
If you like this project, you can find more DIY posts here.

2 responses to “STYLE DIY: how to make a dyed ombre tshirt scarf”
Love this! You are so dang talented! Pinned it for ya! Angie xo
YES, YES, YES!