So do you remember wayyyyyyy back in February I mentioned that I would love to give my kitchen an update and posted all this great kitchen inspiration? Well I’ve been busy trying to make it happen. You know, doing it not just dreaming it. To be honest, it feels like just yesterday that I was researching Kitchen remodel tips online and now slowly but surely everything seems to be falling into place. Consequently, I’m super excited to give you a little update today. I love progress reports because they keep it real. A dramatic before & after is fun but it’s kinda nice to see the in between parts sometimes.
Just another reminder, this is what my kitchen looks like. Well this is what it looked like until a few weeks ago.

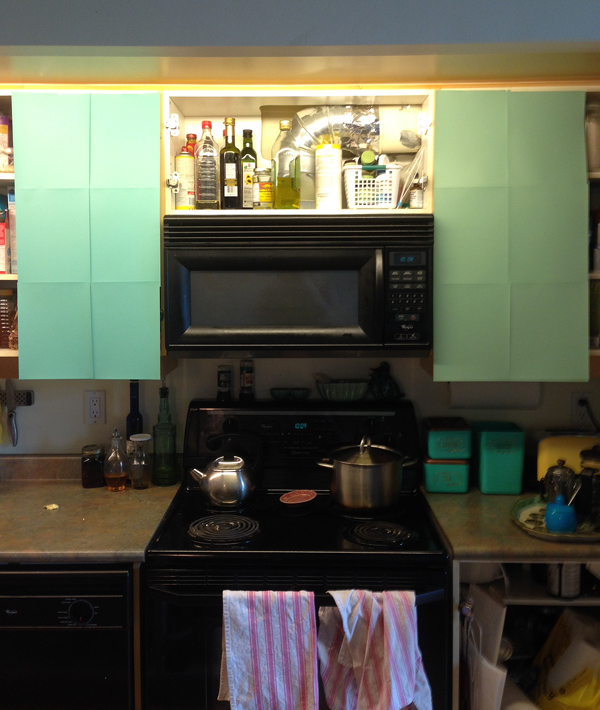
This is what it looks like as of today. It’s like one of those celebrity without makeup photos. So exposed!
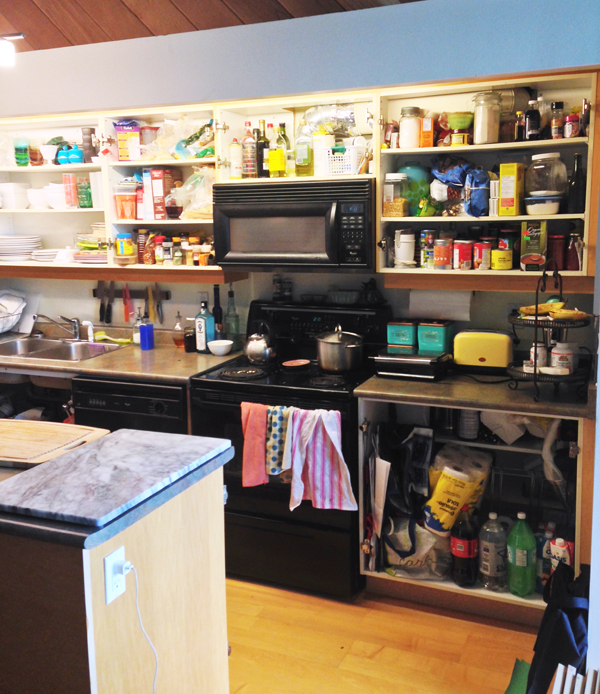
But the good news is that all those cupboards are now back in my possession and looking super sexy. But let’s rewind for a second. So I knew that I kinda hated my cupboards. I mean, there wasn’t anything particularly offensive about them but they reminded me of the 90’s (along with the multi-colour laminate counter) and I’m not a fan of beech wood finish. But really they are perfectly good cupboards and a blank canvas which made them perfect for a spray paint makeover. I wasn’t looking for a Designers kitchen makeover in Dallas fort worth this time as all of the kitchen units I already owned were in tip-top condition and just needed some colour to spice up the kitchen.
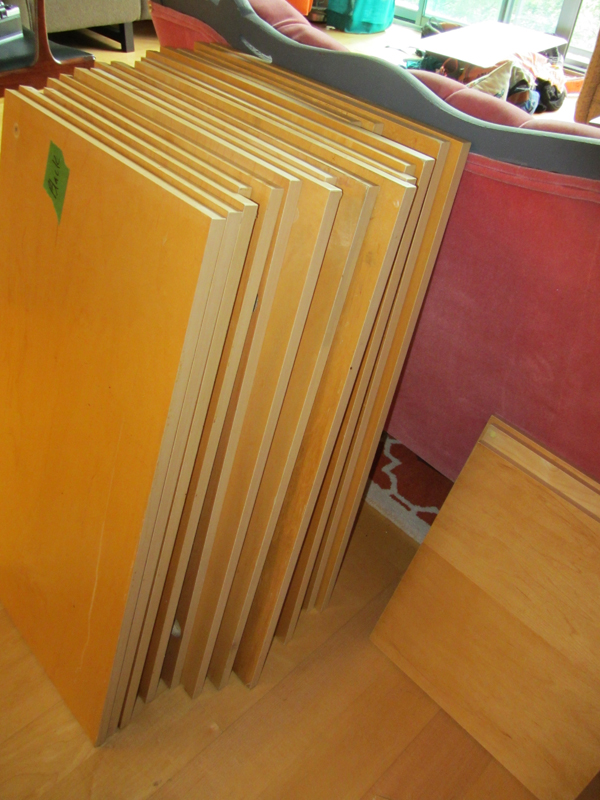
That’s where my friends at Paint It Like New come in. I discovered the makeover magic people at Paint It Like New when they did a fab budget kitchen makeover for Cityline. I’m always a fan of upcycling and that includes my kitchen. The cupboards were in great condition and a simple clean design so they just needed some fresh colour. Like a hot new eyeshadow for my kitchen. So the first step was to take down all the doors, that was easy. I dropped them off to Paint It Like New’s Toronto location then went home to agonize over which exact colour to choose.
 I know this will make me look crazy to most people but those fellow home decor/designer colour addicts out there will know that there IS a difference between these two colours. It was a showdown between Cooled Blue and Restful. This was really stressful because usually I’m not so indecisive about colour but I was pretty much 50/50 on this one and didn’t have a second pair of eyes to push me one way or the other. Is it killing you to know? You’ll have to wait until the end to see the winner.
Meanwhile back at Paint It Like New my old cupboards were in the makeover chair. The pros took those guys and gave them a good cleaning, sanding and priming. 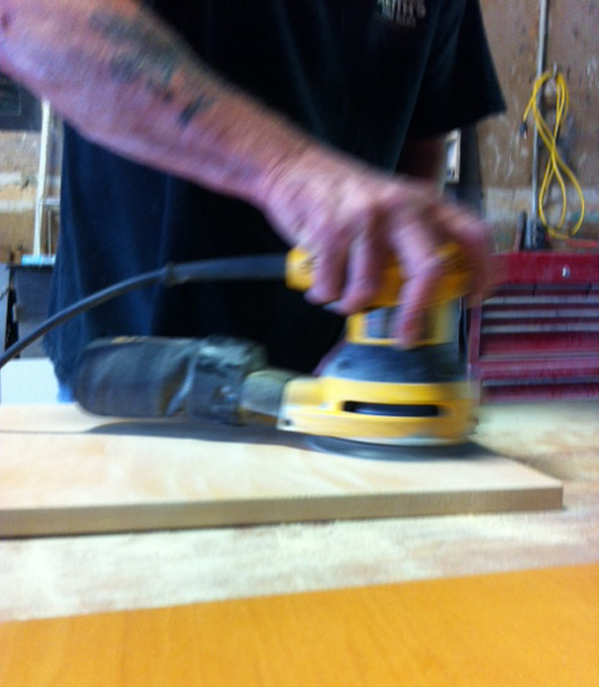
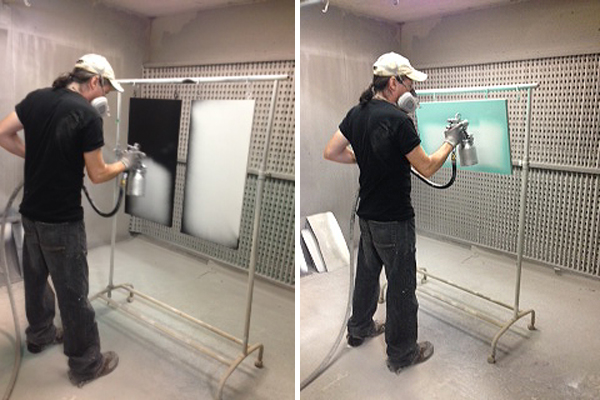
Then the fun part, painting! The black cupboards are for the island.
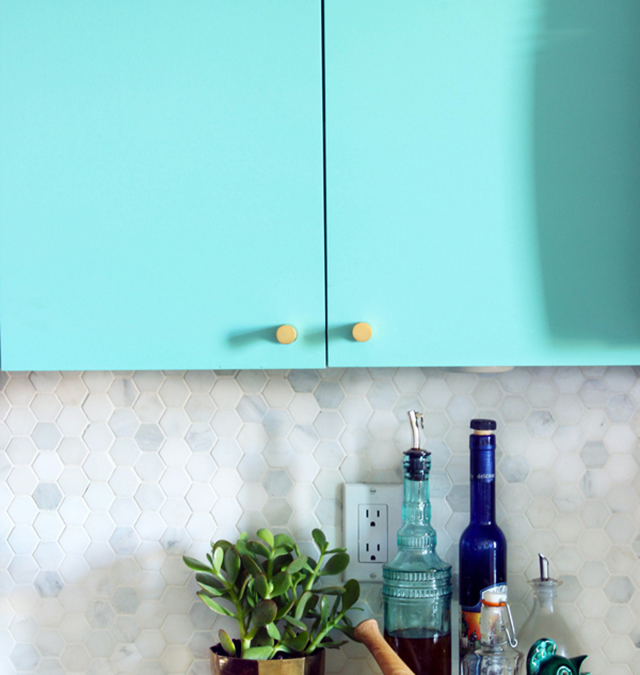
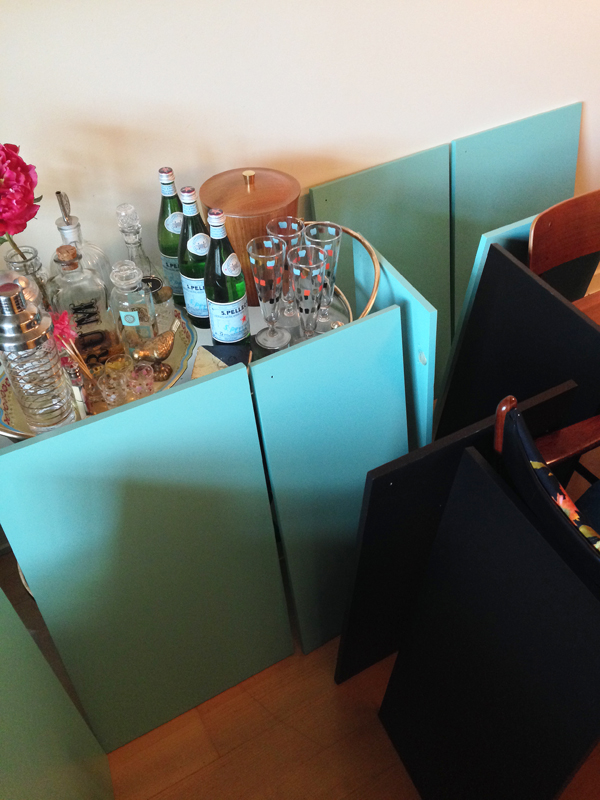
Then fast forward a few weeks and like a proud mama, I brought these babies home yesterday. Do you love them as much as I do?!?!?! They are just chillin’ out for 48 hours getting used to their new home. It was Cooled Blue for the win!
 I’m sooooooo happy with the results. Thanks so much to the helpful team at Paint It Like New for giving my cupboards a hot new makeover and for putting up with my multiple visits and rambling about colour selection. I highly recommend considering professionally spray painting (leave it to the pros) as an option rather than trashing your old cupboards and trading them in for $omething new.
I’m also excited to share an update on some of the other elements of the kitchen makeover to pull together the look. With the exception of the countertops which I’m still trying to decide on 100%, these are the actual elements that I’ll be using and I think I got it pretty dang close to my inspiration board. Win for me! Now I just have to put all the puzzle pieces together. This is when I wish I was from a huge family that included a plumber, electrician, and tiler. My friend had a similar experience where they worked with someone similar to a Commercial Handyman in Winter Park, FL and they did great work but it would be nice if we could get such high-quality work for free because of relatives.
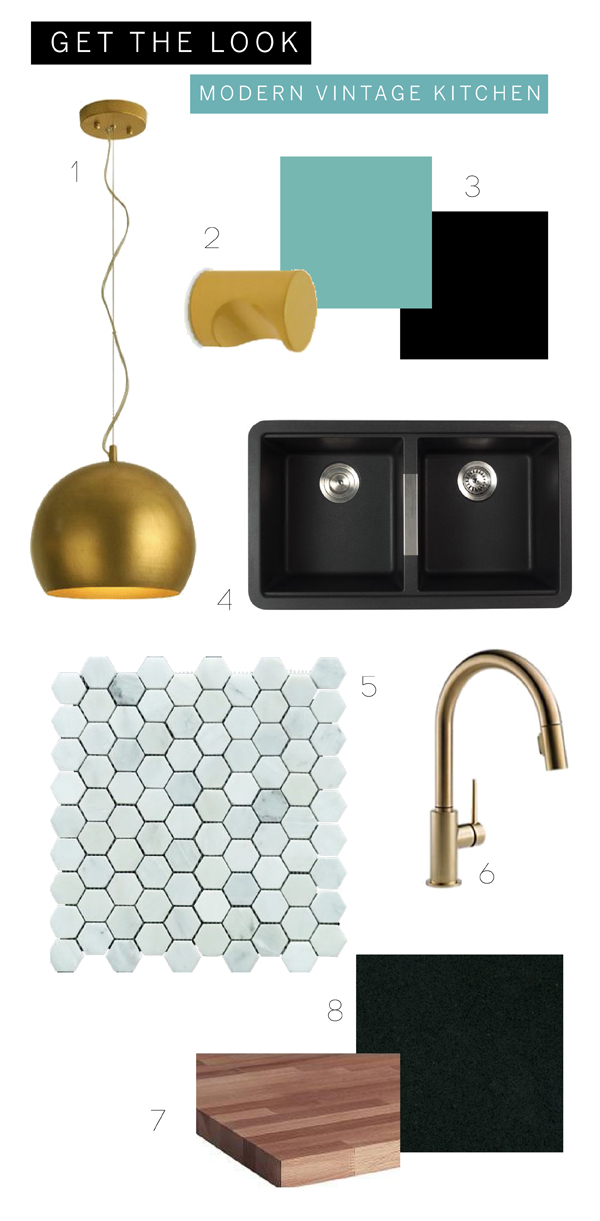 1. Gold Pendant, Wayfair / 2. Gold Hardware, D. Lawless Hardware / 3. Sherwin Williams Paint Colours, Cooled Blue & Tricorn Black / 4. Kraus Black Undermount Onyx Granite Sink / 5. Novecento Hexagon Marble Tile, Home Depot / 6. Delta Trinsic Brass Faucet / 7. Wood Countertop / 8. Black Granite Countertop
Stay tuned for the final reveal and at least one installation horror story that I’m sure is in my future.
13 responses to “SPACES: kitchen makeover update, the cupboards”
The colour is fantastic!! Can’t wait for the final reveal xx
Thanks Sara. Yeah, I’m pretty much in love. Feels so good after some doubt in my choice.
Great colour choice! Cant wait to see it come together.
I am using the Delta Trinsic faucets for my bathroom (except they are the wall mounted ones) I got them delivered a little while ago, and am so stoked to put them up.
Your sink choice also looks really fab. Its actual real granite? That’s freakin amazing! Are you going to undermount it?
Isn’t the sink cool? Yes, it’s made with real granite and it’s an undermount but “I” will definitely not be the one installing it. haha. Let me know if you have a reco of someone who can do it for me.
Looking good! Can’t wait to see it all come together!
I’m totally in love with your inspiration board! Your colour palette is just simply amazing. It’s such a fresh take on kitchen decor. I can’t wait to see your big reveal :)
Love that sink, and I wish Paint it Like New was in Calgary!! My cupboards have been waiting for paint for 4 years.
Why not add something bold in your kitchen, right? It’s going to look bright, happy, modern, and cool! I’m sure Tanya from Dans Le Lakehouse will love it, too!
Oh girl, I understand your chaos. We’ve been in the mania that is a kitchen renovation too. I love your colours – you’re so fabulous and vibrant; that cupboard colour suits you. I’m also saving my cupboards too! And sometimes, that can be a royal pain in the ass. But I’m glad that we did.
Can’t wait to see how it shapes up! Your style board is wonderful!
Love how it is all coming together! I love your choices of color and finishes!
Looking good girl!!! Looove the color choice. That blue is going to look amaaazing with the brass accents.
How did you cut the hexagon tiles? We are using the same ones and was wondering if you would share your technique of getting straight lines. I didn’t know if tile nippers would work. Thank you and lovely kitchen.
ha! Not a simple answer. THese tiles caused lots of difficulty when cutting. They were too thick for tile nippers and the marble is very delicate. Of course because the straight edge is along the bottom it made using the wet saw difficult to cut them in half vertically. What I ended up doing was basically creating a wood “pusher” (for lack of a better word) with the tile shape cut out of the end and hold it in place while i “pushed” one tile at a time through the wet saw. Needless to say doing the edges took up the most time on this project.