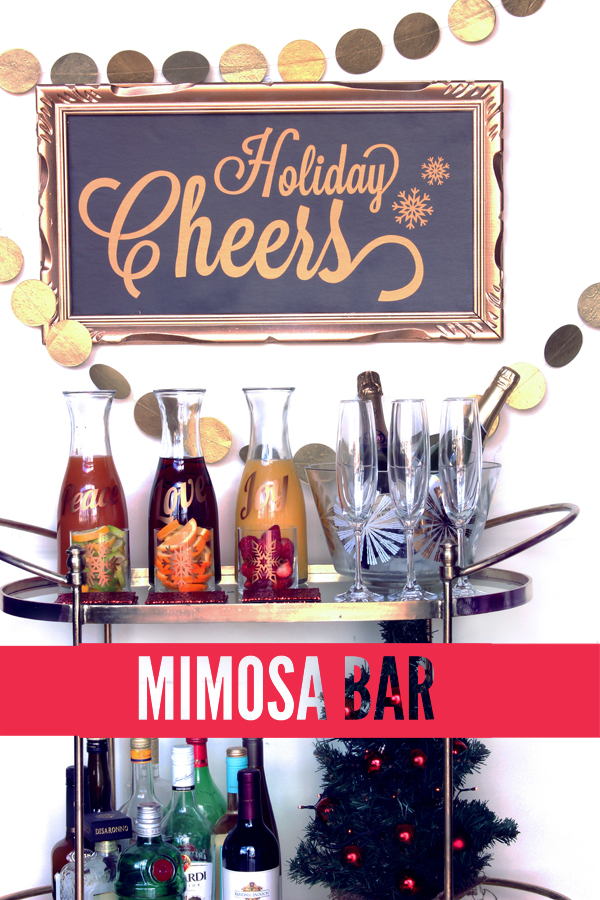
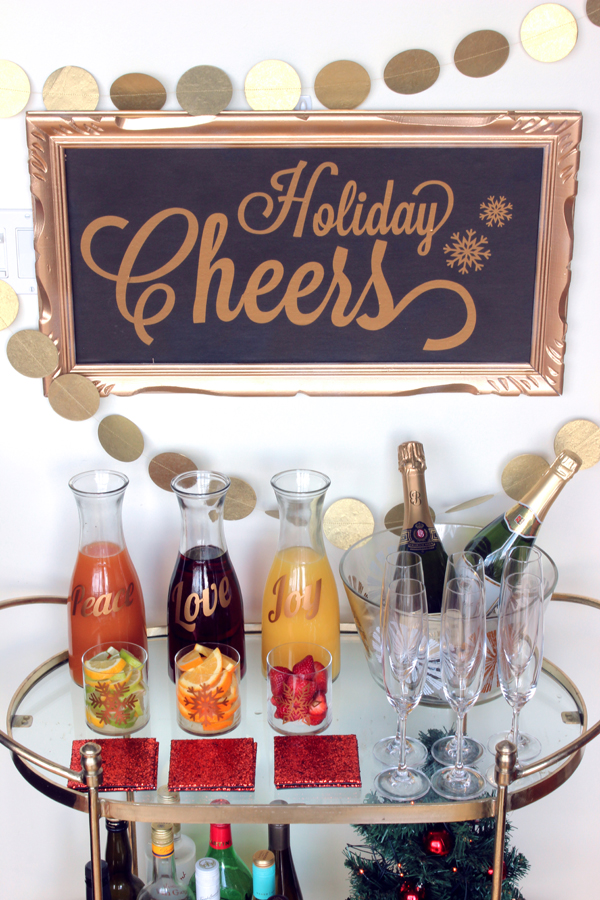
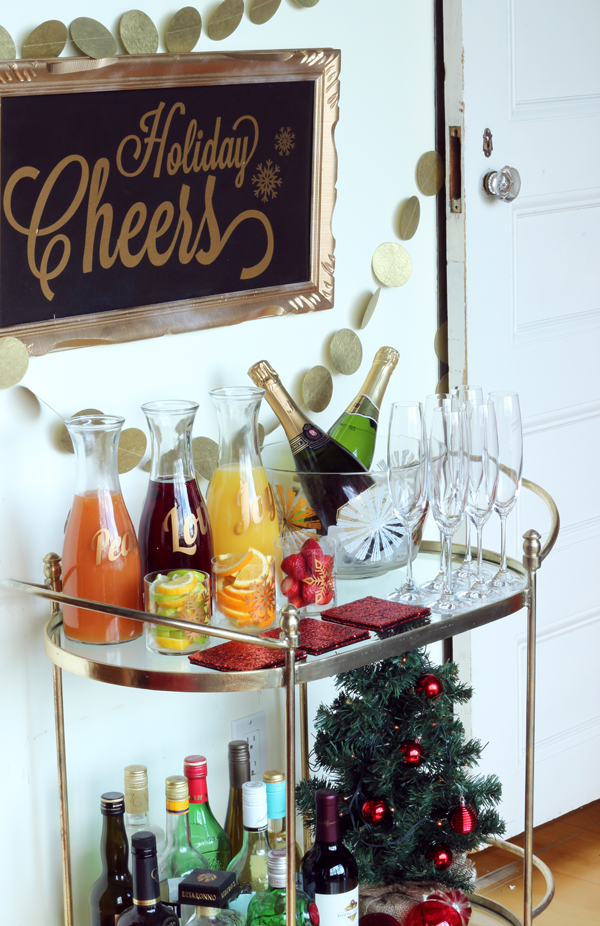
And…..the holiday flood gates are open. I’m not sure if you’ve been following along on Instagram or Facebook but you may have seen me post a few sneak peeks of an upcoming project (#MerryMag). Well I’m happy to announce that Merry magazine dropped today! It’s an online mag jam packed with holiday handmade inspiration that put together with 15 of my amazing and talented blogger pals. Aren’t you pumped? Yeah me too. Well let’s start this party off with a party. Being a great hostess is important but sometimes there’s just too much going on and you just want your guests to make their own damn drinks. That’s when you set up a serve yourself mimosa bar. Keep reading to see how I created this mimosa bar with lots of custom holiday touches.
The star of this project is definitely the gold adhesive vinyl from Expressions Vinyl. This is the first time I’ve used vinyl since getting my Cricut Explore cutting machine and I’m hooked. I want to put gold vinyl decals on everything in sight. Good thing I don’t have any pets.
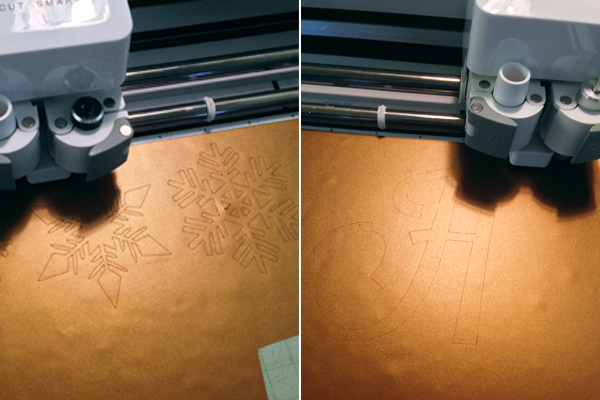
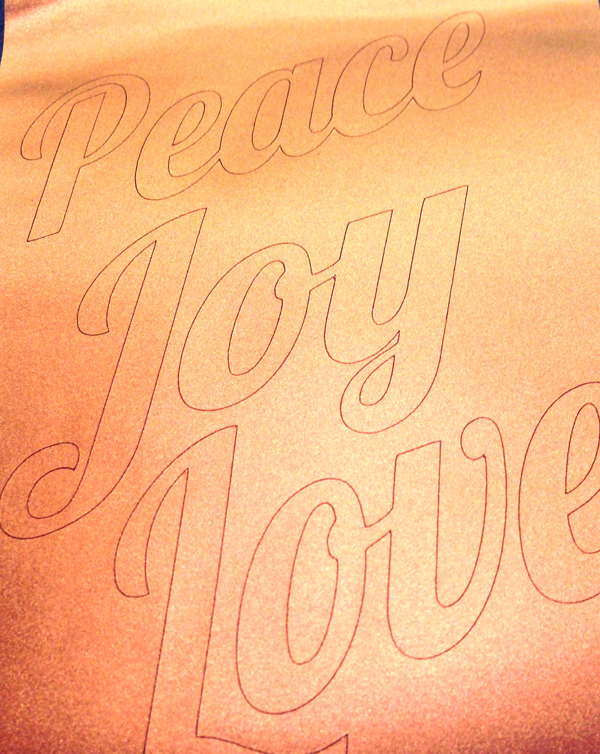
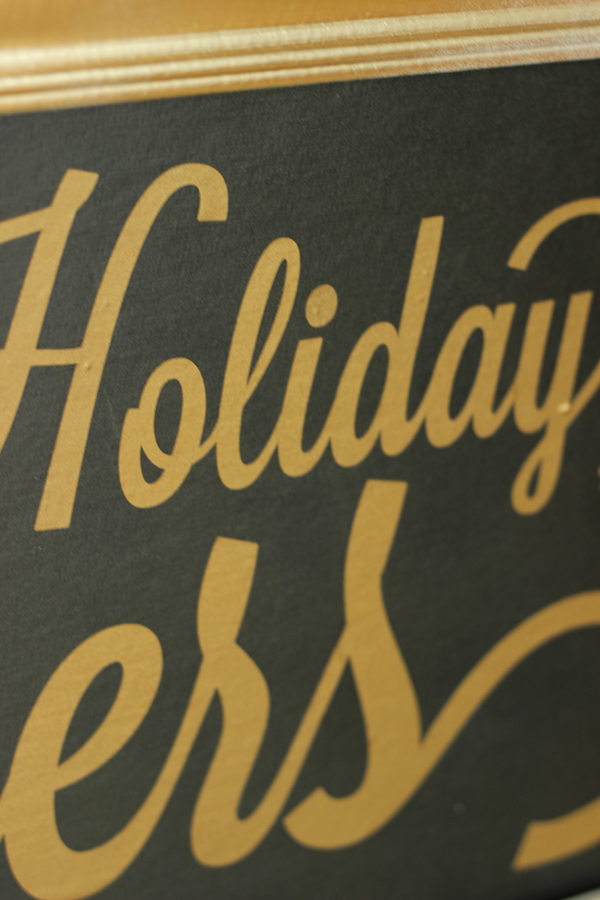
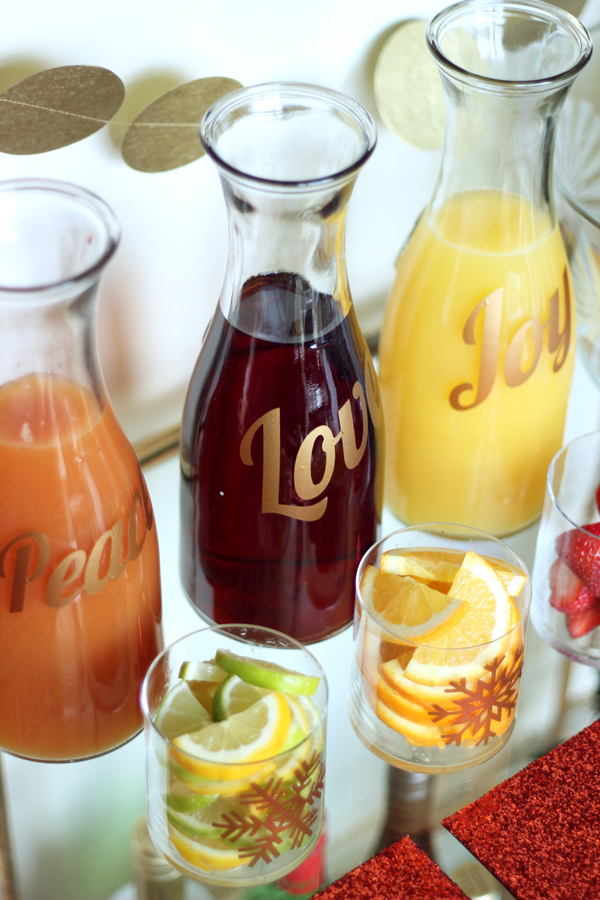
For the sign, find a frame or spray paint a thrifted frame with a piece of black foam core. Then you’ll need 3 clear ptichers (I bought these at Walmart), and some bowls or glasses for your fruit. Measure your pieces and if you’re design savvy, create your own artwork or you can download these ones I designed – Holiday Cheers Sign, snowflakes, Peace/Love/Joy bottle decals. Then set up your cutting machine with your gold vinyl and start creating.
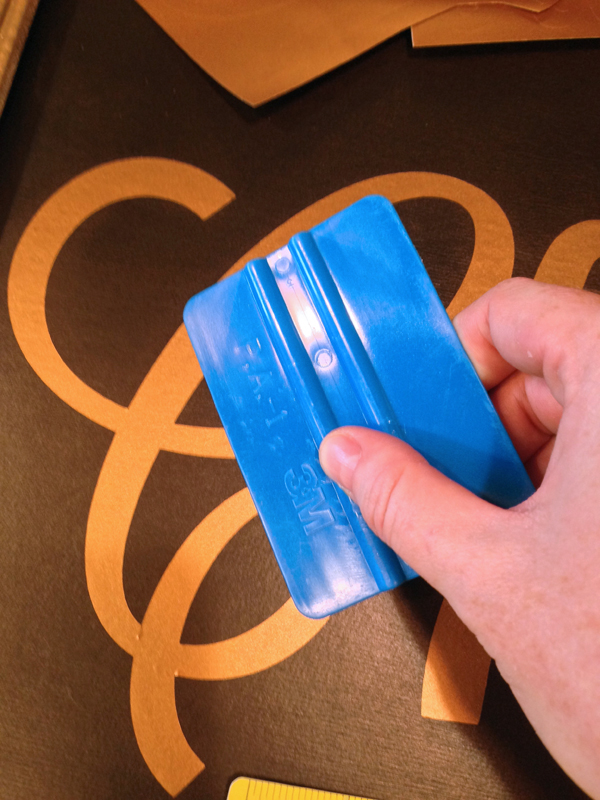
Once you have your decals comes the tricky part – applying them. There’s definitely some technique to this and I think it just comes with practice. I noticed that I got better at handling and applying the vinyl after each application. I recommend cutting out the decals and laying them out first to confirm the positioning. Using an application tool like this one really helps.
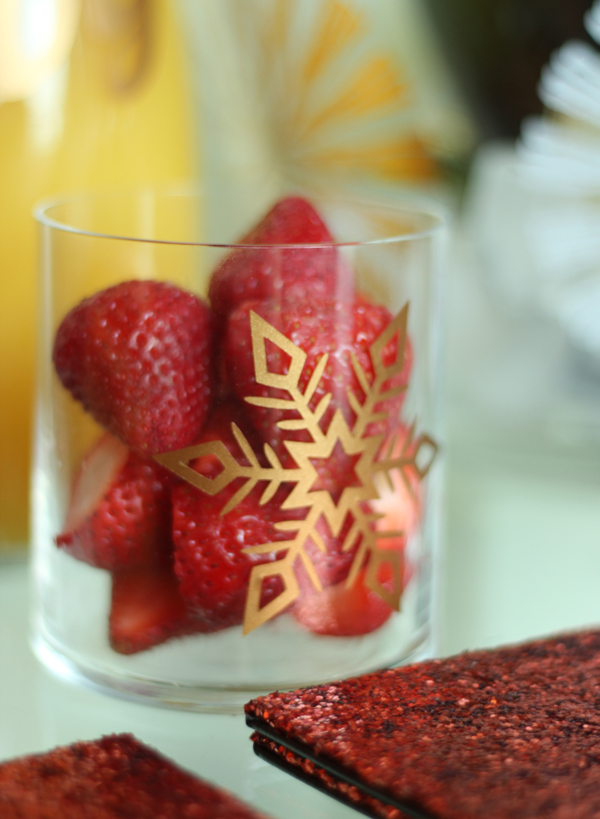
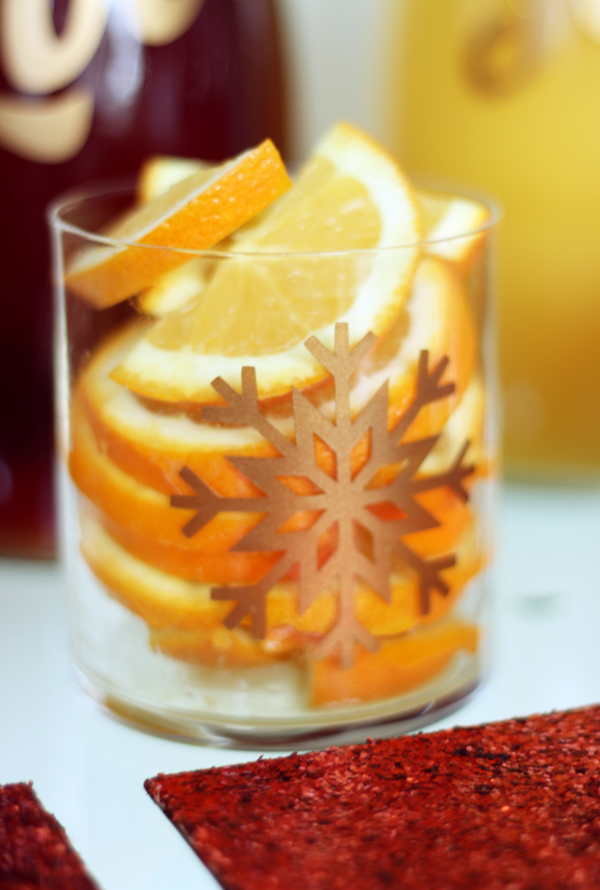
How pretty are these snowflakes? They are so simple but add so much flare to a simple glass or bowl for your fruit.
Apply the decals to your glass pitchers, fill with your fruit juices of choice and you’r ready to pour yourself a glass of peace, love and joy.
Sure you’re making your guests make their own drinks but they won’t even notice because they’ll be so excited by your super fun holiday themed mimosa bar. Visit Expressions and order some vinyl stat and start party planning.
If you like this project then you MUST stop by and check out Merry magazine for so many more great projects to help you get ready for the holidays.

16 responses to “DIY: holiday cheers mimosa bar”
My cousin has a cricut machine, I love the cute things she comes up with, particularly tumblers. Everything in my house would have a spunky saying.
Love this project! I’m with you – I’d love to put decals on everything, and I do have a pet! Looking forward to seeing the rest of your projects!
I love these ideas. Now I’m ready to start decorating and would love the gold designs on my glassware.
Cool project, thanks for sharing!
Great designs. If I had one of those machines, I would sooo be hooked on the gold vinyl too!
Trust me, it’s addicting. I’m actually giving away a machine with my Cricut group. Stop by today’s blog post to see how to enter.
Very cool! I am going to see if I can get a Cricut machine too! The projects are endless…
Gold vinyl! And …. maybe a customized tray? So many possibilities!!
I have a cricut machine and I can’t even remember the last time I used. I forgot how many things I could do with it.
I love the metallic vinyl and would love to try the iron on type.
I would choose some “Family” sayings.
Wow! So many colors to choose from! I from get Bubblegum Pink and Metallic Gold and make some wall art for my office. It needs some jazzing up! Oh, and some white vinyl to make a No Soliciting sign for my front door for sure!
Also, I love this Mimosa Bar! Fingers crossed for you!
I really need to get my hands on one of these. Looks great!
They are pretty fun. Did you see our Cricut giveaway? Visit the most recent post to see how to enter.
Love your designs. I would the vinyl to decorate some chargers for Christmas
There are so many great items to be made, Right now I am making a wooden rocking chair for my grandson and want to put his name on it!