Wowza! where did the time go? It feels both like ages ago and just yesterday that I shared my cottage kitchen makeover plan with you. Here’s the deal, things don’t always go as planned especially with a reno. I think we all know that. For me being a cottage owner newbie I didn’t quite know how to handle the the whole cottage shuts down for the winter thing. That just wasn’t going to work with my timeline. Also an unexpected global pandemic can throw a wrench in plans too. But guess what? Sometimes you just gotta go with the flow.
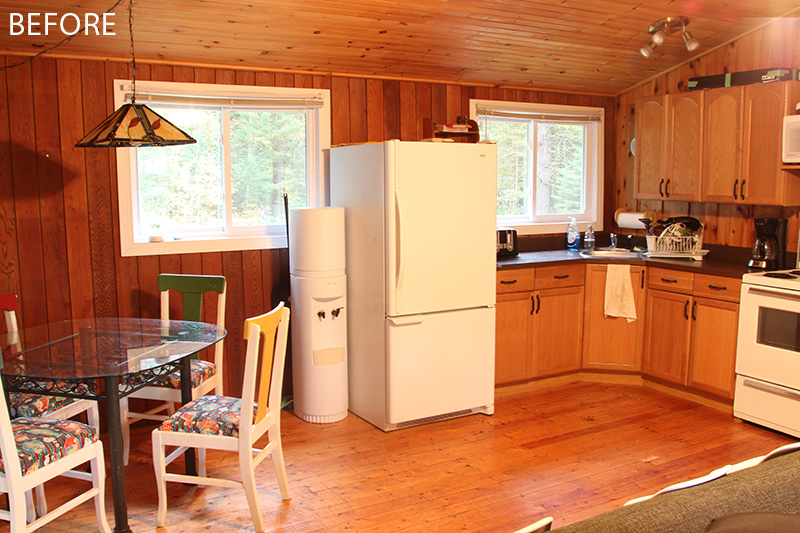
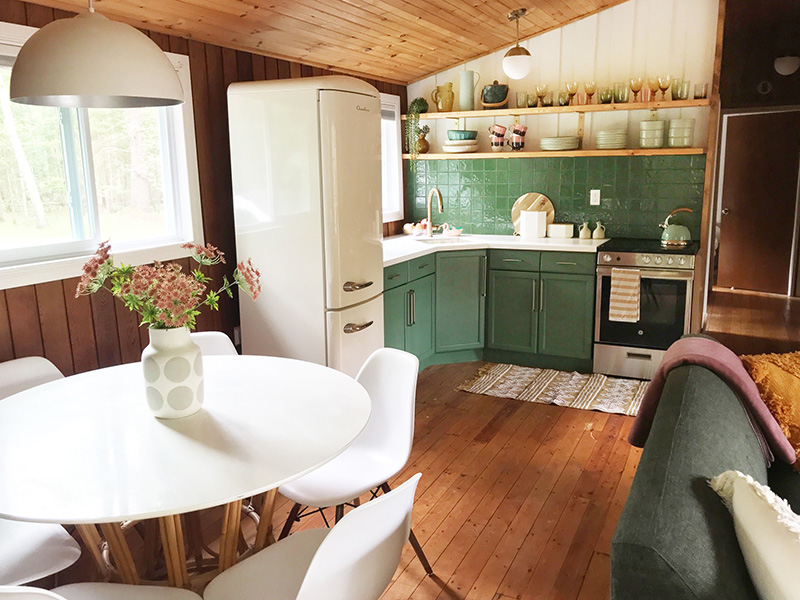
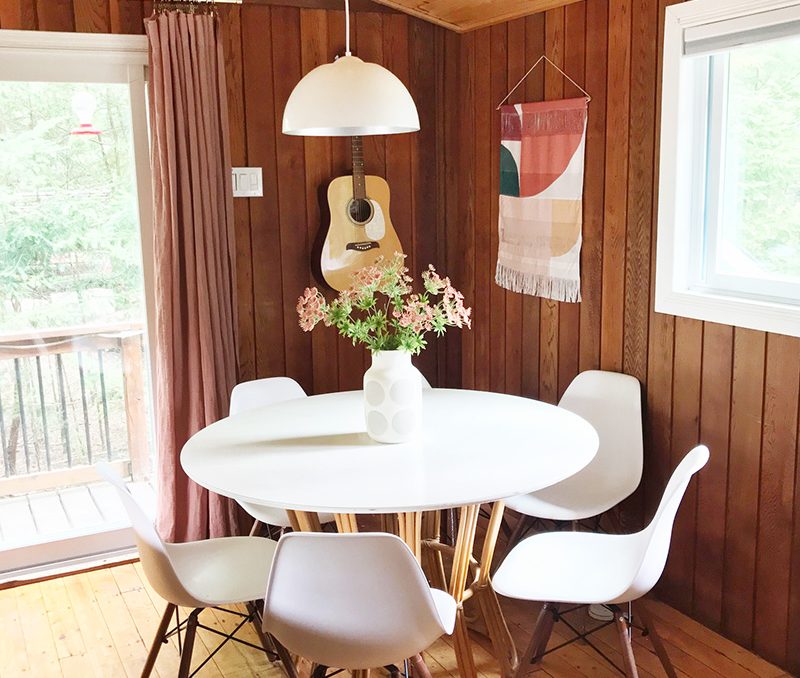
Here’s a reminder of what the kitchen & dining area looked like when I got the keys:
So fast forward to the Spring and I was ready to jump back into the kitchen makeover. Thankfully because I was planning on having it completed last December I already had most of the materials I needed from The Home Depot so working around the store shut down during Covid-19 wasn’t so stressful. Anything I did need I was able to order and pick up curbside. It’s been so easy to work with The Home Deopot on this project, especially working with my local store here in Bracebridge. Everything I’ve ordered online has come quickly and the staff have been nothing but helpful as I try to navigate my way around a cottage kitchen makeover. Read: I usually don’t know what I’m doing. That includes the customer service staff who are happy to take my returns because I like to get multiple options…who doesn’t like options?
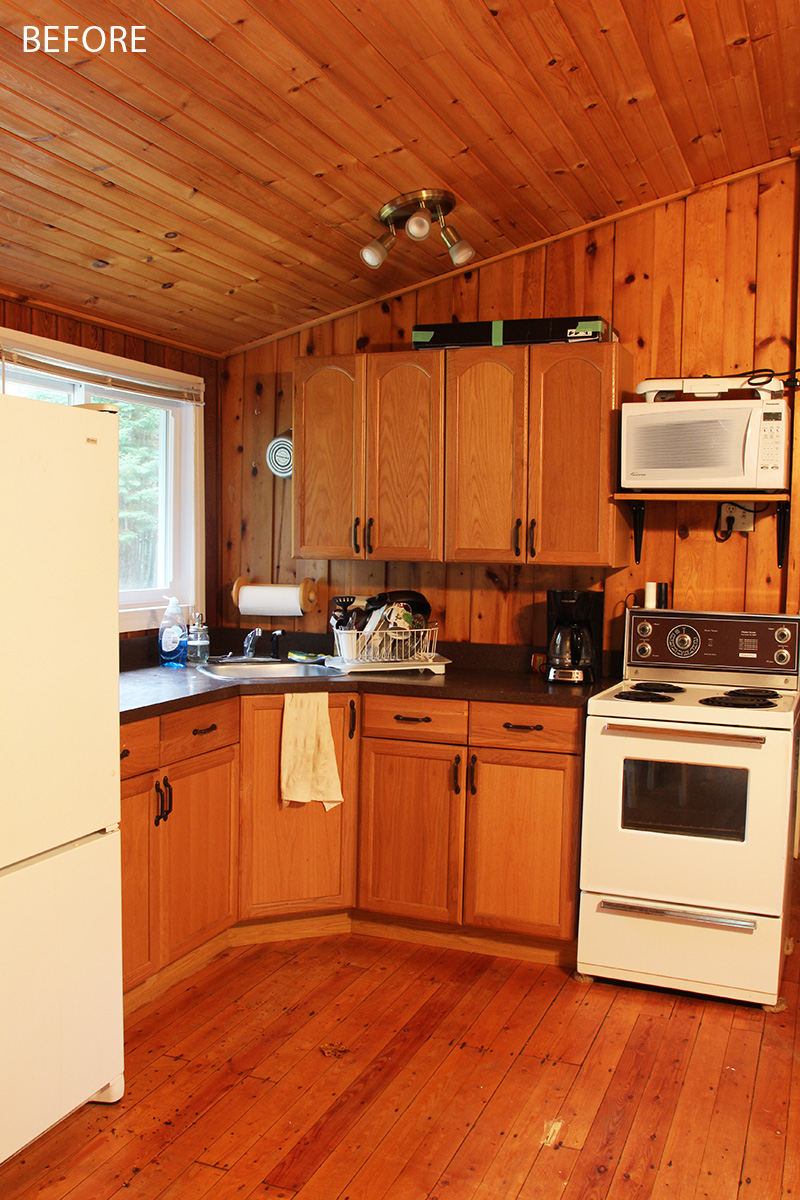
To refresh your memory, I bought a cute cottage in Muskoka in August of 2019. You can follow along at @sweetescapemuskoka for more live stories and highlights. It was actually in really good shape structurally but just needed a big cosmetic update, especially the kitchen. I decided to keep the same footprint with the base cabinets and update pretty much everything else. If I’m being totally honest, one of the things I would do differently is just scrap the whole thing including the base cabinets and start from scratch. I would’ve made a few minor design changes to the layout and although I would have had to budget for new base cabinets I would have saved money on not having a custom corner sink counter cut so I think the cost would’ve been similar but I would have fresh new cabinets and a few user-friendly design tweaks.
BUT I made the decision to work with what I have and overall I’m super happy with how it turned out and hopefully you agree!
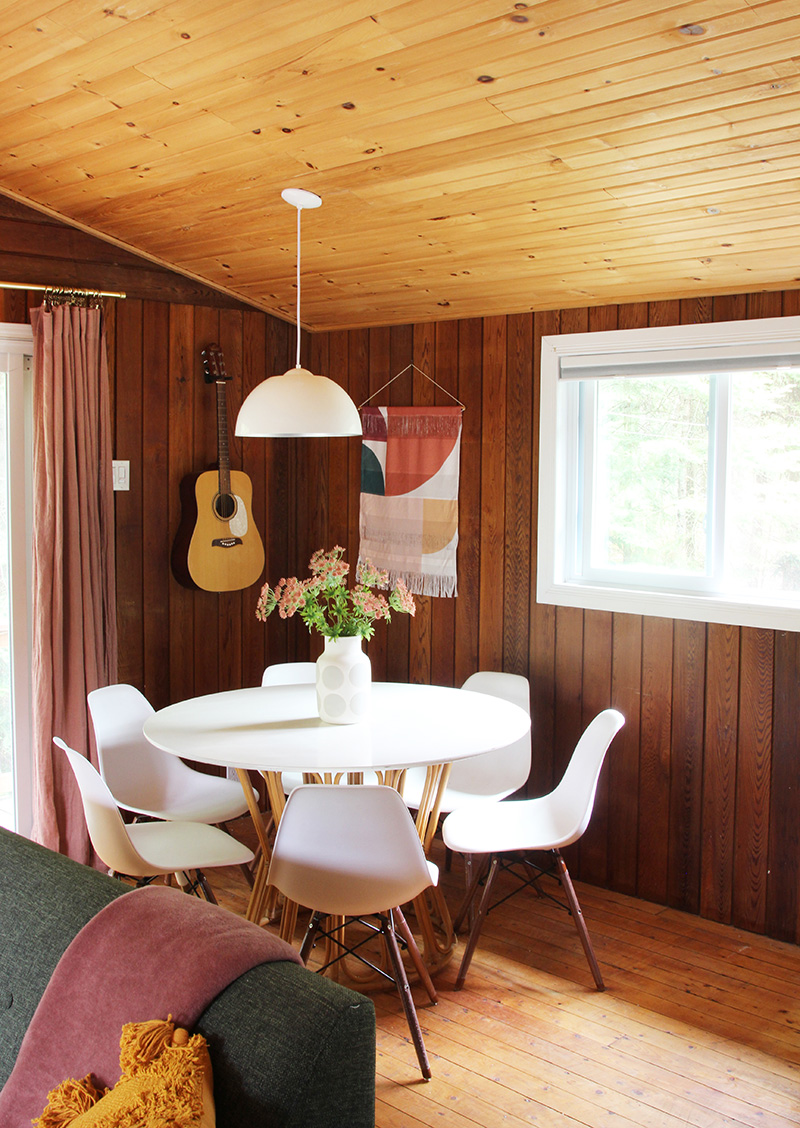
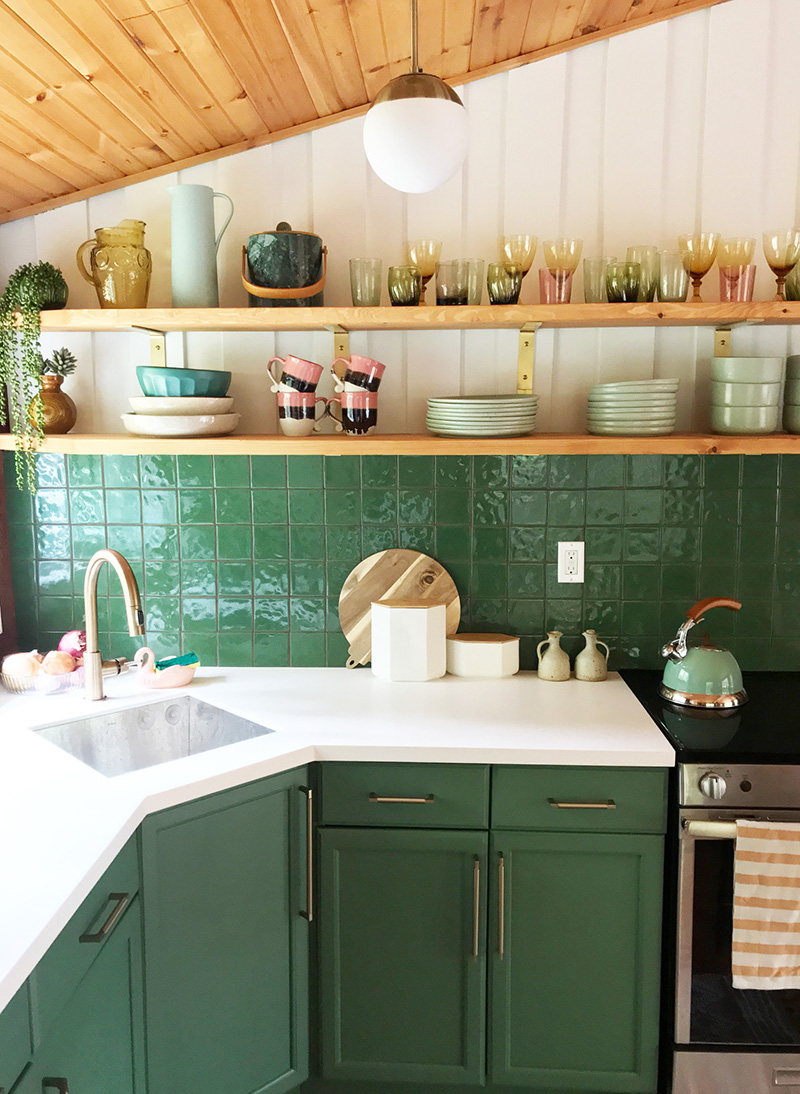
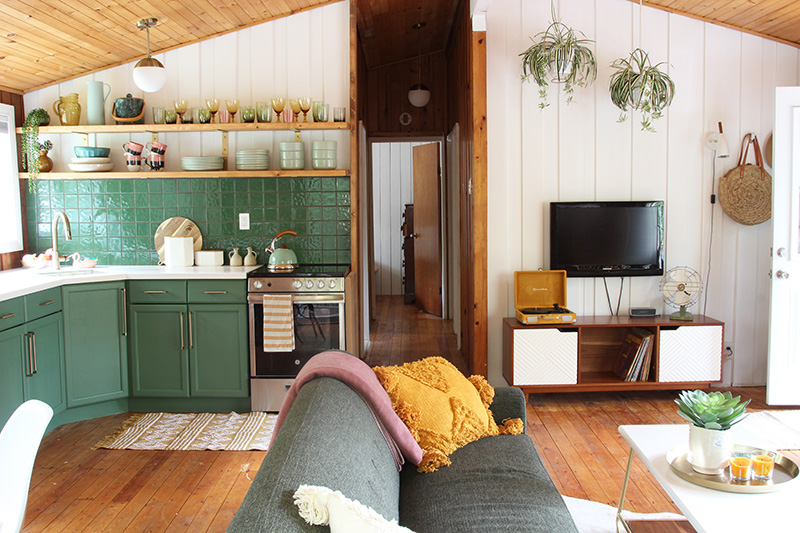
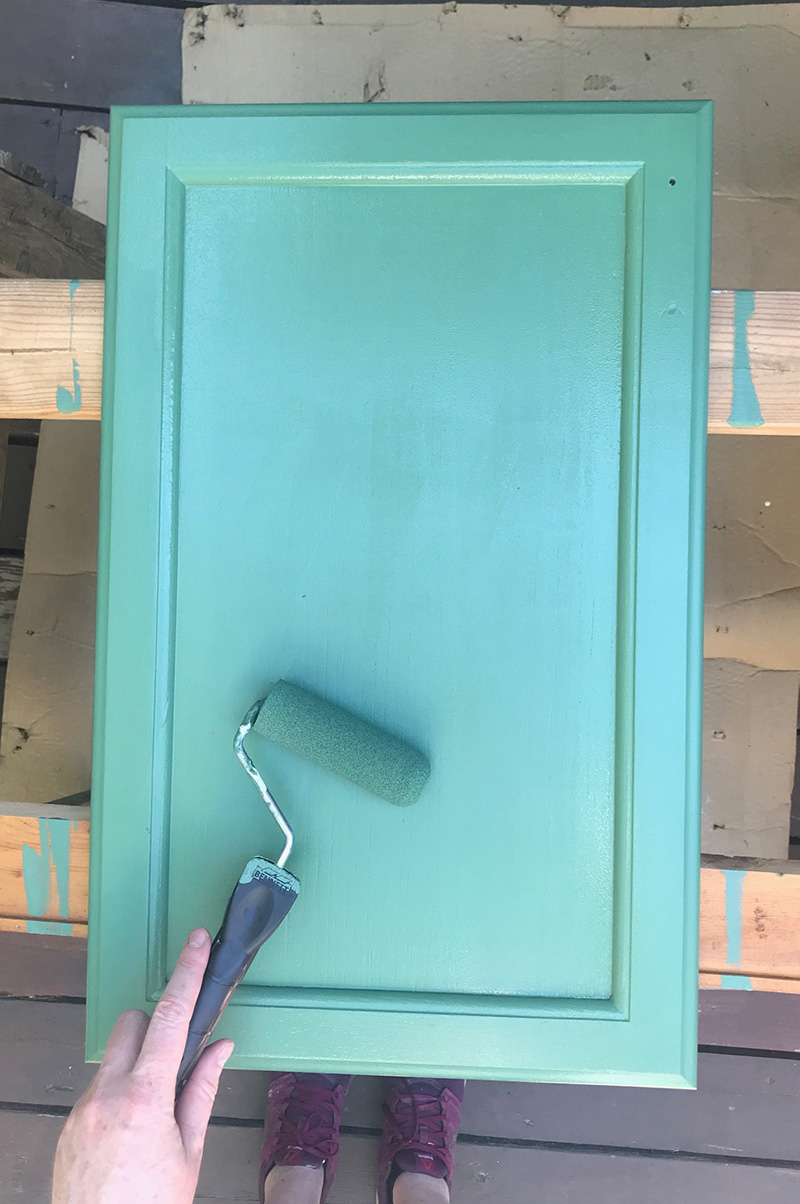
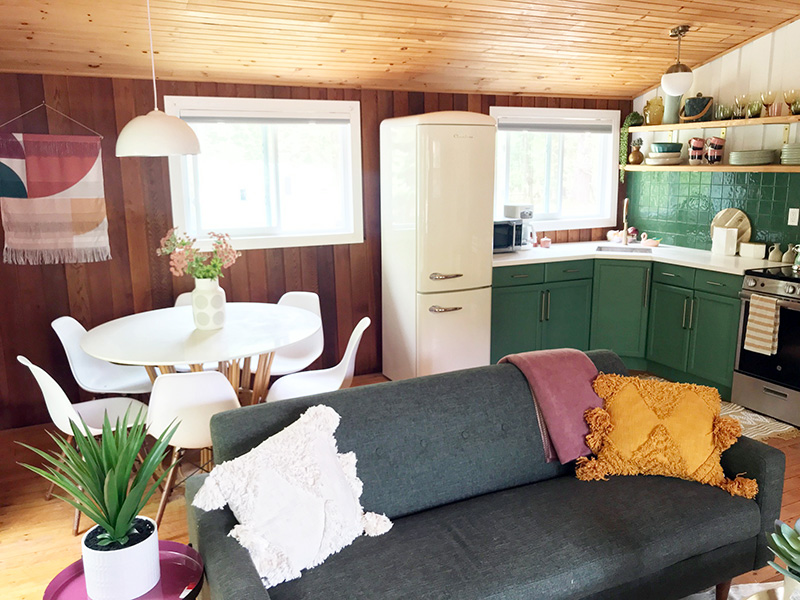
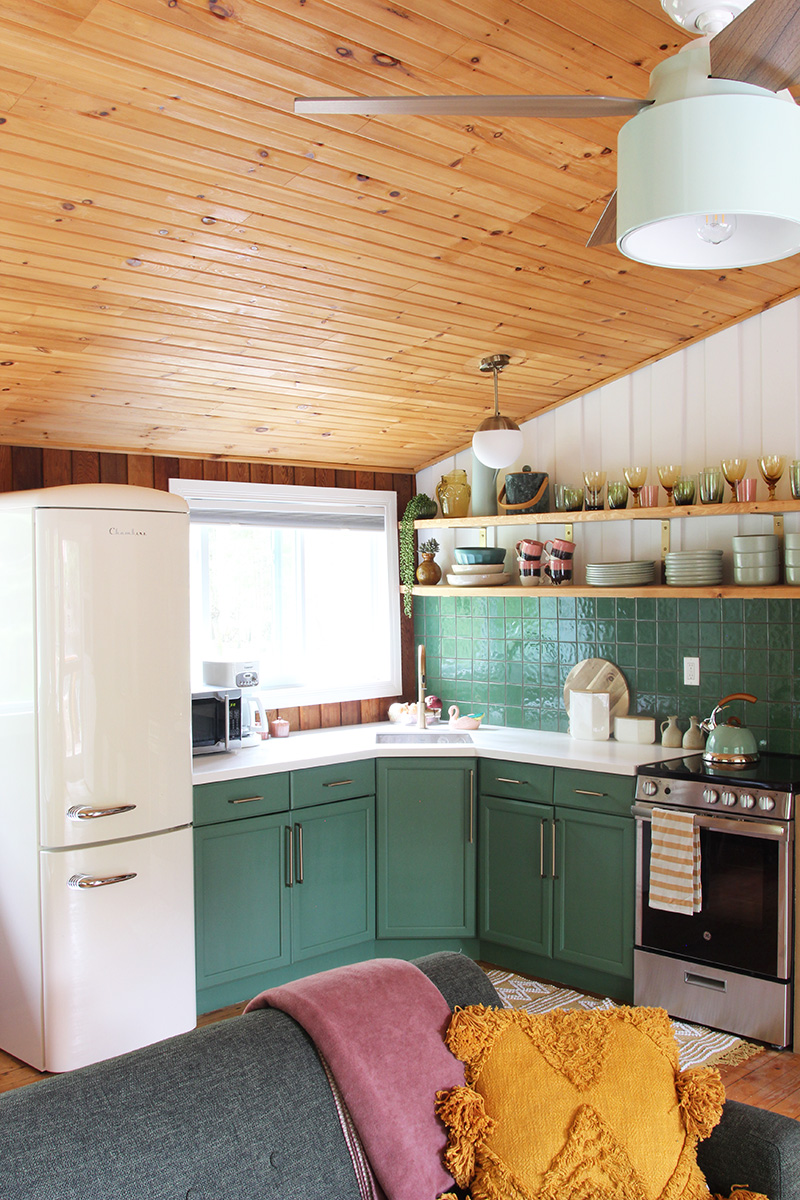
Here’s what it looks like now! Are you greeeeen with envy!? (bad joke alert) but I’m kinda in love with all the green. I know what you’re about to ask and it’s Behr Greener Pastures.

The kitchen & dining area was updated using all items from The Home Depot and show how you can get a great custom look with pieces that are easily accessible. They sponsored this makeover but I had 100% creative freedom and all design and product selection was my own.
My biggest tip when doing your own project like this with The Home Depot as your main resource is to do some digging online. You definitely want to visit in store to talk to their many experts and to get a general feel for the item or category your shopping for but once you know what you need then take some time to really shop the website. Almost every item in this kitchen was an online exclusive item that you would miss if you limited yourself to what you saw in store.
So to recap – here’s my design mood board with all the great product I got from The Home Depot. I made a few last minute changes and upgrades from my original plan with updated resource links below.

Home Depot Canada product sources: Chambers Retro Fridge in Champagne / Delta Trinsic Single-Handle Pull-Down Kitchen Faucet / Liberty Artesia Cabinet pulls / Kraus Pax 18 1/2 undermount stainless steel sink / Anatolia Tile Mediterrano 4-inch x 4-inch Wall Tile in Green / GE 24-inch 2.9 cu.ft Single Oven Electric Range Oven / Progress Lighting Dome Collection Pendant / The Tangerine Mirror Company Eiffel Chair
The Chambers retro inspired fridge was the big splurge of this makeover and I think it was totally worth it because it adds so much character to the space. Also by doing some of the work yourself, you save money for splurges on item to make your space feel special. It’s a good payoff for a little hard work.
I tried to keep this project as budget-friendly as possible but having a small space meant that choices when it came to specific sizes were more limiting and not always the door crasher special. But I was able to find all the unique sizes I needed for this particular space at The Home Depot without breaking the bank.
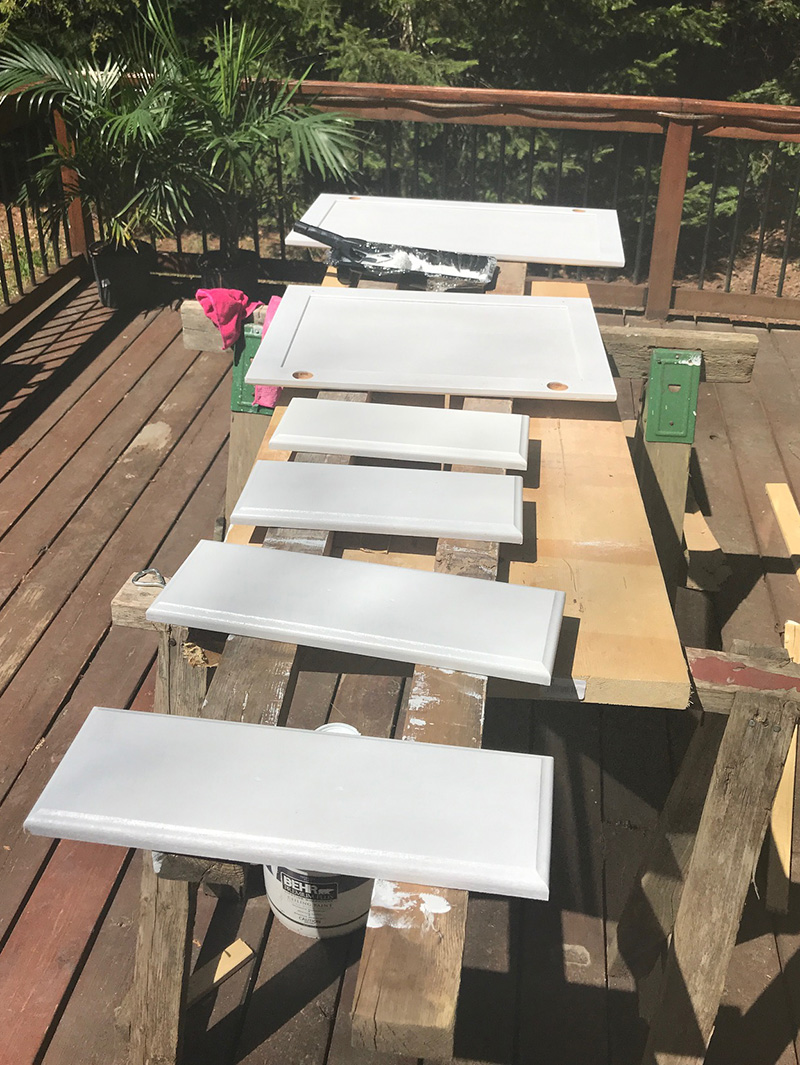
For those of you who like to see behind the curtain, here’s a few progress photos. It’s tricky when you’re working solo to remember to document everything, but you get the idea. For those who are just interested in the glam “after” photos you can skip ahead below!
Other than having The Home Depot professionals come to install the counter & sink and a plumber for the faucet – everything else was done by yours truly. A true D.I.Y job. The main elements were painting the cabinets and updating the hardware, tiling the backsplash and making & hanging the open shelves.

I would by lying if I said that I embrace the whole DIY process. I definitely love the satisfaction that comes at the end knowing that I did it myself but I don’t always love everything in between. Although it’s always a learning experience and learning new things keeps the brain (and body?) young….right? Alas, sometimes DIY is your only option and I’m telling you that if I can do it, then you can certainly do it so hopefully this is inspiration for you to get started on that project!
Of those 3 jobs – sanding and painting aren’t my fav….so I started with the tile, ha! A lot of people say tiling freaks them out but this is my third time doing a backsplash and I’ve had all good outcomes so it’s not that scary to me.
It helps that I absolutely love these green tiles I found at The Home Depot. They’re the exact colour I was looking for and I love that they are perfectly imperfect so they give a more expensive handmade tile look. Bonus! they were the opposite of expensive.

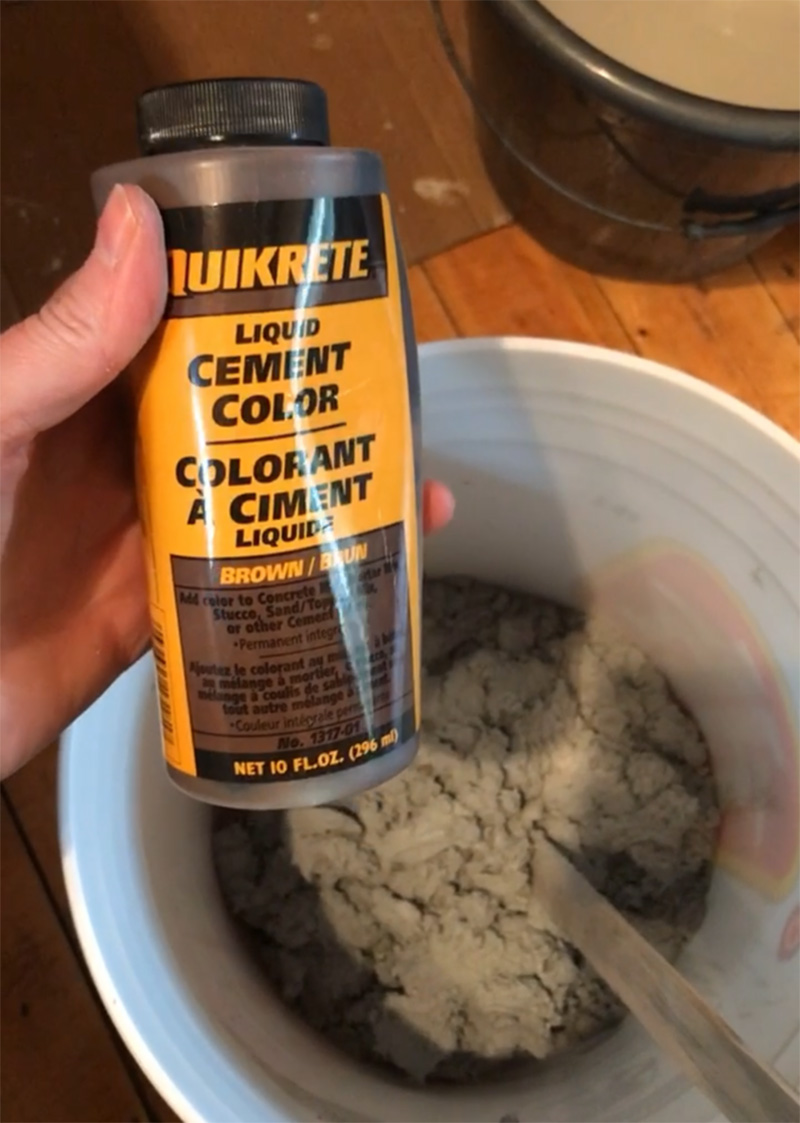
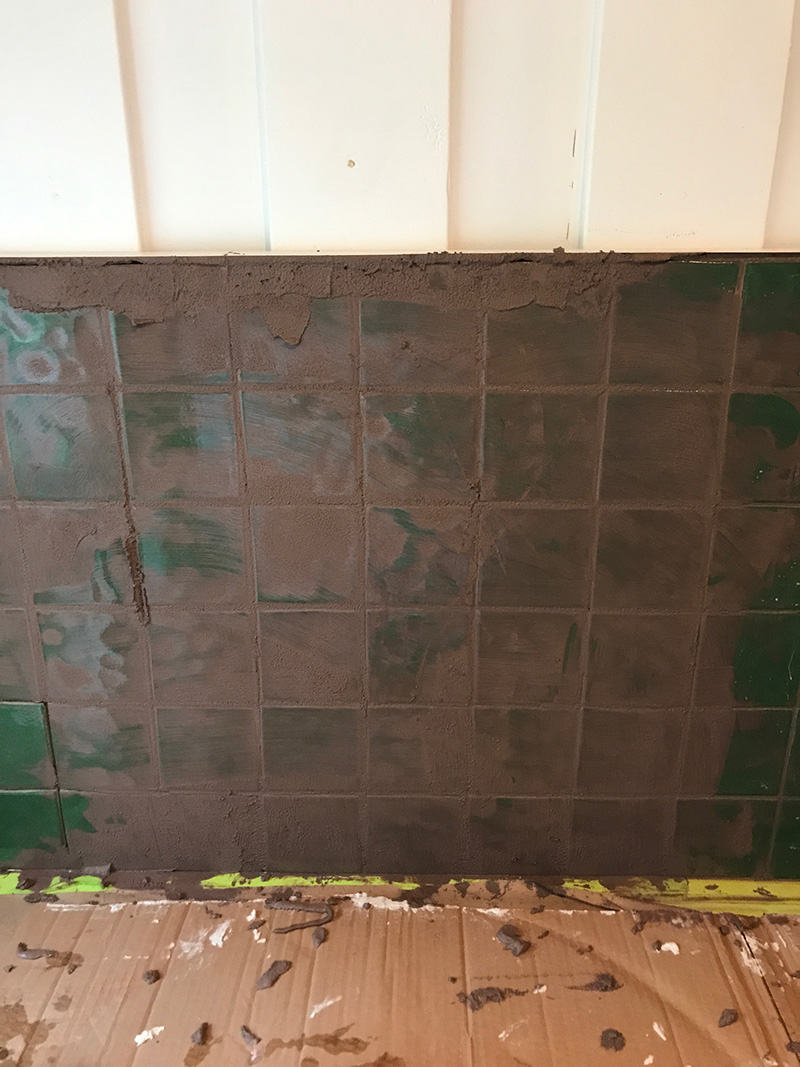
The two obstacles with the tile backsplash was the uneven wood panel surface and the grout colour. But both were resolved easily. For the surface I screwed down a layer of 1/4″ hardboard first which was easy and worked perfectly. Then when it was tricky to find the right grout colour I ended up mixing my own by adding cement colour dye to some pre-mixed grout. It worked like a charm. Just like mixing a cake…right?
With tiling I find it gets worse before it gets better so you just gotta embrace it and trust the outcome.
Painting cabinets is a common way to give any kitchen an update and there’s a few different ways to approach it depending on what you’re starting with. It’s best to do your own research and talk to a paint expert at The Home Depot. Since my cabinets are wood, I decided to use give them a good sanding then use an oil based primer for durability and then Behr Cabinet and Trim paint tinted in my desired colour (Behr Greener Pastures) for the top coat. I updated the cabinets with some pretty brass hardware and now they’re like new!
The shelves were really a love/hate thing. I really don’t enjoy sanding but boy was I excited to have these shelves to style and decorate. You could even say that being able to have open shelves to style was a big driving force for this whole kitchen makeover.

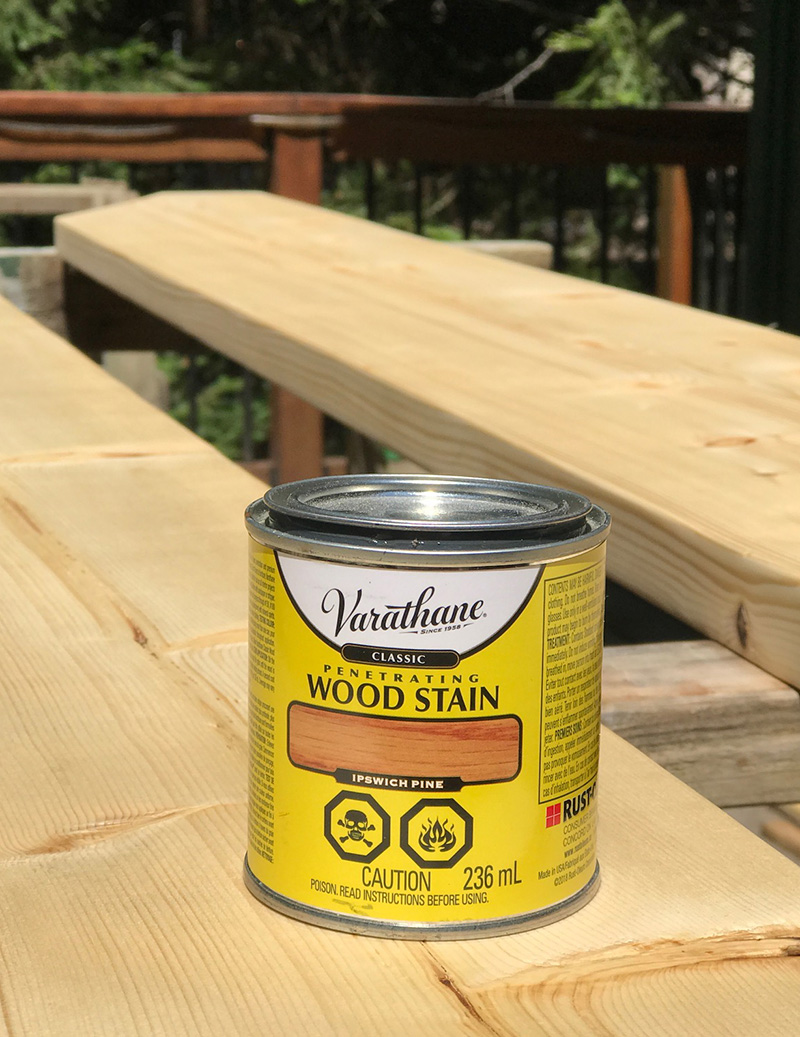
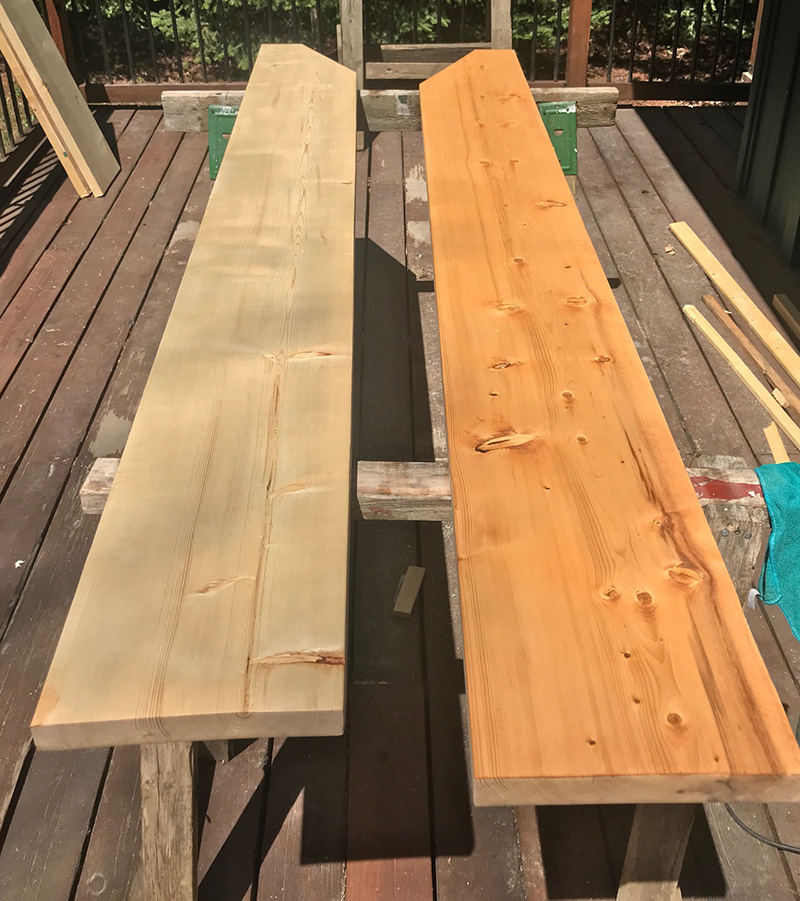
I chose nice thick pieces of 2×12 select pine from The Home Depot, grabbed my sander and got to work. I started with a medium grit sand paper (150) and worked my way to a fine grit (240) until they were as smooth as butta. Then I gave them a good wipe down to remove all the dust and followed it up with 1 coat of oil based Verathane wood stain and a few coats of a clear Poly Eurothane coating for protection. The colour matches the pine on the ceiling perfectly and I couldn’t be happier.
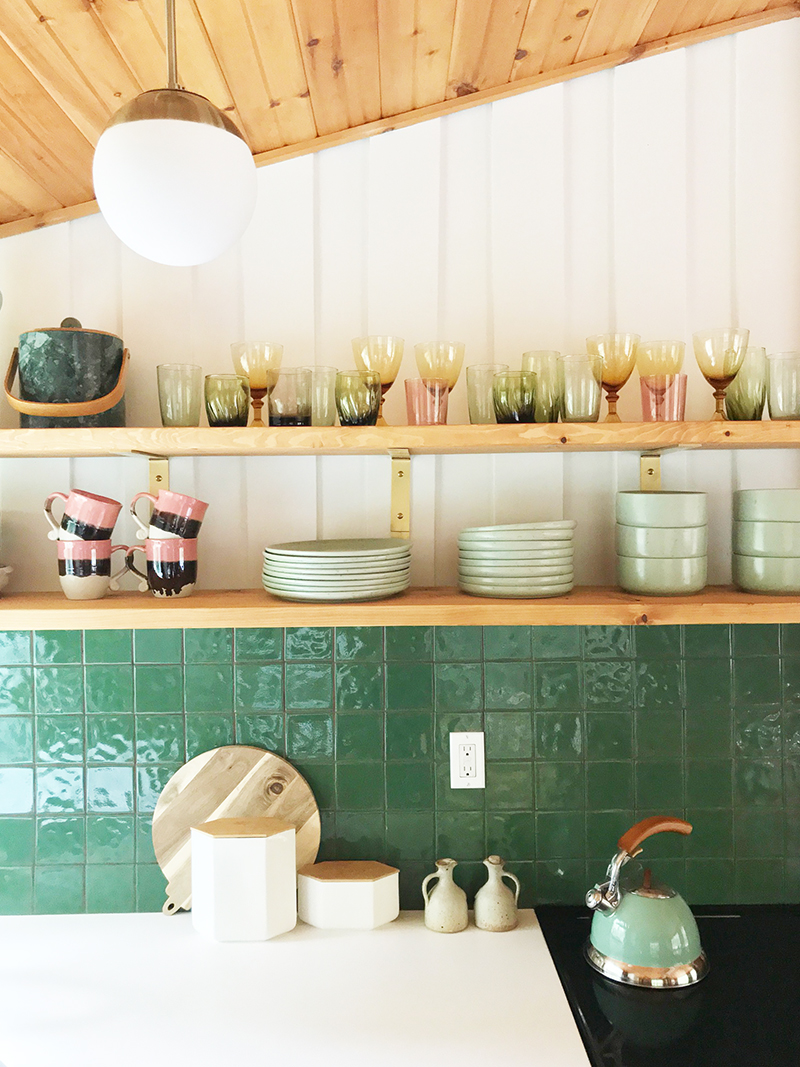
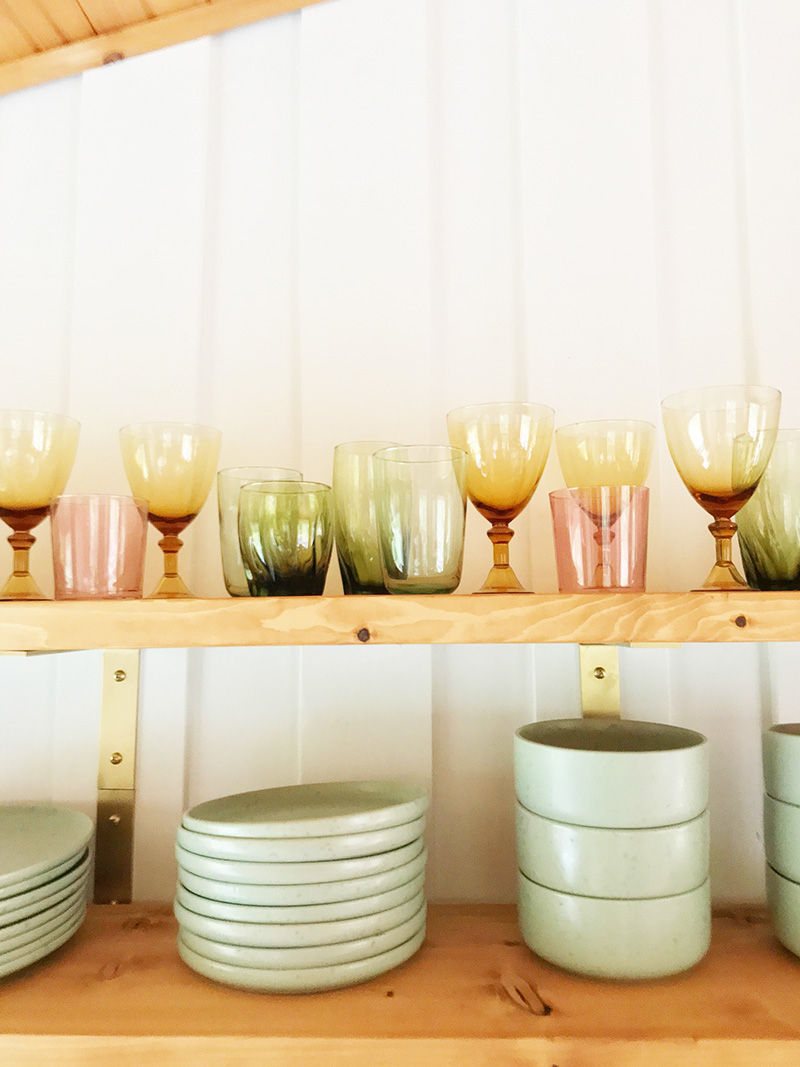
Mostly though I just couldn’t wait to show off all the pretty dishware I have been collecting all winter. So much of it was thrifted which not only makes it unique but a great way to give things new life and keep forgotten things out of landfills and more money in your pocket.
There were most definitely some blood, sweat and even a few tears shed along the way but it’s funny how easily we forget about all that when we’re staring at the finished look. I honestly love it and think it’s exactly the refresh that this cottage kitchen needed. I can’t wait to make everything from my morning coffee here to BBQ prep for friends and lots of glasses of wine poured all from this space.
Please feel free to ask any questions about something you saw or part of the process below. And don’t forget to follow along on Instagram for any future cottage updates!
Thanks again for The Home Depot who sponsored this project. I definitely would not have been able to create this cute cottage kitchen of my dreams without their support. All product selections and opinions were my own.
4 responses to “Sweet Escape Muskoka: Cottage Kitchen reveal”
You should be proud of the outcome of this project. The finished product belongs on the cover of Home Design magazine.
Love this project! A table with product/materials costs and time spent would be a great addition to the detailed step by step. Hope depot sourced is very accessible to most people – location and cost-wise.
What a beautiful space!
Is all your lighting also from The Home Depot? I would love to know where the kitchen/hallway pendants and bathroom vanity lights are from. Thank you!
Now I’m racking my brains over, it would seem, the question of an open kitchen that has long been worn out