When it rains it pours around here. I have yet another Sweet Escape Muskoka Cottage update for you. In my last post I revealed the small but impactful kitchen makeover and today I’m ready to share the rest of the cottage makeover with you!

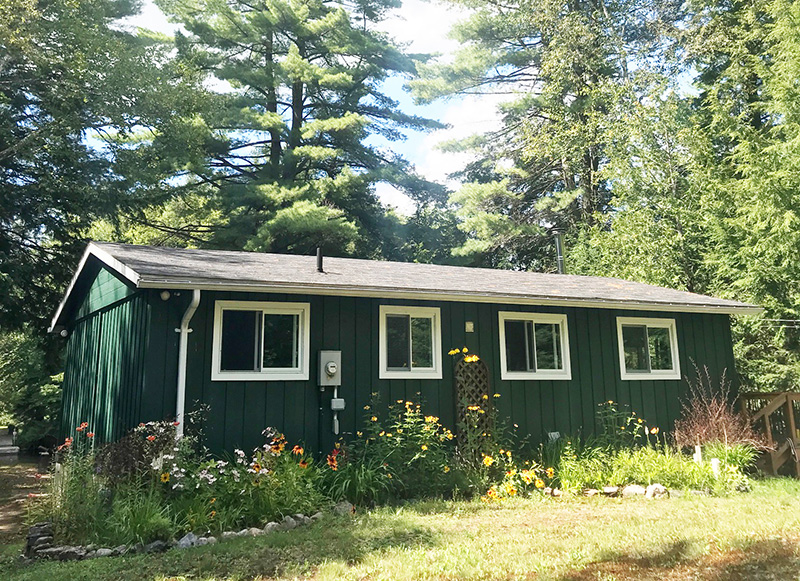
Just to set the scene (for those who are new here) I bought a 700 sq/ft seasonal cottage in Muskoka in August 2019 and have slowly been fixing it up 95% on my own since I got the keys, with the exception of it being shut down for the winter. The cottage was actually in really great shape, which was a big selling point, but it needed a makeover badly.
I know why you’re all here – for some juicy before & after pics! I don’t blame you because, let’s face it, that’s all we all want to see. So I won’t waste your time with a bunch of blabbing of all the sweat, blood and tears that went into this and I’ll get right to it. Just know that a lot of blood, sweat and tears went into this ok?
I’ll take you for a little room-by-room virtual tour. It’s not a big space, so it won’t take long but lots of thought and carefully curated pieces went into each space.
Let’s start with the bedrooms. Believe it or not, there’s 3 bedrooms in this little cottage but not surprisingly, they’re pretty little but everything you need for a weekend away where hopefully you’re spending most of the time outdoors.
Each room got a major paint job with a few (million) coats of white to freshen them up then some major pops of colour. I still wanted some of the warmth and rustic feel from the wood so in each room left certain elements in the original wood.
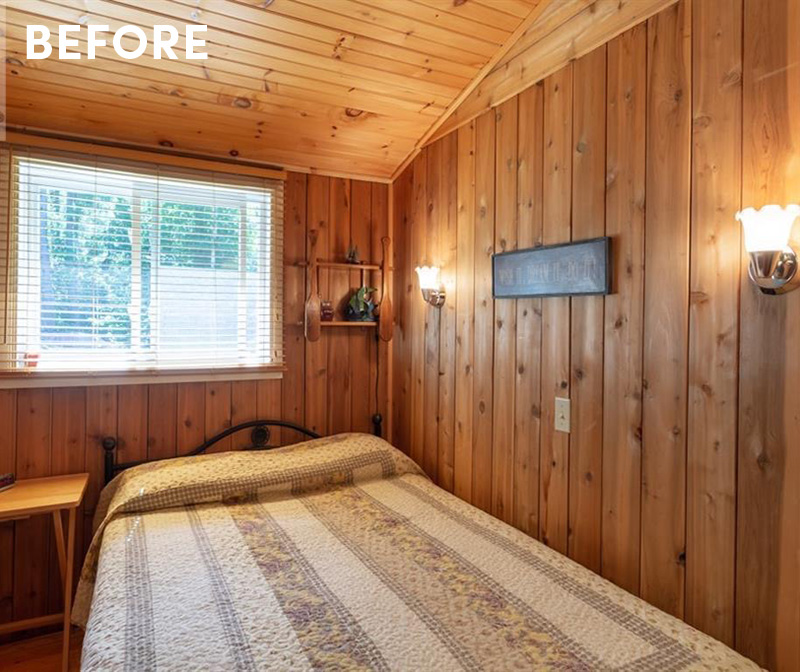
Here’s what bedroom 1 looked like before:
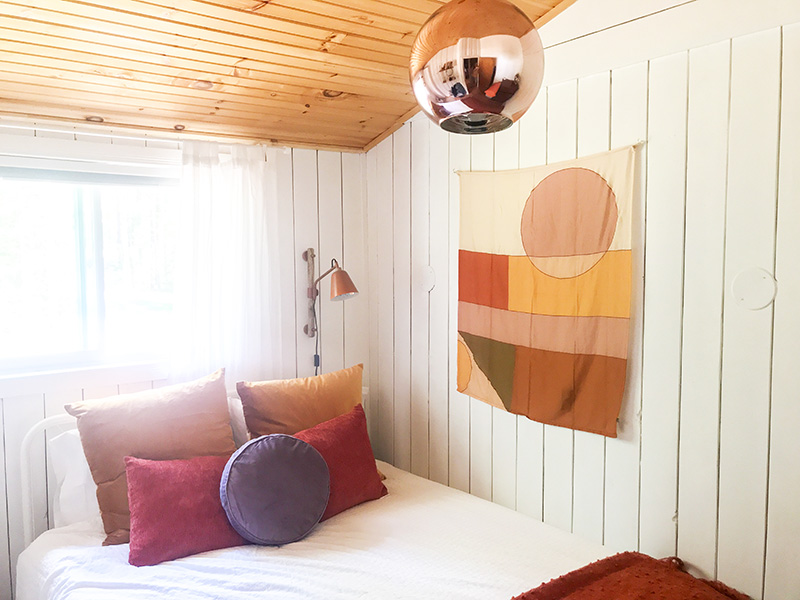
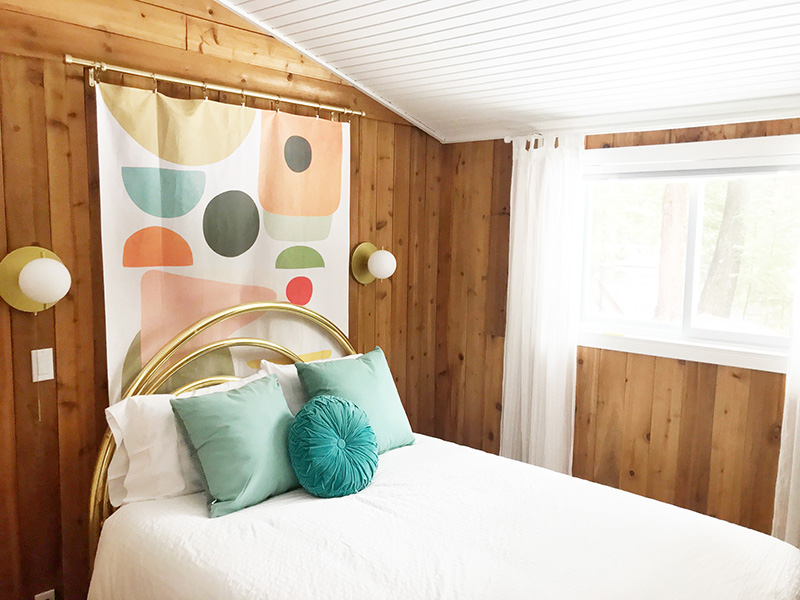
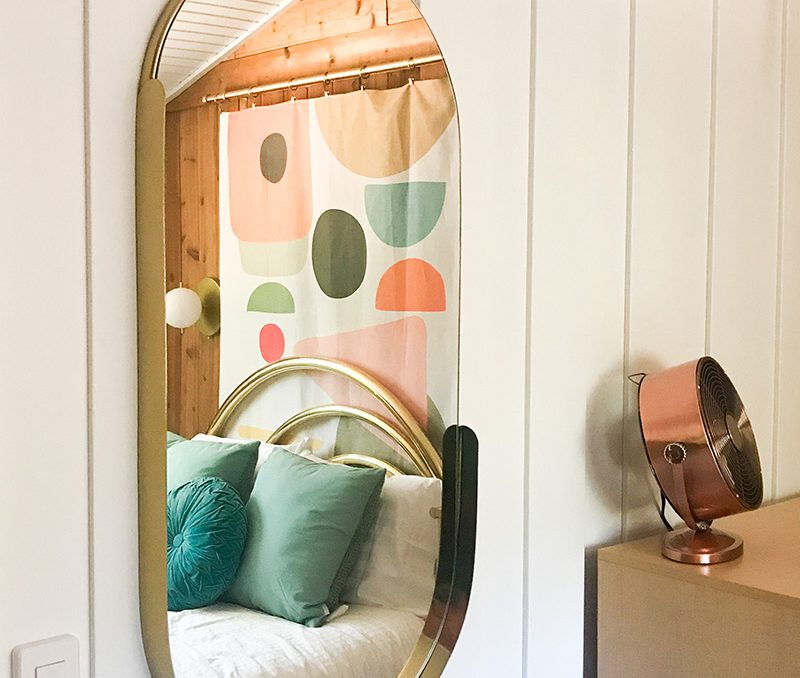
And here’s what it looks like now! Each room has a bit of a colour theme and this one is all about that warm glow of a summer sunset with lots of rusts, golden yellows and salmon hues.
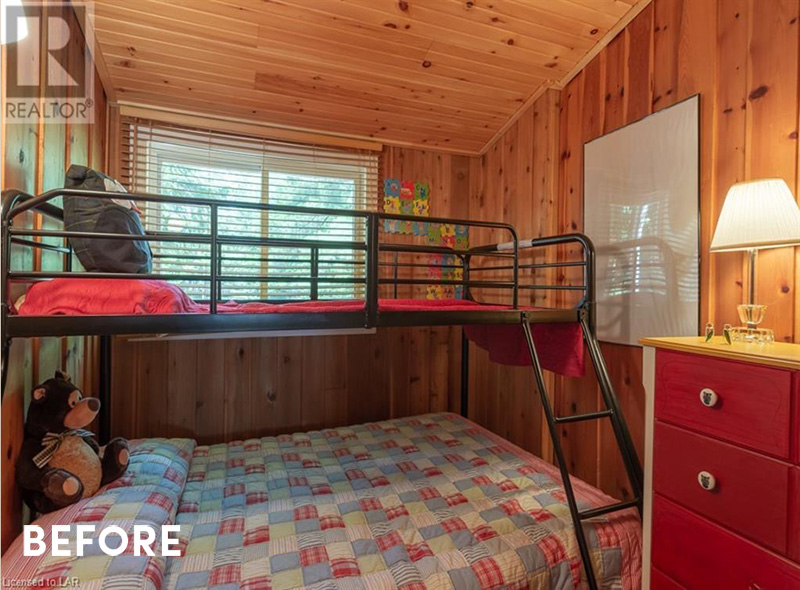
Here’s what bedroom 2 looked like before. It definitely was a bit cramped.
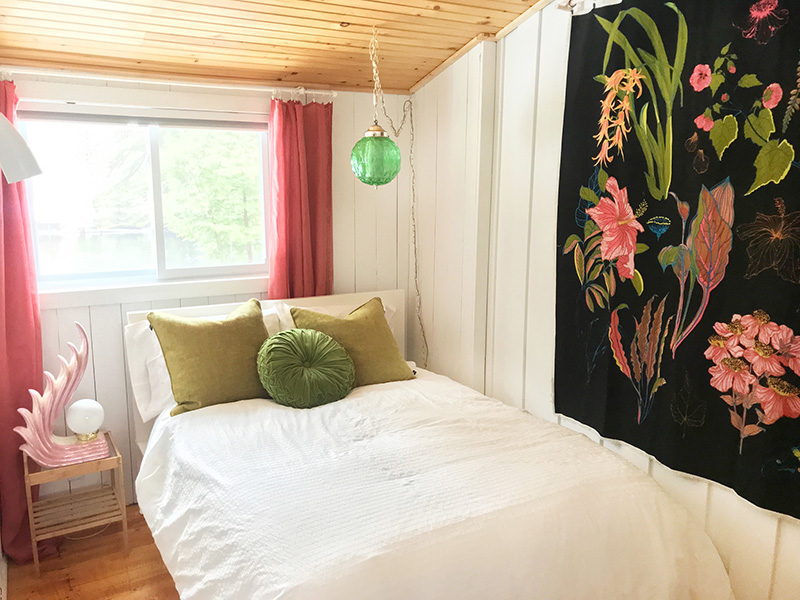
And here’s what it looks like now! We ditched all the kid/infant pieces and replaced them with a simple modern storage bed and infused the space with leafy greens and pops of pink.
Lastly is the main bedroom, being that it’s slightly larger than the other two but other than that there’s nothing extra special about it.

And here’s what it looks like now!
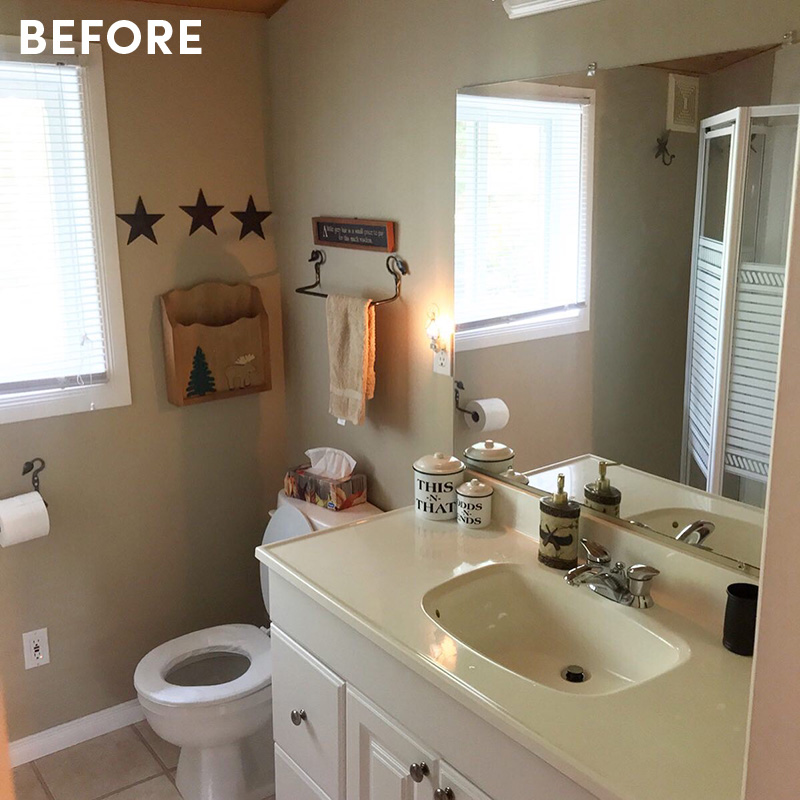
Next is the little bathroom. This room wasn’t as old as the rest of the cottage, it had obviously been updated at some point. I see more of a major bathroom overhaul potentially in the future but for now it was just about giving it a fresh update.
Here’s what it looked like before:
And here’s what it looks like now. Fresh paint, a funky vinyl wall mural, updated hardware accessories and lighting. It’s funny how this was the last space I updated because truthfully I just wasn’t very inspired and it ended up being by second fav space after the kitchen.

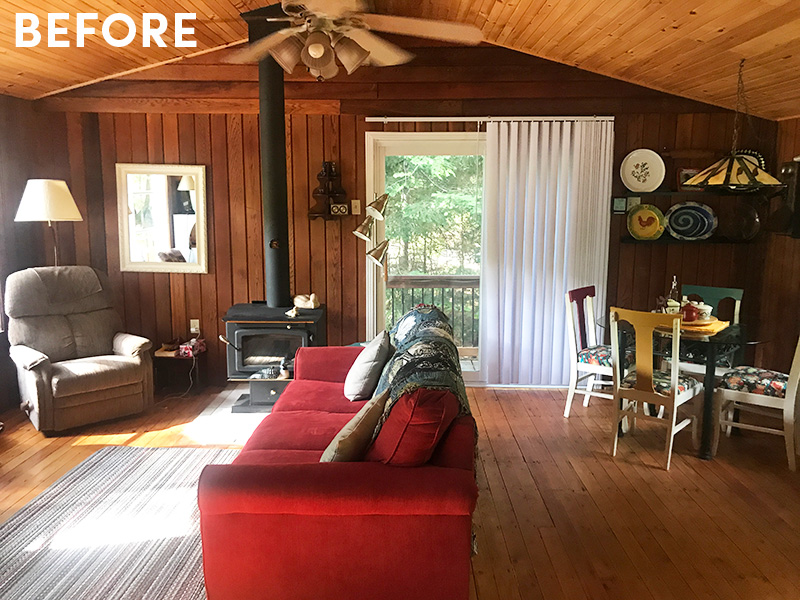
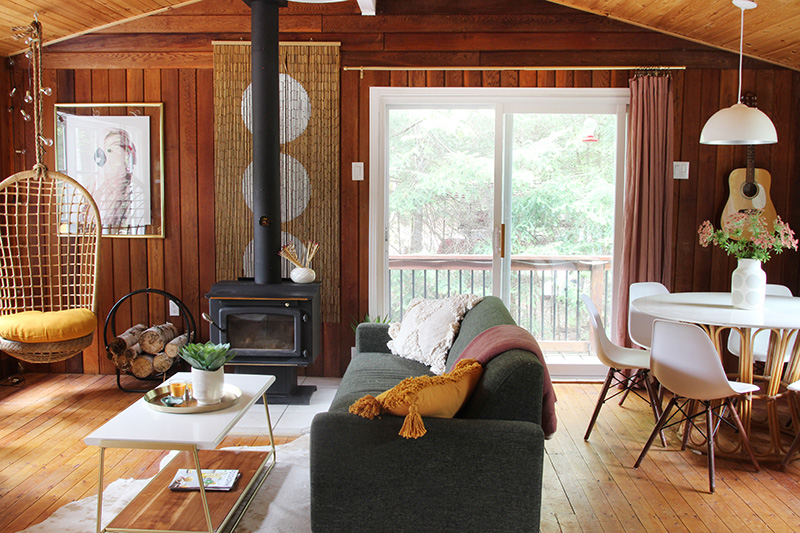
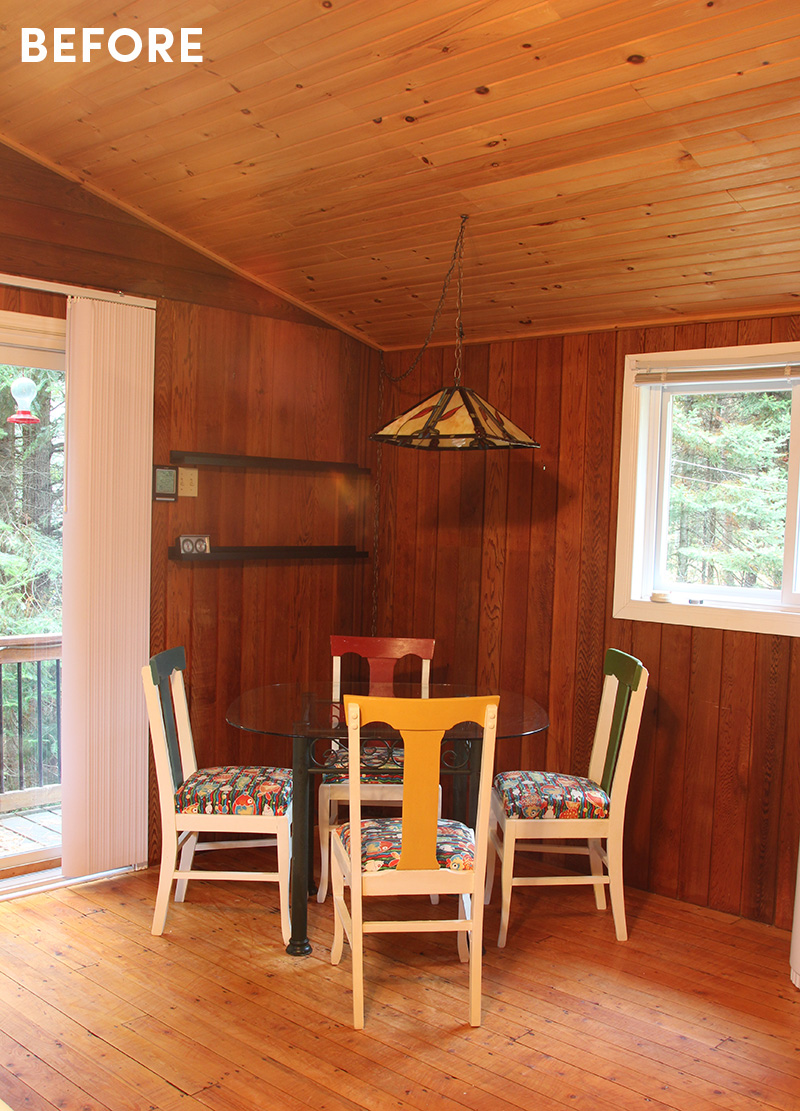
Saving the best for last! The main living, dining & kitchen space. Here’s what the living space used to look like:

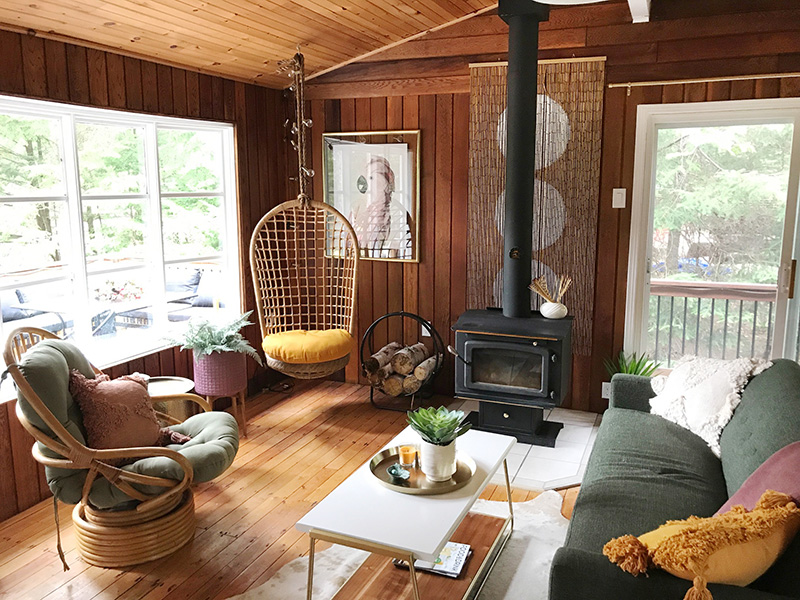
The most popular question I got when I first shared pics of the cottage is “are you keeping all that wood?”, implying that it looked really dated. Many people suggested painting it white and I knew that I could never go wrong painting it white, it would look fresh and clean. But I had a different idea. I wanted to challenge myself to work with the wood and update it without hiding it. I loved the rustic, warm cottage-like feel it gave and didn’t want to hide that. I did decide to paint one side of the room to freshen it up a bit and I think it balances out the rest of the wood perfectly.
And here’s what it looks like now. Obviously this is the main part of the cottage and it’s all open so everything had to be very functional but also look cohesive. I did have a loose design plan in mind before but it kinda evolved and this look came together as I went with lots of modern elements mixed with vintage influence.
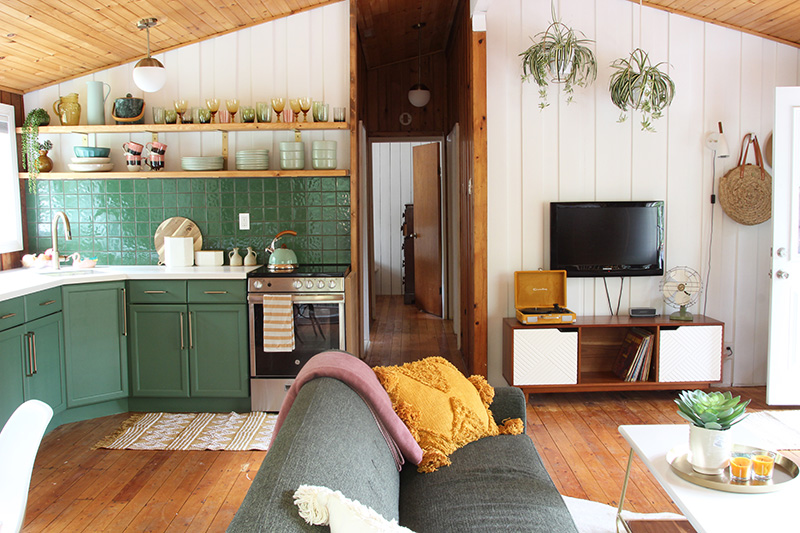
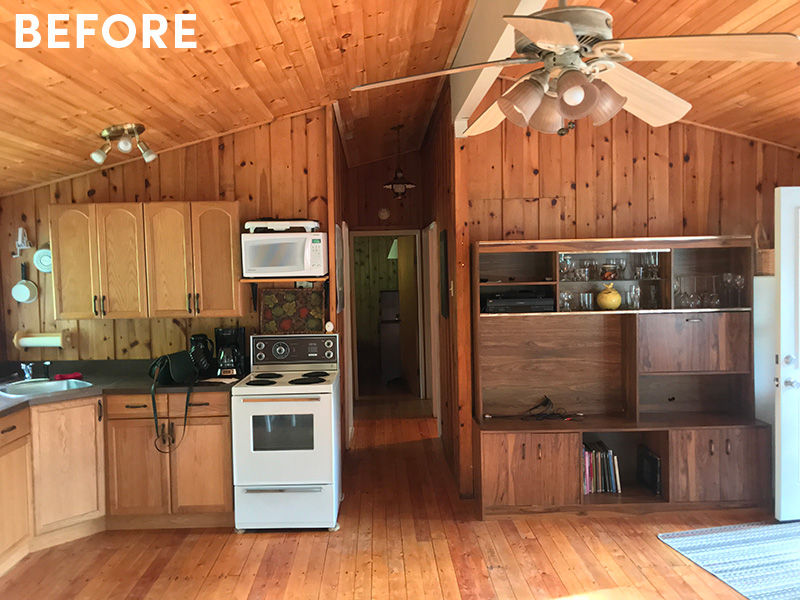
Last but certainly not least, the star of this cottage makeover is definitely the tiny kitchen overhaul. Here’s what it looked like before:
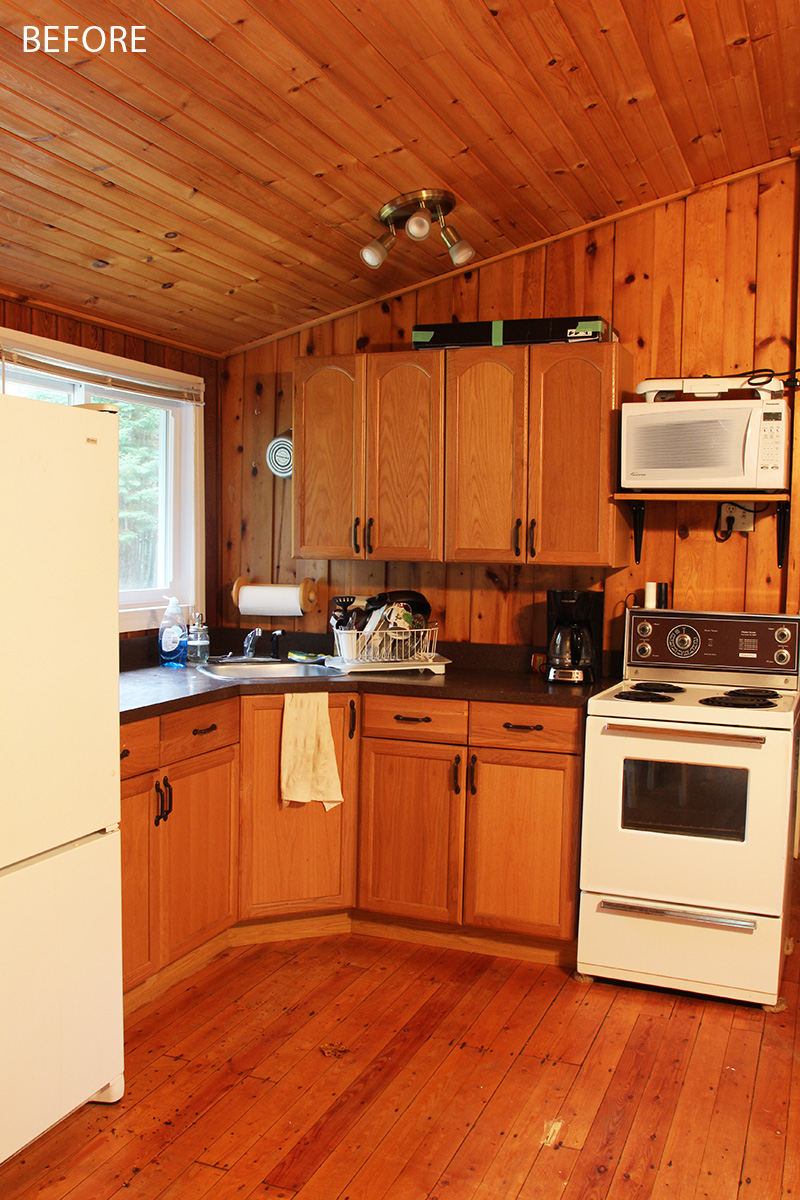
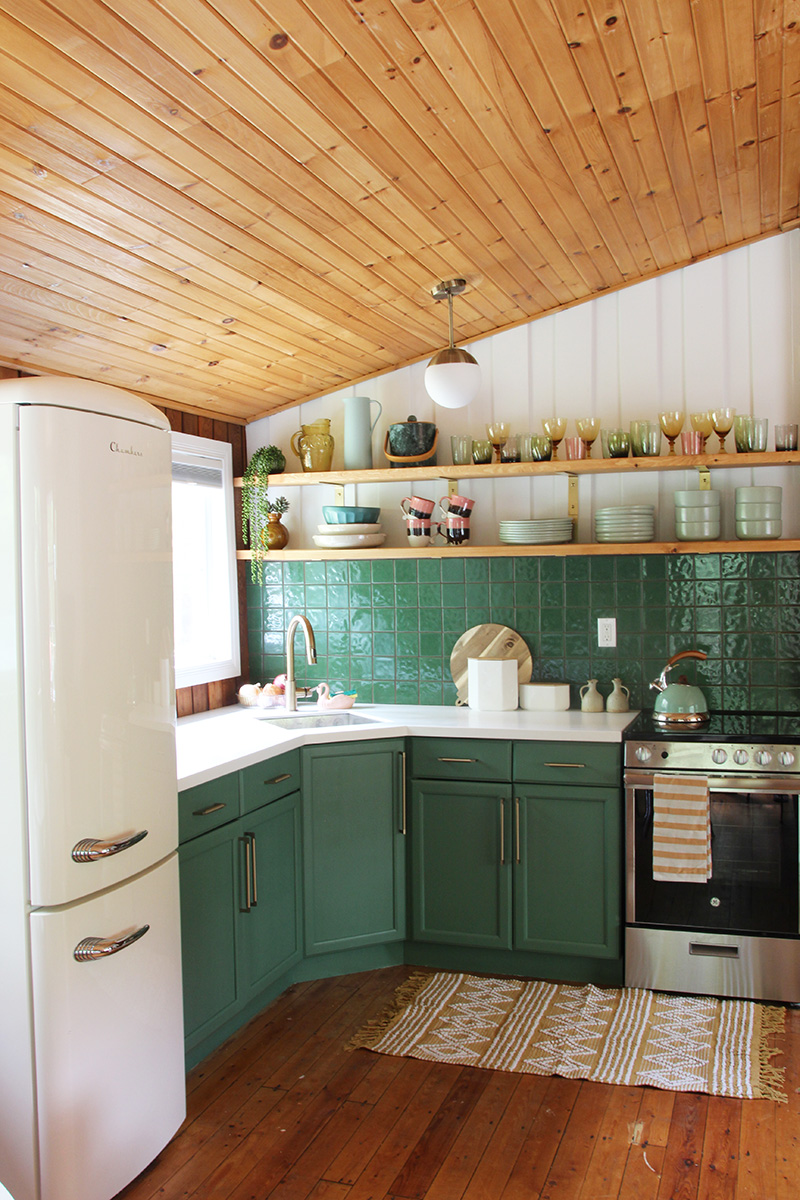
I decided to keep the footprint with the base cabinets but updated pretty much everything else. There were some skeptics with my colour choices I know but I think I won them all over with the final result.
Here’s what it looks like now! So much more open, bright and fresh looking. The typically traditional cottage colour looks modern but works perfectly with all the wood.
The dining area was quite the colourful little corner and now it’s much more simplified and seats more people without taking up any more space. Thanks vintage round table!

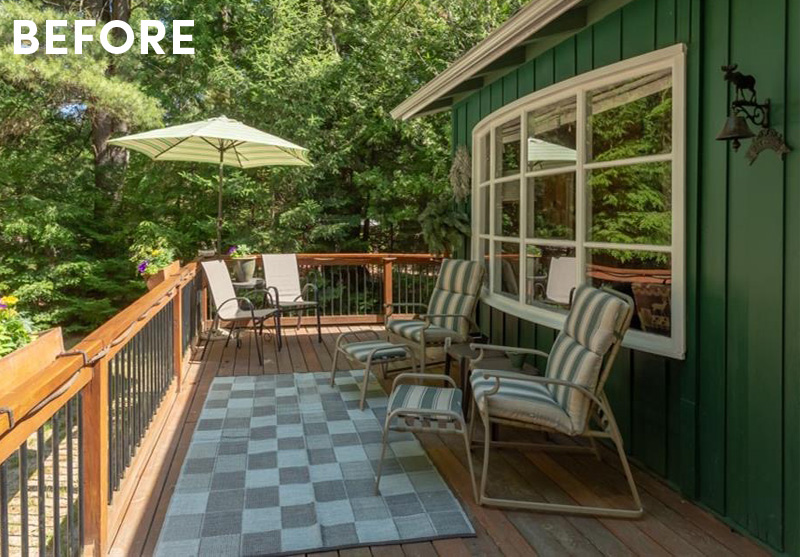
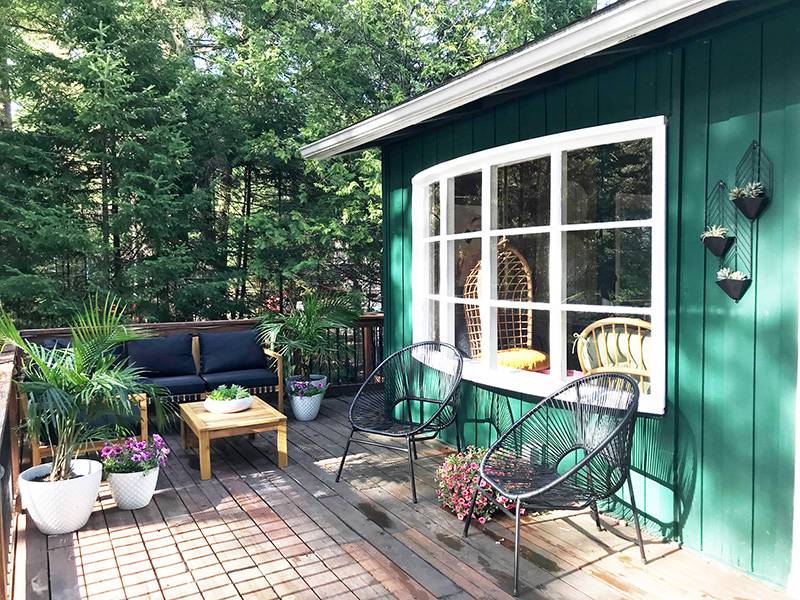
Oh and as bonus I have a little outdoor update as well. I have lots of plans for the outdoor space but that’s probably going to be a 2012 summer project. For now I turned the patio into more of an outdoor living space and added a few fun hammocks to make the backyard even more of a chill zone.
And that’s it! It’s always so easy to breeze through showing the before and after pics when the reality is that it was months of time, effort, challenges, ups and downs. But nothing worth having comes easy right?! Overall it was a big learning experience but nothing that I couldn’t ultimately handle. It feels pretty awesome to take it all in now that it’s done and the best part….enjoying it!
In case you’re interested, it is available to rent when I’m not using it. You can check out the Air BnB listing here, I would love for you to enjoy it as much as I do!
3 responses to “Sweet Escape Muskoka: Cottage Makeover”
Wow! Incredible. Melissa another beautiful expression of your “print” on a project.
I love what you have done with your cottage. It’s amazing how you kept a lot of the original wood and made it look so up-to-date and modern. It’s particularly inspirational for me as we bought a 650 square foot cottage in Haliburton and are working (struggling!) to fix it up. Ours was partially gutted when we bought it so we have a lot to do. I’d love to know where you purchased some of your things.
One more thing… I totally get the blood, sweat and tears part!! You did an amazing job.